
When it comes to infrared imagers, Flir and Fluke have owned the market. However, over the last couple of years, Milwaukee has been jumping into this category and has been making some waves. Take the Milwaukee Thermal Imager 2258-21 or the Milwaukee M12 Thermal Imager 2260-21 as an example. Both of these imagers have been a big hit with the consumers. While they have been a big hit in the marketplace, they are packed with more bells & whistles that not everyone needs. Some tradesmen just want a simple, cost-effective solution, so let’s jump into the Milwaukee Spot Infrared Imager Review.
Milwaukee Spot Infrared Imager Review Overview
When you are trying to diagnose a problem most of the time you really have two options, which for certain applications are not the best options. You have a temperature gun which is great, but there isn’t an image. Or you have a thermal imager camera which is great but comes at an expense.
So with that said, this is one of the reasons Milwaukee designed and created the Milwaukee Spot Infrared Camera. Basically, you get the best of both tools in this one small, easy to use imager.
Milwaukee Spot Infrared Imager Review Features
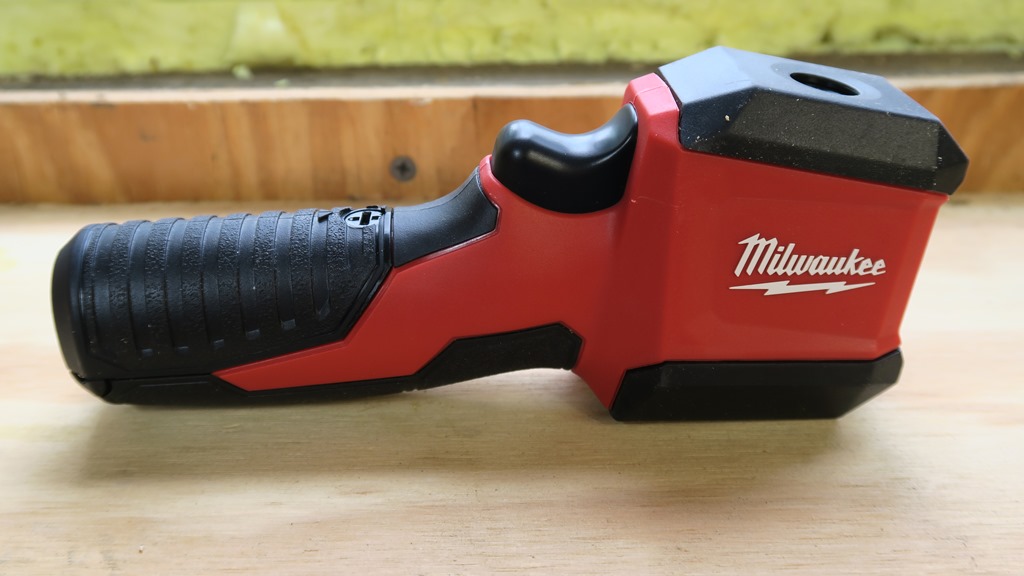
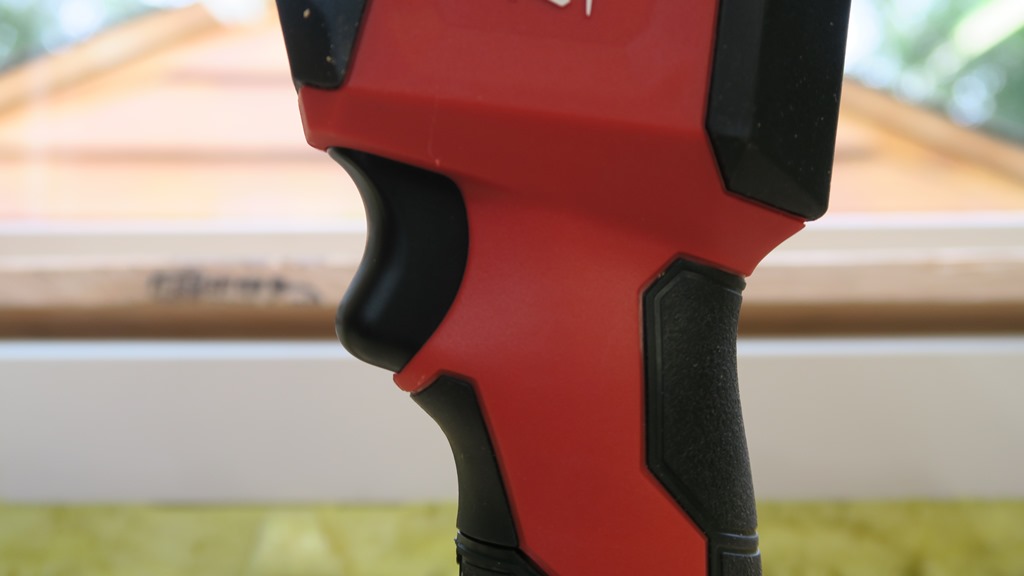
The imager is very small compared to some of the thermal cameras we have tested. In fact, the size is closer to a temperature gun.
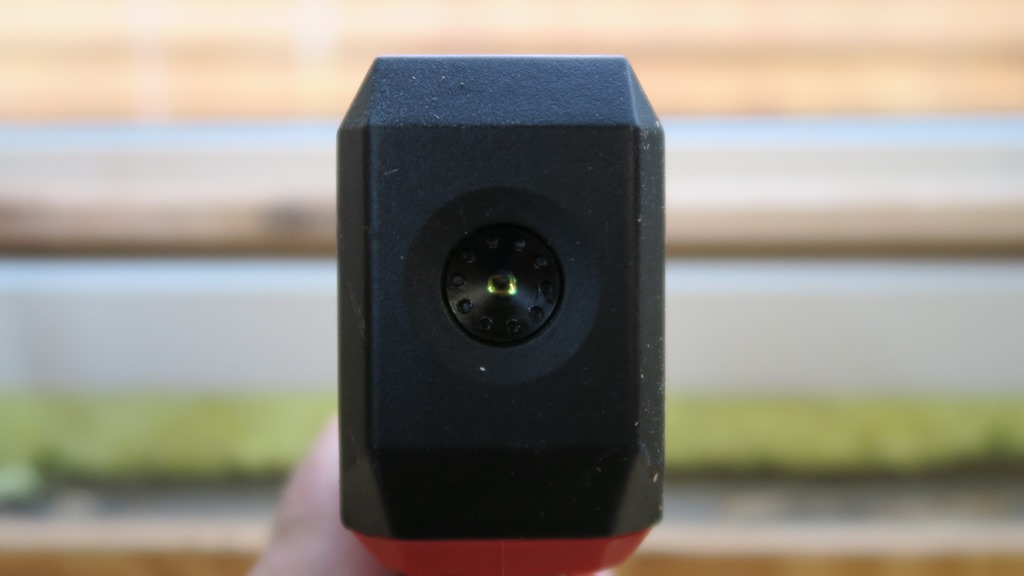
The front of the imager is protected by a rubber cover. This imager features a 56:1 distance to spot and will record temperatures in the range of 14°F – 626°F. The sensor resolution is 102 x 77.
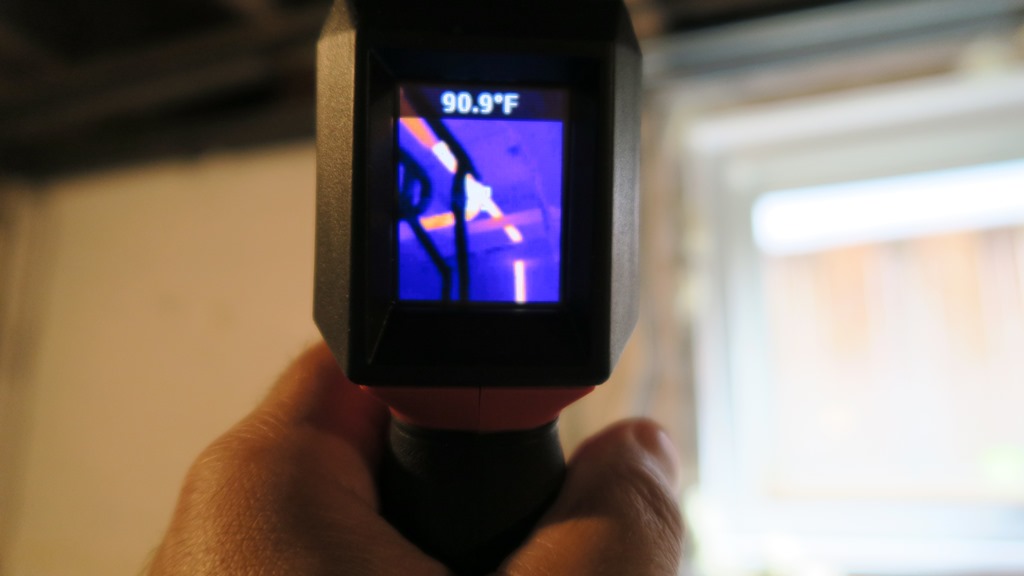
The imager has instant startup, so no waiting around. You can start taking measurements right away. The screen is protected by a rubber cover.
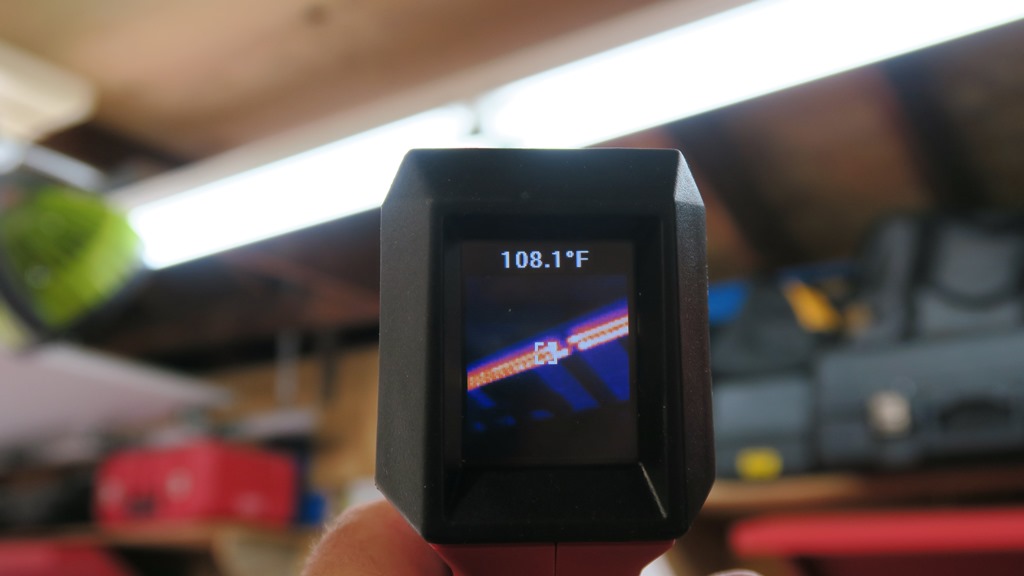
Milwaukee uses a dual sense pixel which means the picture is clean, responds quickly to changes and easy to see what you are taking a reading of without any blurring or hot and cold.
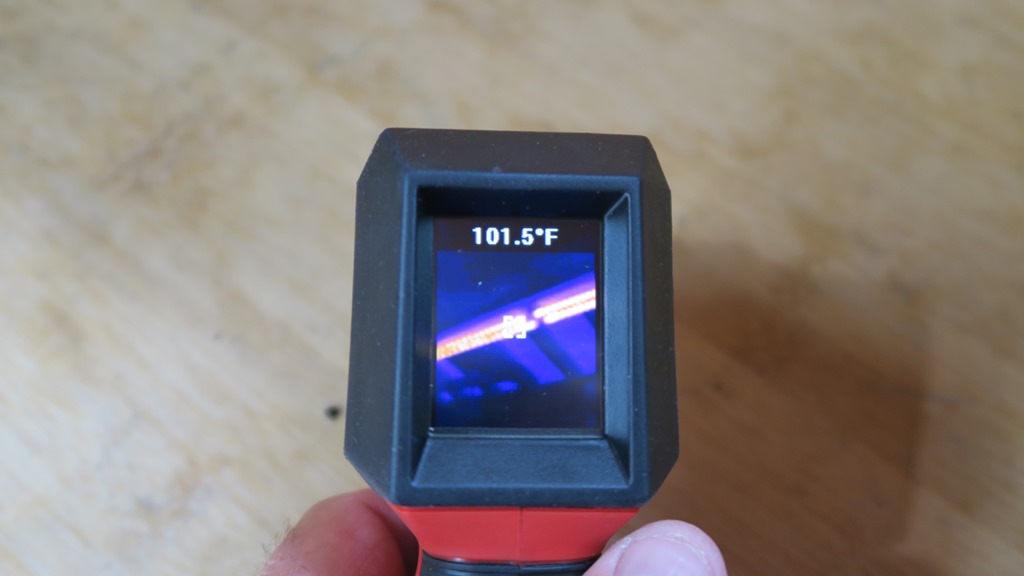
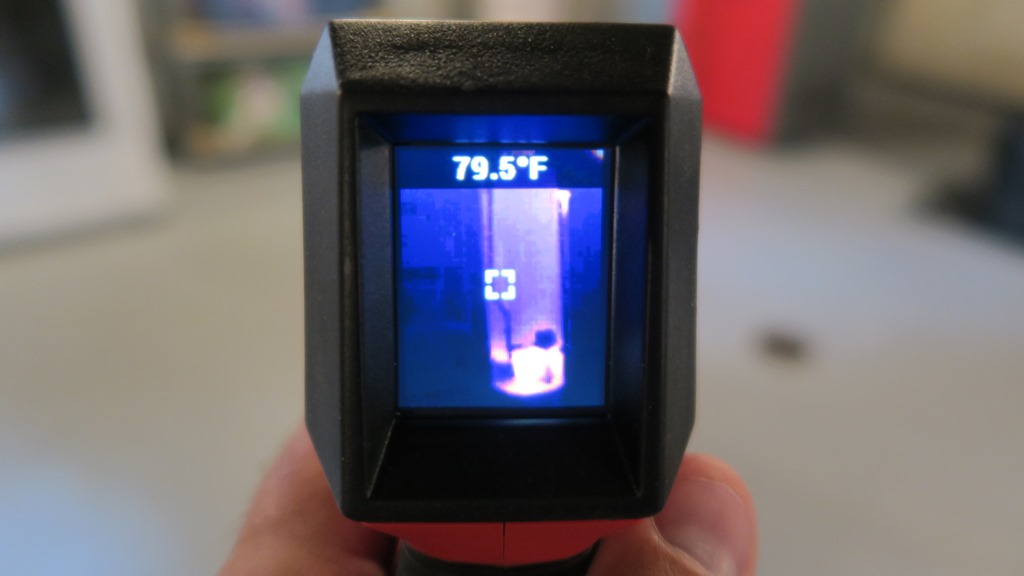
Once you take a reading, the screen will broadcast the image with the reading for 15 seconds.
To take a reading, just pull the trigger and move to the desired reading target. Once you acquire the target reading, release the trigger and you have captured the image along with the temperature.

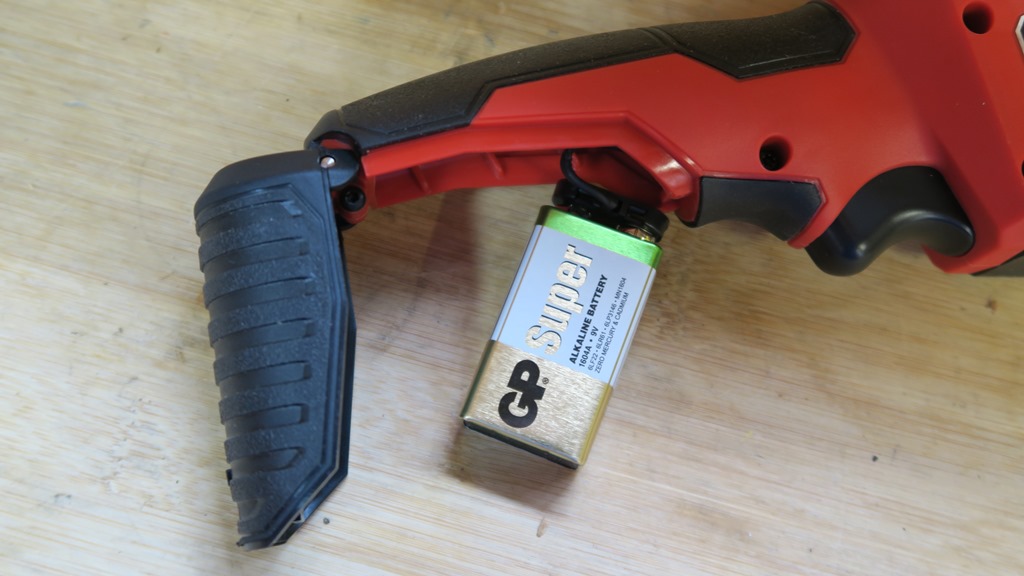
The imager is powered by a 9V battery which is located in the handle of the imager. You should get a little over 4 hours of continuous run time on a single battery. One downside to the battery change is you will need a flathead screwdriver, coin or something else to open the battery compartment.
Milwaukee Spot Infrared Imager Review Performance
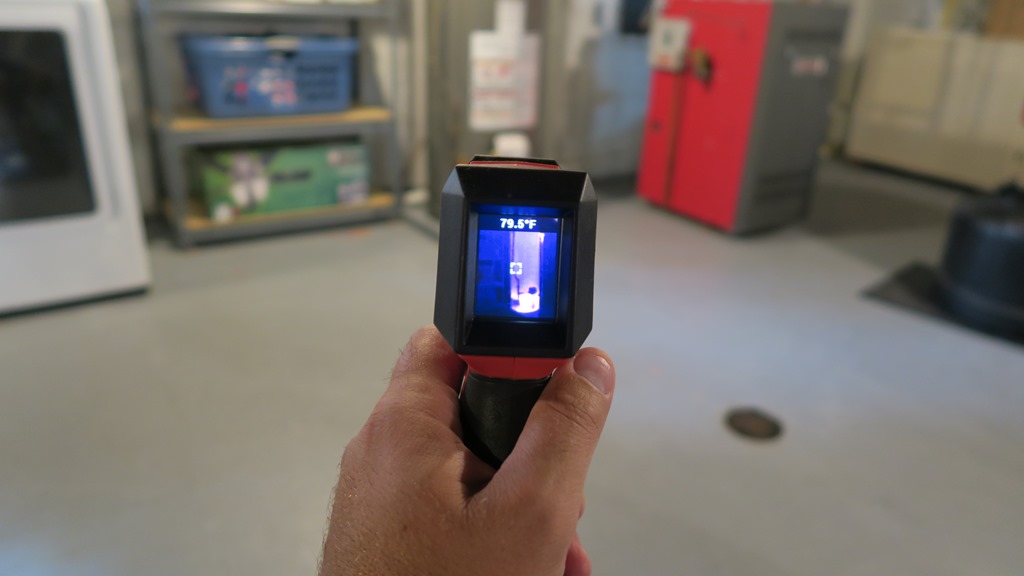
In regards to performance, this imager rocks. We love how quickly it turns on and how fast it’s ready to use. Just point, pull the trigger and you are done with your reading. How much easier can it get?
The readings were accurate as we tested it against a temp gun.
Reading after reading, this unit performed as advertised. The instant readings are awesome. I had cold pipes and then turned on the hot water and could see how fast the water was traveling through the pipe and how long it took for the hot water to go from the heater to the faucet.
Milwaukee Spot Infrared Imager Review Value
The unit runs about $300. Yes, this is more than a temp gun but much less than a thermal camera. A price of $300 isn’t bad considering how easy it is to use and the accuracy. If you are an HVAC, Mechanic, electrician or in any other trades, this is a great tool to own.
Milwaukee Spot Infrared Imager Final Thoughts
Trust me when I say you will love this tool. Simple to use, doesn’t break the bank and no waiting around. This is one of those tools that will truly make your life easier. While I do wish it came with some kind of pouch, it’s not a deal breaker. The imager is rugged and will be able to survive common falls. It’s a must-have tool for the tradesman.

I definitely want a thermal imager, but I am waiting a bit because I firmly believe they will get much less expensive fairly soon as more technicians discover their benefits and the market demand grows. 300.00 for a smallish screen seems high to me. I plan on buying one next summer, so we shall see if I am correct.
Good point. I am sure as technology is better, the cost will go down.
I agree, would love to have one of these, but at a slightly lower cost.
As a plumber, I can see this possibly assisting in locating water leaks inside attics where pipes might have been leaking through the ceiling. In Houston, most water lines come up through a side wall in the house, go into the attic that normally houses the water heater, and then proceed to drop down hot and cold water lines into each bathroom.
The other reason I’m interested in buying is because during the summer, intense heat builds up that chokes off the air supply to the natural gas fired water heaters in attic. Nothing seems more embarrassing than explaining to a customer that the new water heater installed last year went out because it’s too hot in the attic. If I can take a temperature gun up there with me to prove the temperature is over 140 Fahrenheit, I can then point out to customer in every manufacturer’s paperwork, troubleshooting, or care guide that the heat is not extinguishing the flame at bottom of heater.
All very good points Thanks for sharing them. So much you can do with this tool.