If you have been following us, you know I remodeled my house, well technically I’m still working on the house and have a ways to go. Before I started remodeling, there were things I never thought about, such as window blinds/shades*. But as I was finishing up the casing and trim, I realized that blinds were actually a big deal because it’s one of the final touches, the icing on the cake so to speak. So before you get into this Part 3 of our Blind Series, make sure you read the following articles.
- Bali Blinds & Shades – The Real Story Behind Blinds – Part 1
- Bali Blinds – An In-depth Look at Blinds & Shades – Part 2
*Blinds have slats that can be tilted to adjust for the desired amount of incoming light and privacy. Shades are made with a solid piece of fabric, so they only have two options – open or closed. I went with shades in my house. While the installation process is virtually identical, this is something you might also want to take into consideration when you are choosing between an inside or outside mount.
Getting Started
This part is what is funny to me. I just put in a new support beam, moved walls, added an addition but for some reason, the blinds were the part I wasn’t looking forward to. What if I messed up ordering, messed up the measurements, or did something else wrong? But I am here to tell you that this was the easiest part of my house project so far.
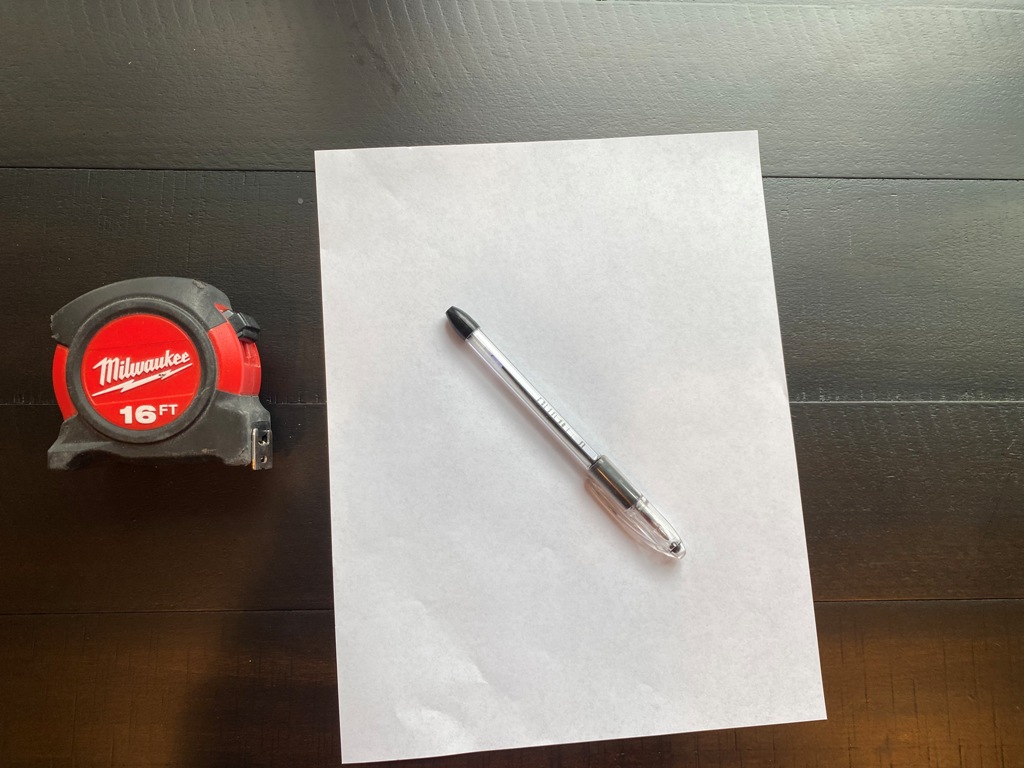
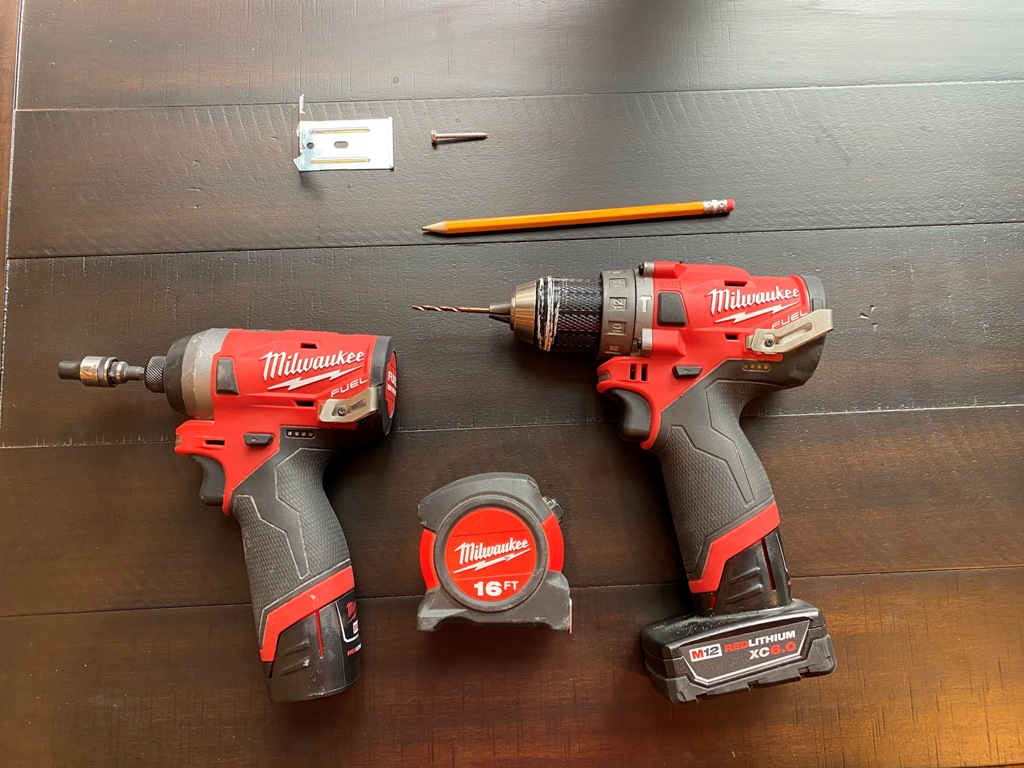
All you need is a pen, paper, and a tape measurer.
How to Measure
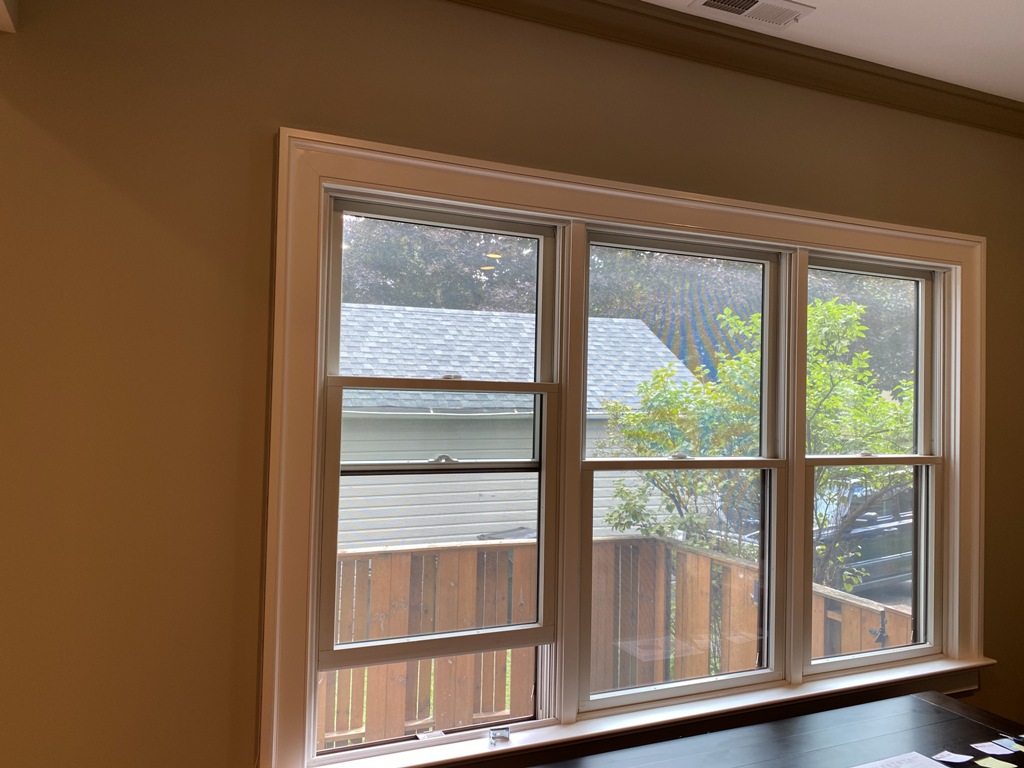
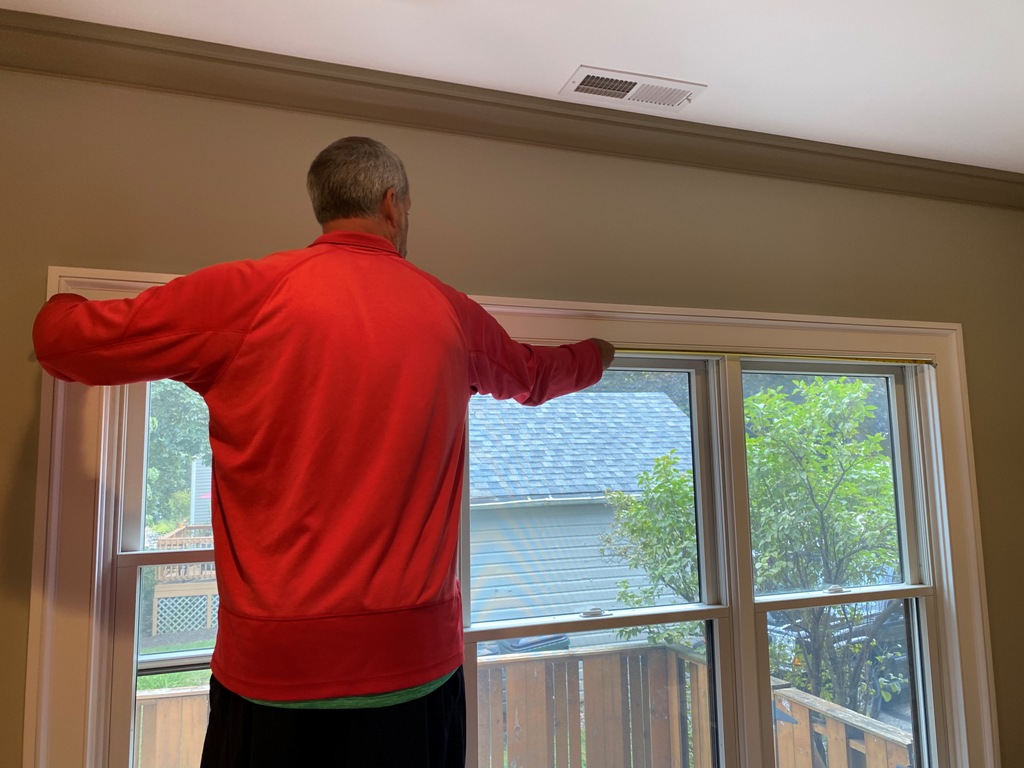
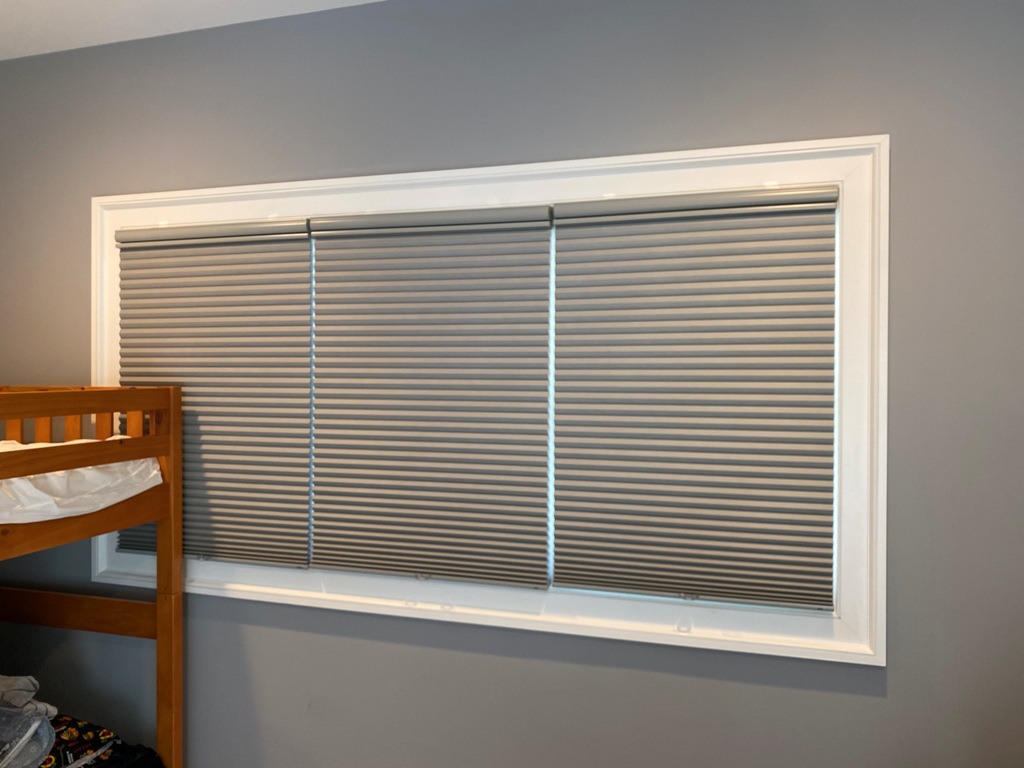
I had to measure nine windows with three of them being windows like this. You can either get a single-blind or multiple blinds. I picked multiple blinds because I like having the freedom to lower or raise each blind on its own.
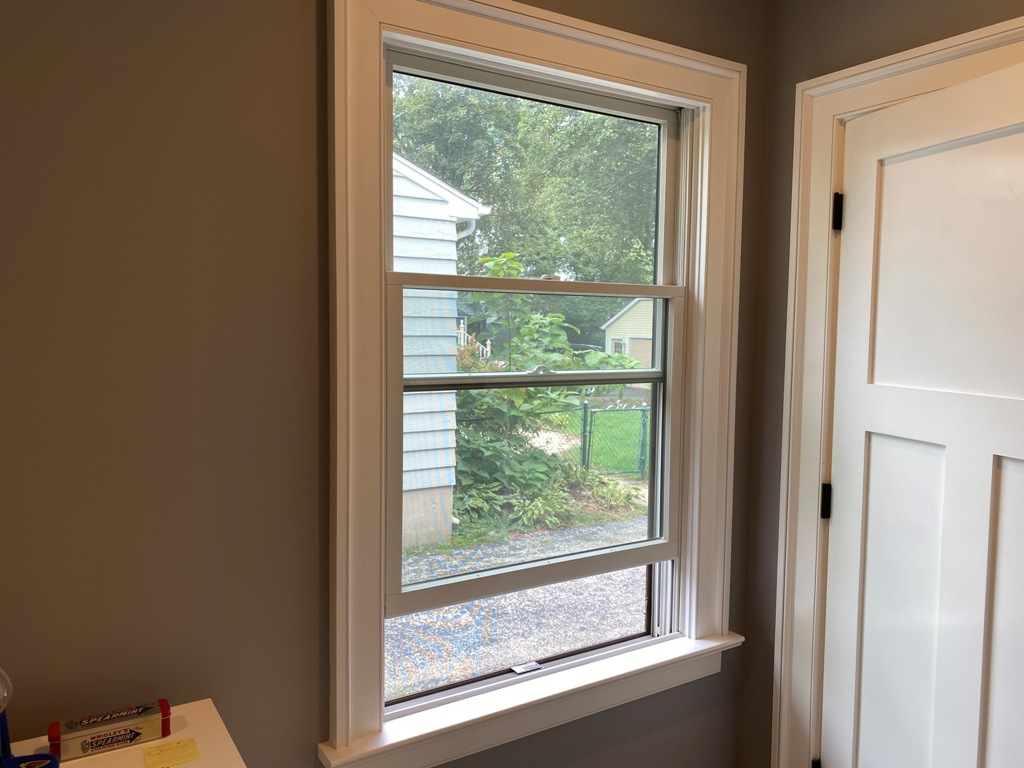
You also have to decide do you want the blinds on the inside (inside mount) or over the casing (outside mount).? I really like my casing, I didn’t want anything taking away from the look, so we went with the inside-mount style.
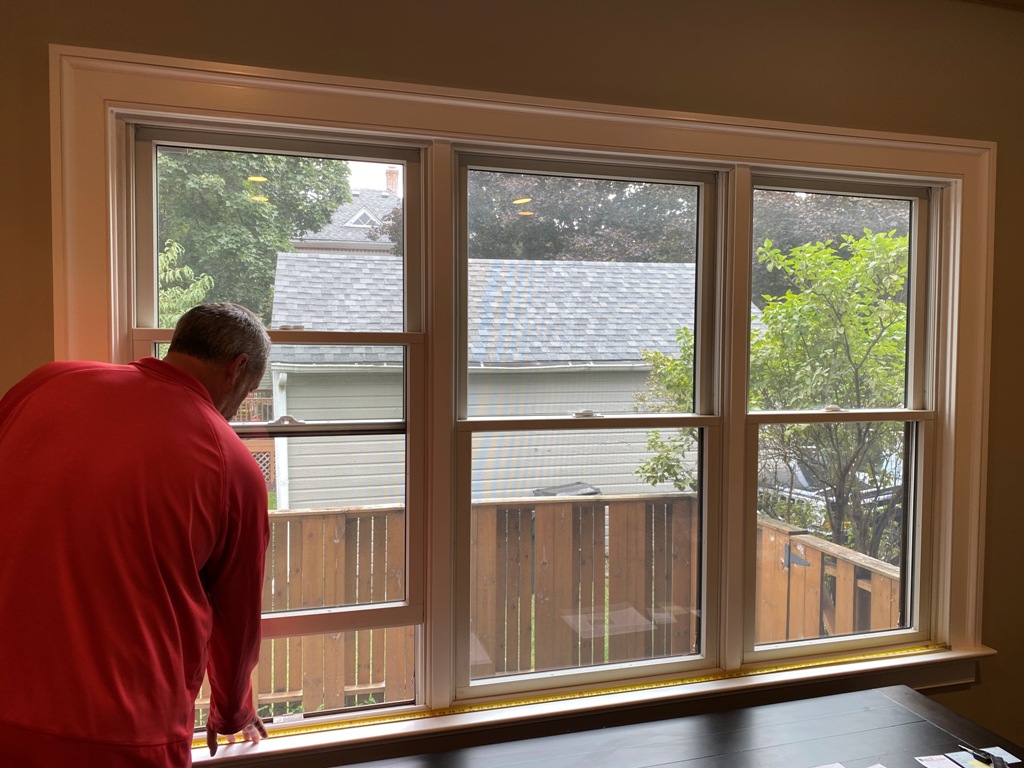
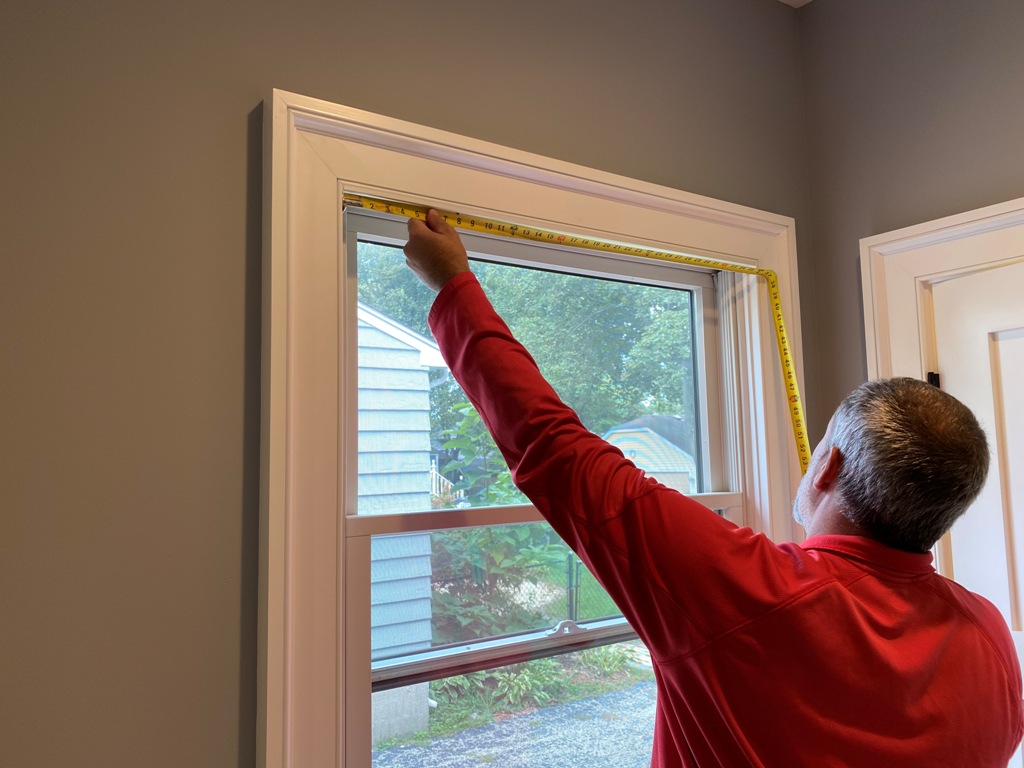
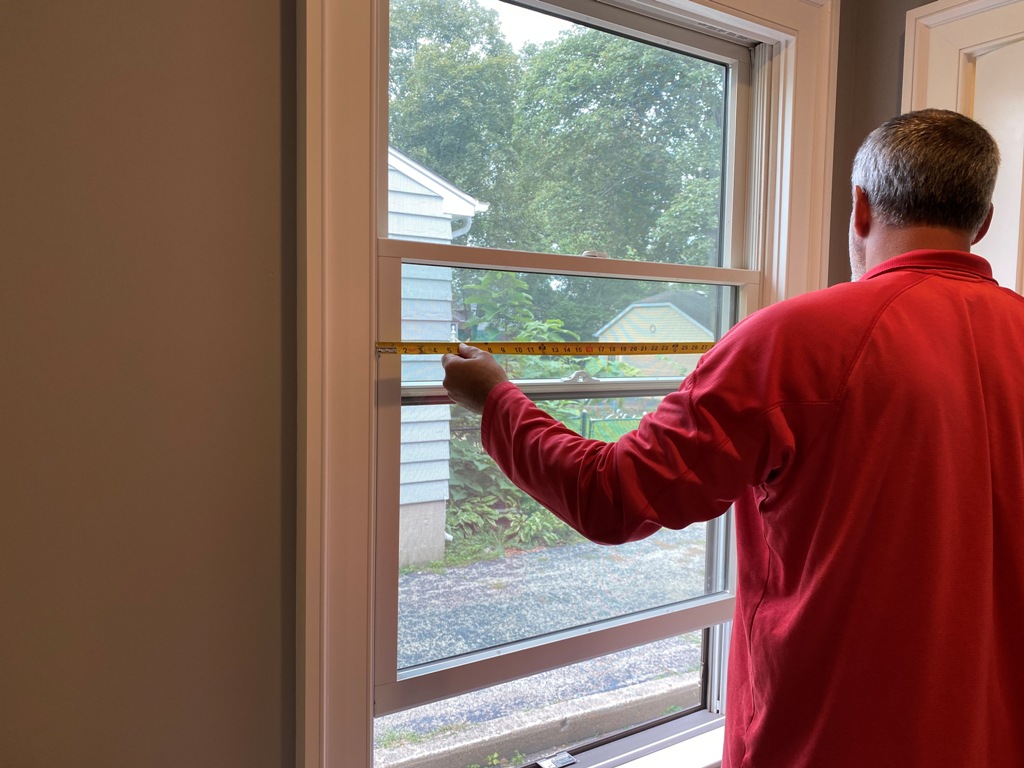
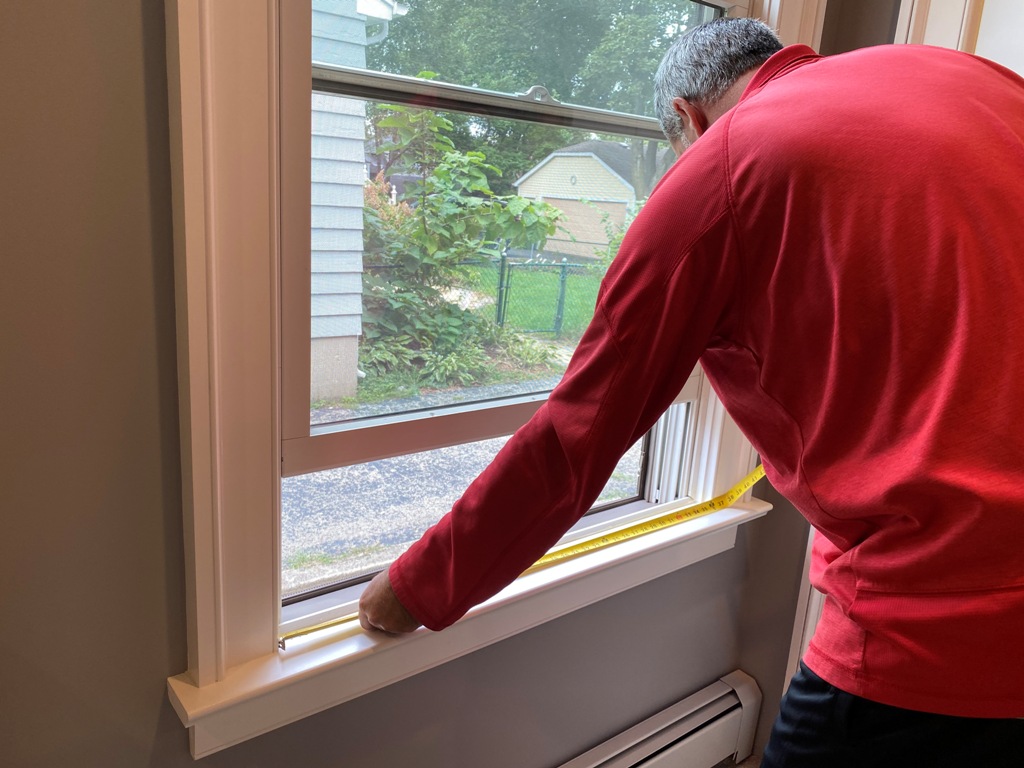
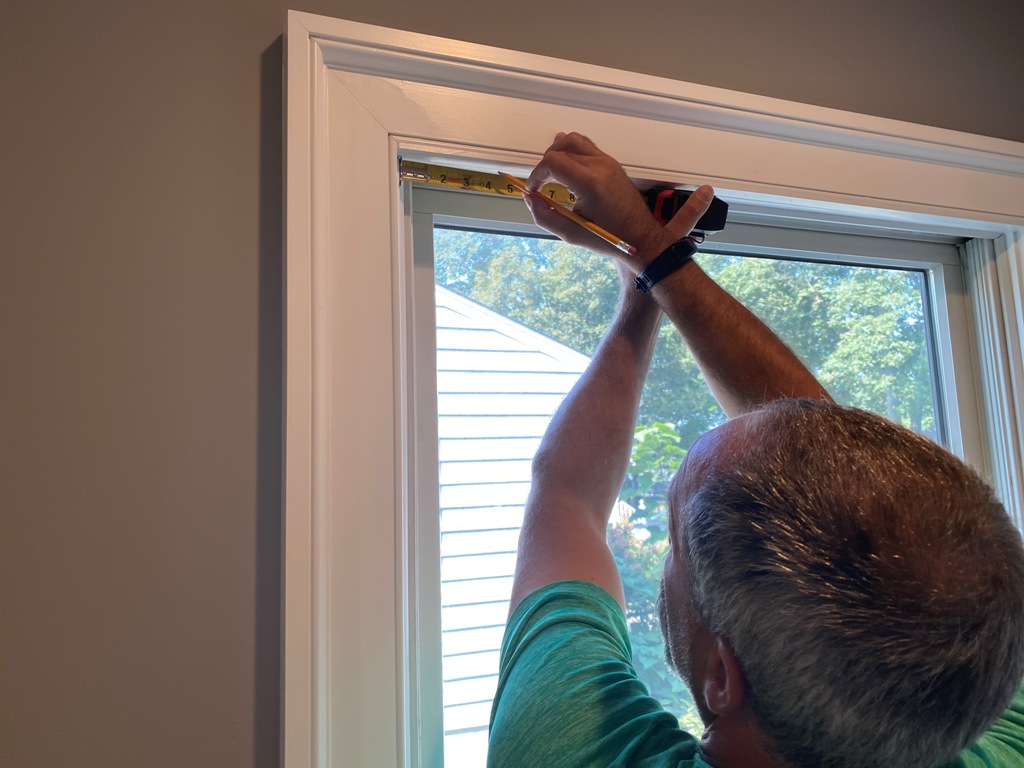
When it comes time to measure, it really couldn’t be any easier. I took three measurements across the window. One at the top, one in the middle, and one on the bottom. Whichever measurement is the smallest, that is the size you go with.
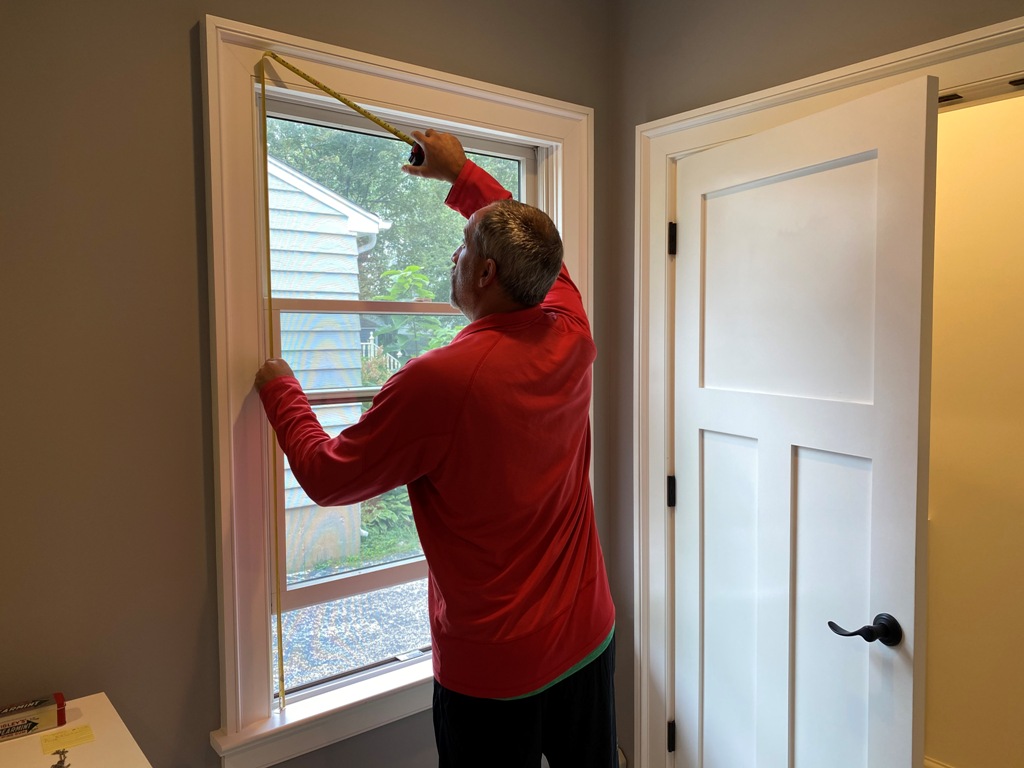
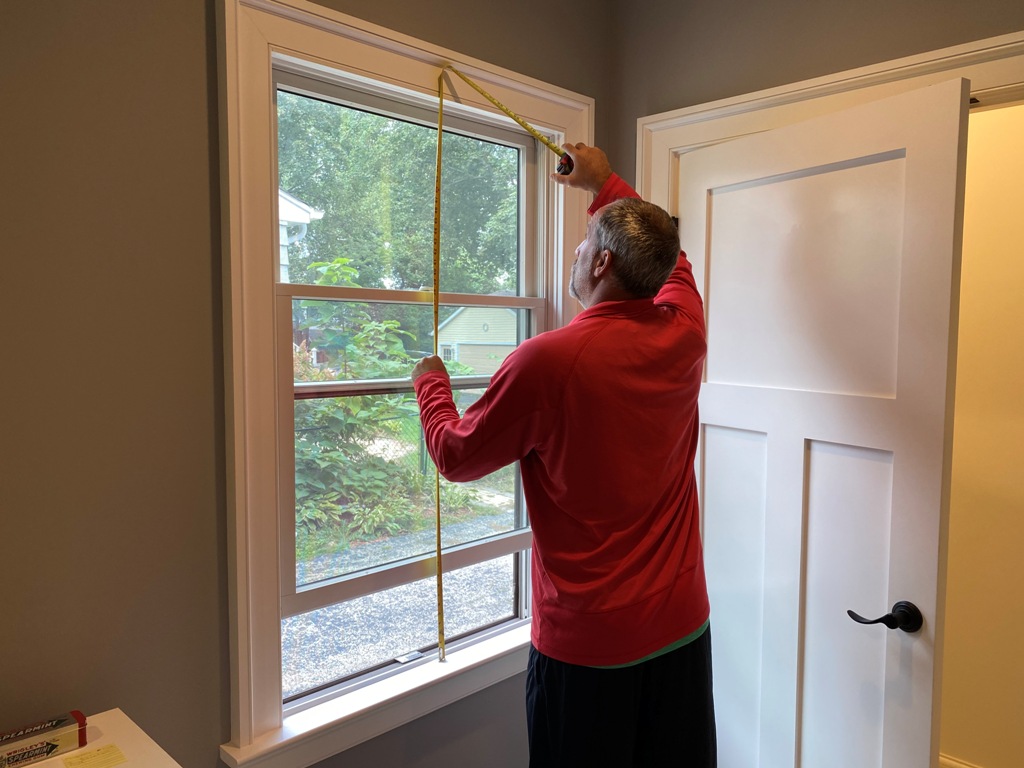
Next, I took another three measurements. One on the left side of the window, another in the middle, and the last one on the right. For this measurement, I went with whichever measurement was the longest.
Here is an example:
Width
- Top Measurement: 36-1/4″
- Middle Measurement: 36″
- Bottom Measurement: 36-1/8″
I went with the 36″ because that was the narrowest part of the window. That way the blind would freely open and close.
Height
- Left Measurement: 52-1/8″
- Middle Measurement: 52-1/4″
- Right Measurement: 52-3/8″
I went with the right side measurement of 52-3/8″. This way the blind will go all the way down on the window sill.
After I measured and verified I was correct, I sent in the measurements off and sat back and waited.
Shipping and Delivery
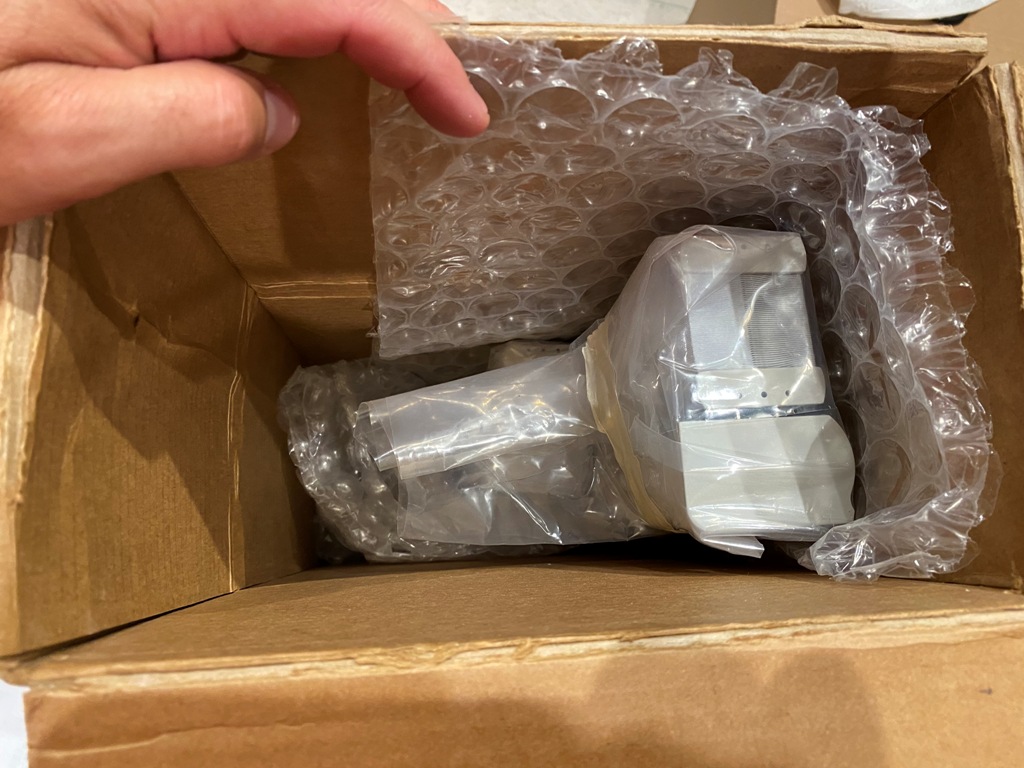
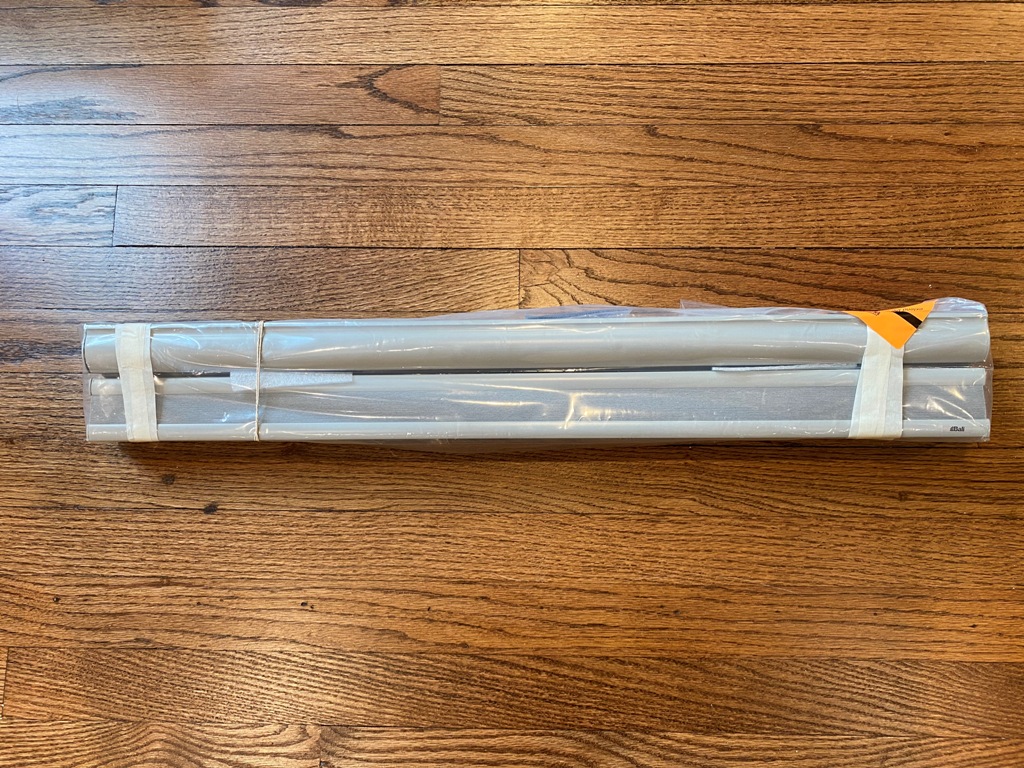
When my shades arrived, I was surprised at how well everything was packaged and protected. As you can see, they use bubble wrap in a tight box so they aren’t banging around. Then each blind was wrapped in plastic and taped so the blinds have no chance of moving around.
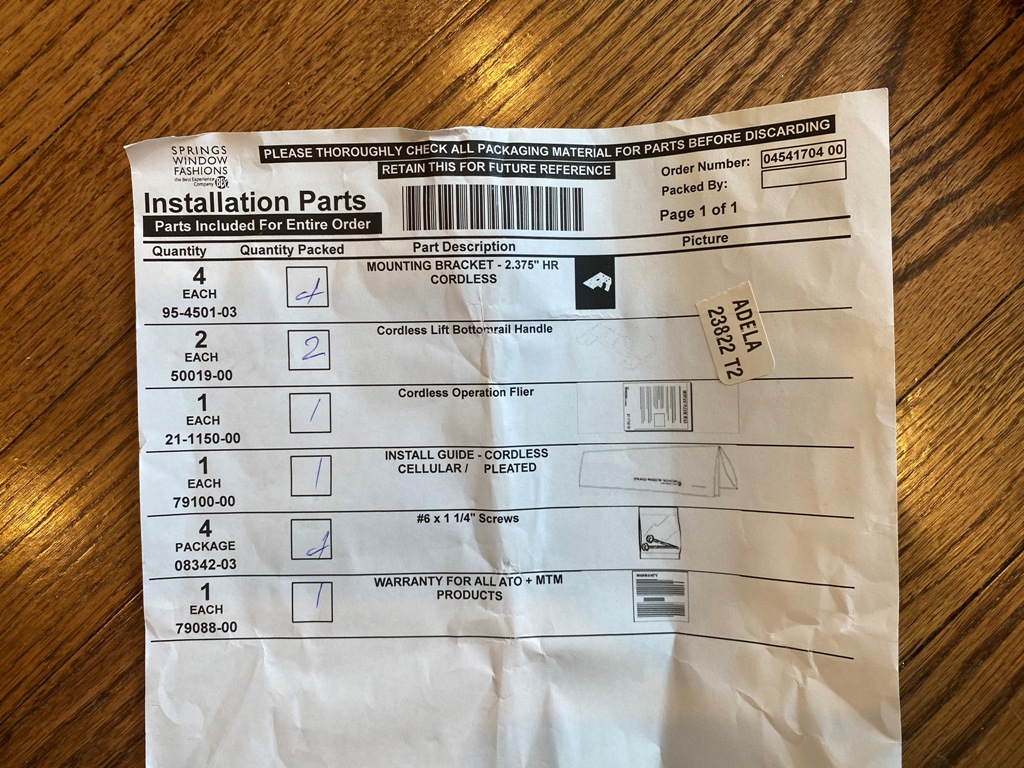
Talk about checks and balances, each box had this paper inside to let me know that someone actually checked to make sure all the parts were included and nothing was left out.
I don’t have a picture, but each box even let me know what room each shade was for.
Directions
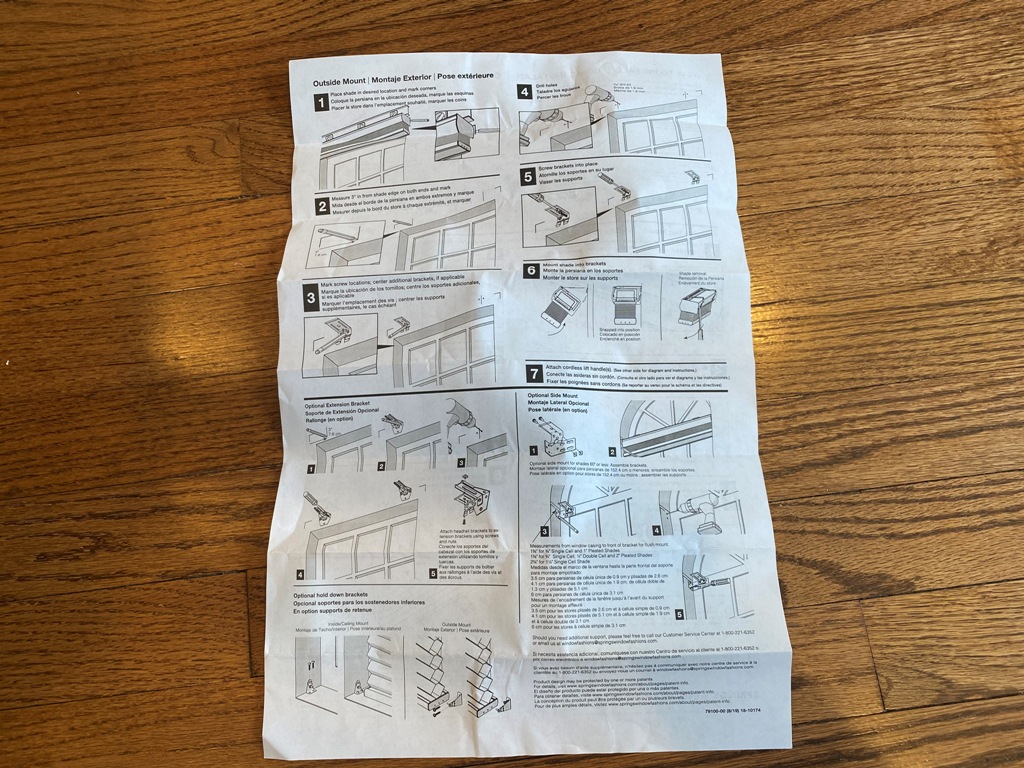
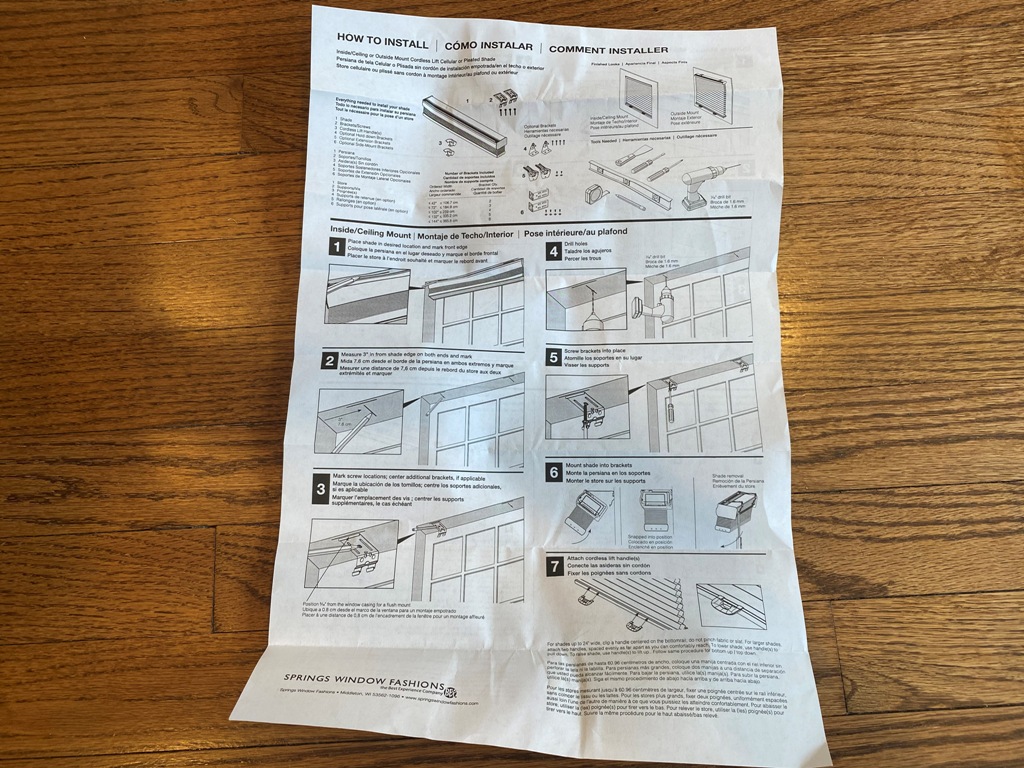
Surprisingly the directions were straightforward. One side was for an outside mount and one for an inside mount. I like having everything on a single page.
The directions were extremely easy to read and follow.
Tools Needed to Install
You don’t need much to install blinds:
- Pencil
- Drill and drill bit
- Tape measurer
- Screwdriver
Installing – Shades
If you are doing the installing and looking for guidance, do not follow my directions, follow the directions that came with your product. Things change, and yours might be different.
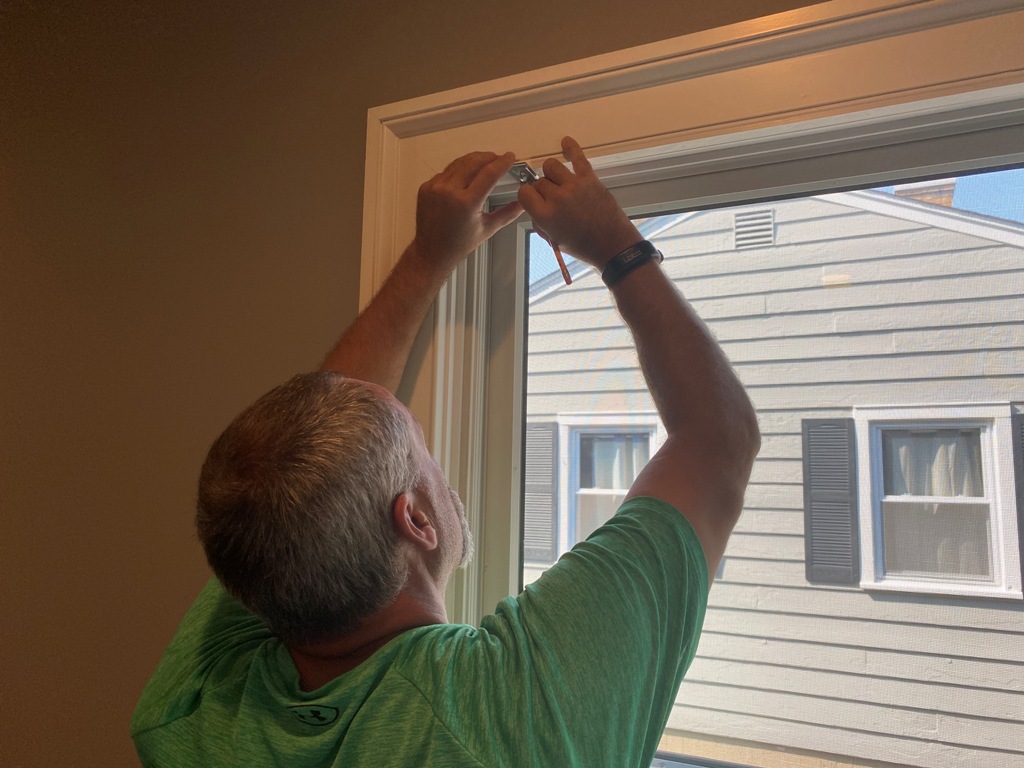
For mine, I just had to measure 3″ from each side.
Then I just placed a pencil mark where I needed to drill.
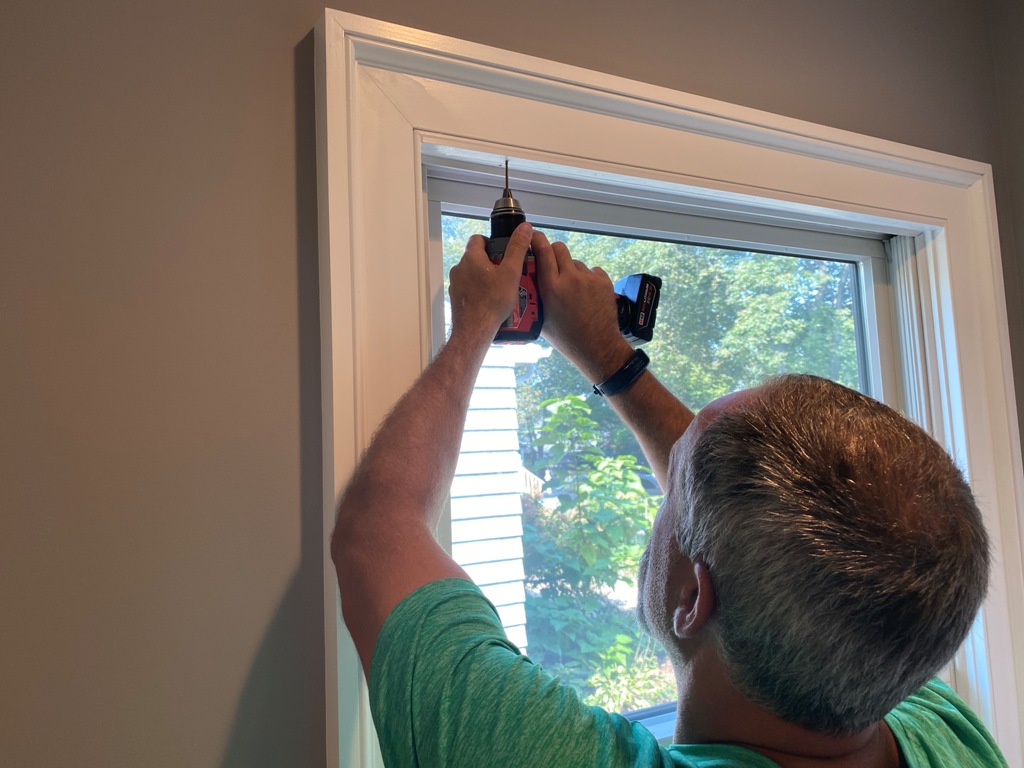
At the mark, I made a hole with my drill. This is important because you can split the casing if you don’t have a pilot hole.
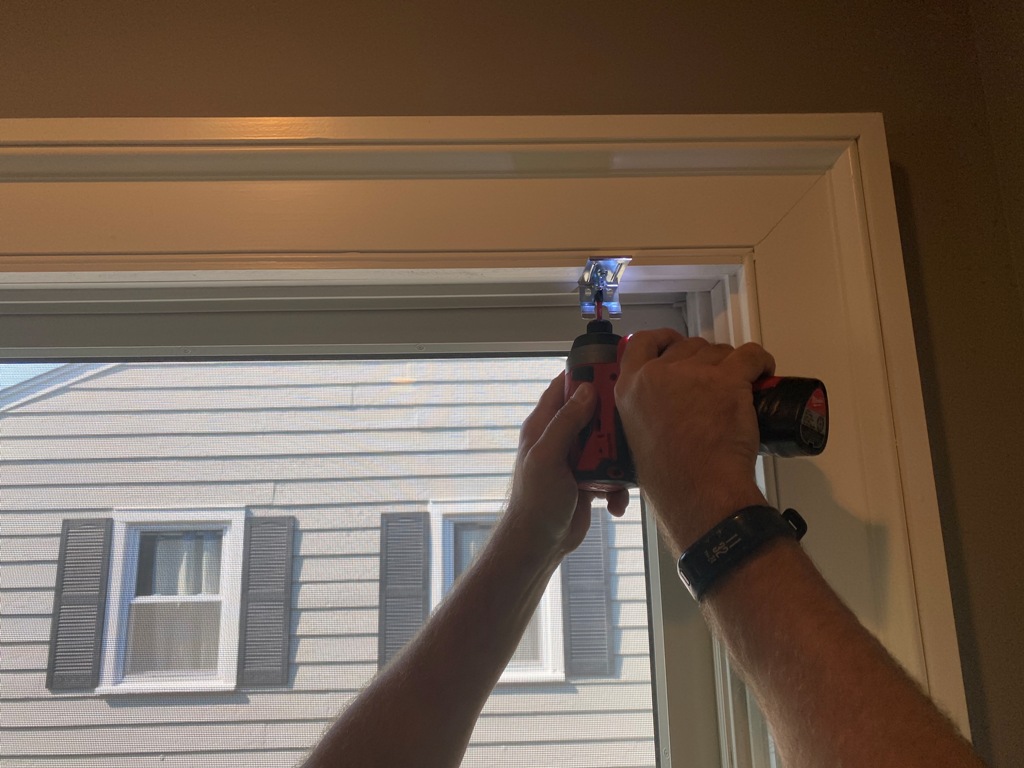
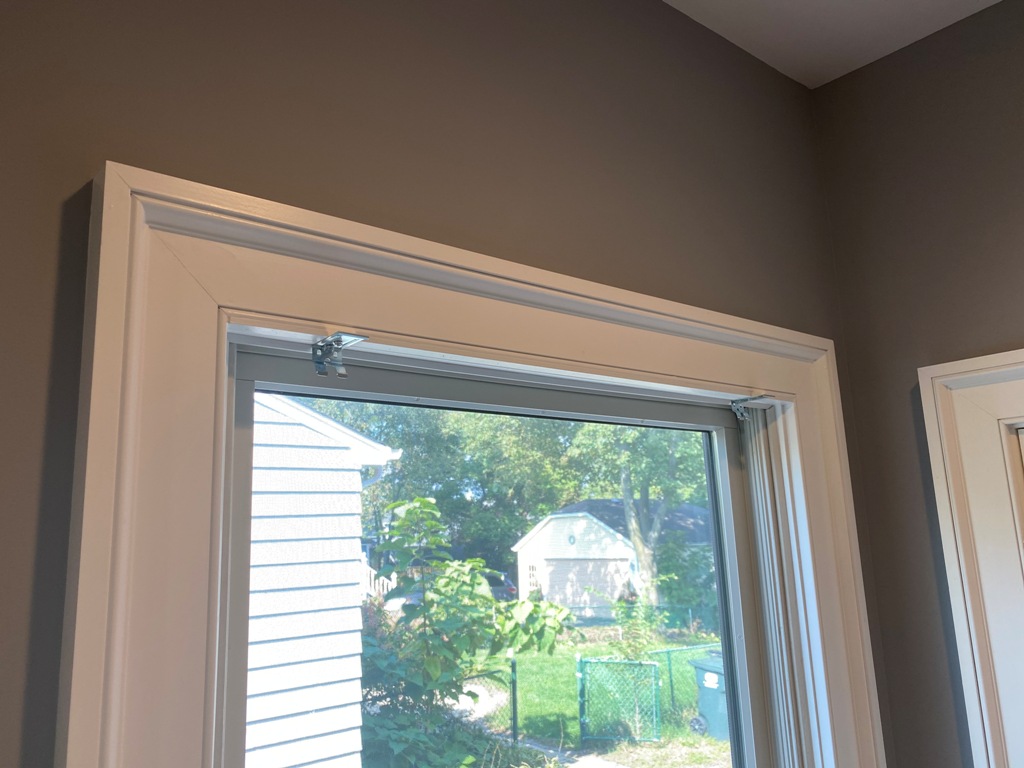
Next, I screwed the bracket into the window casing.
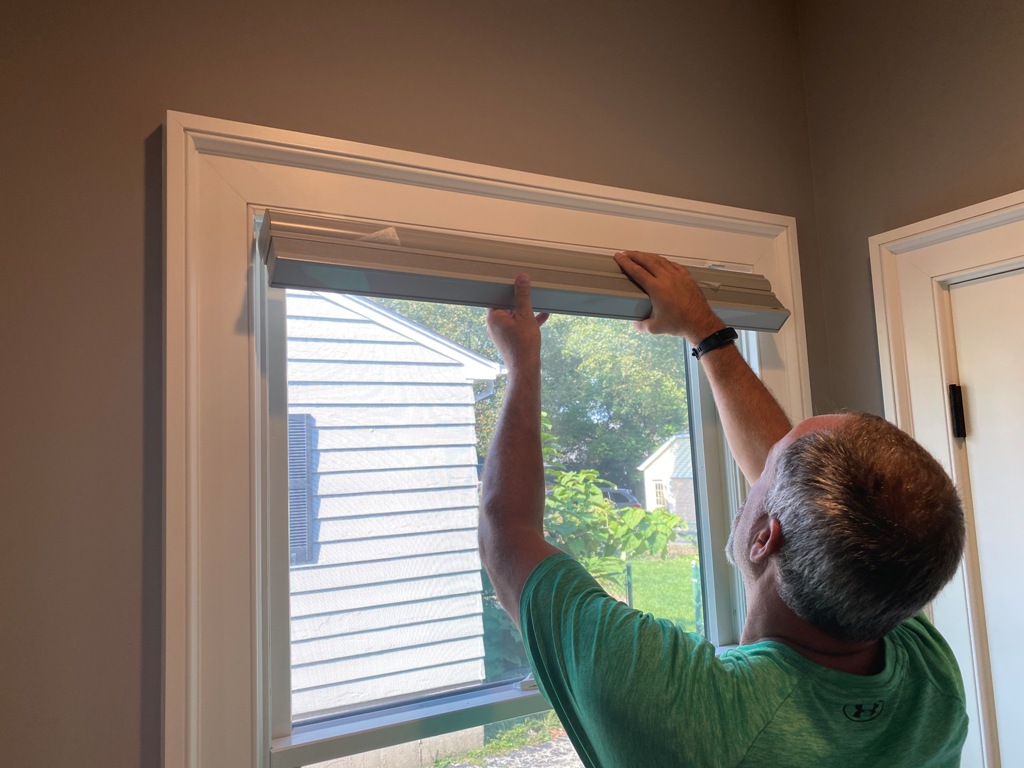
Next, I just snapped the blinds into place.
And when you are done, you realize how easy it is to do and it looks beautiful.
After Install
Shades
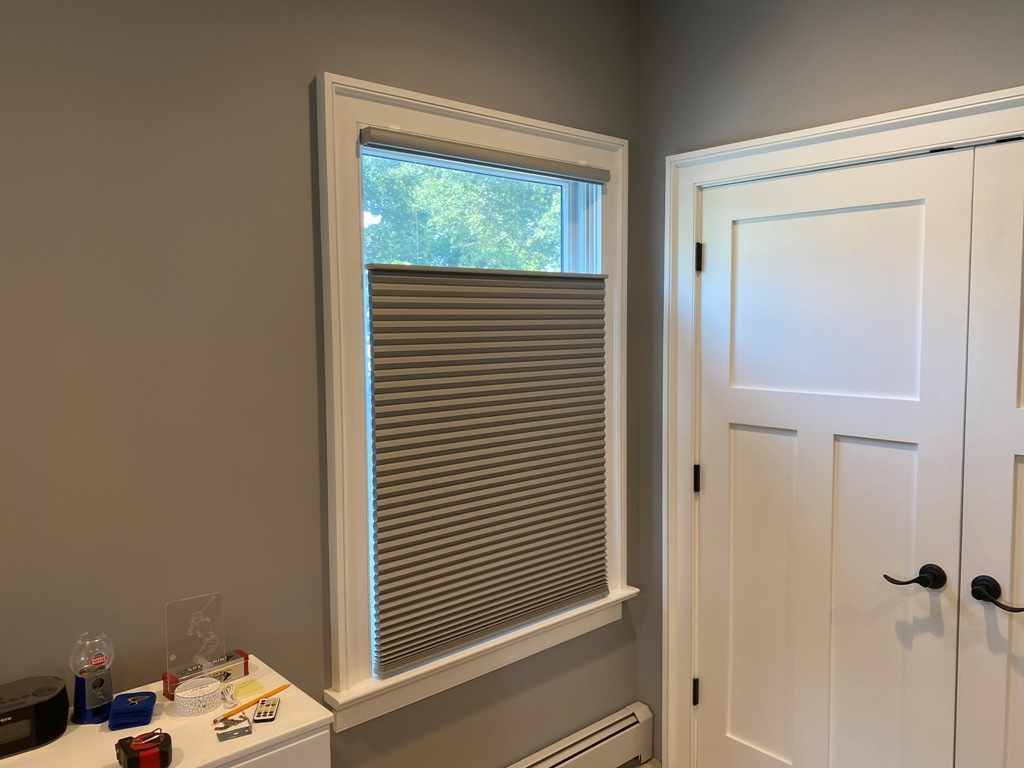
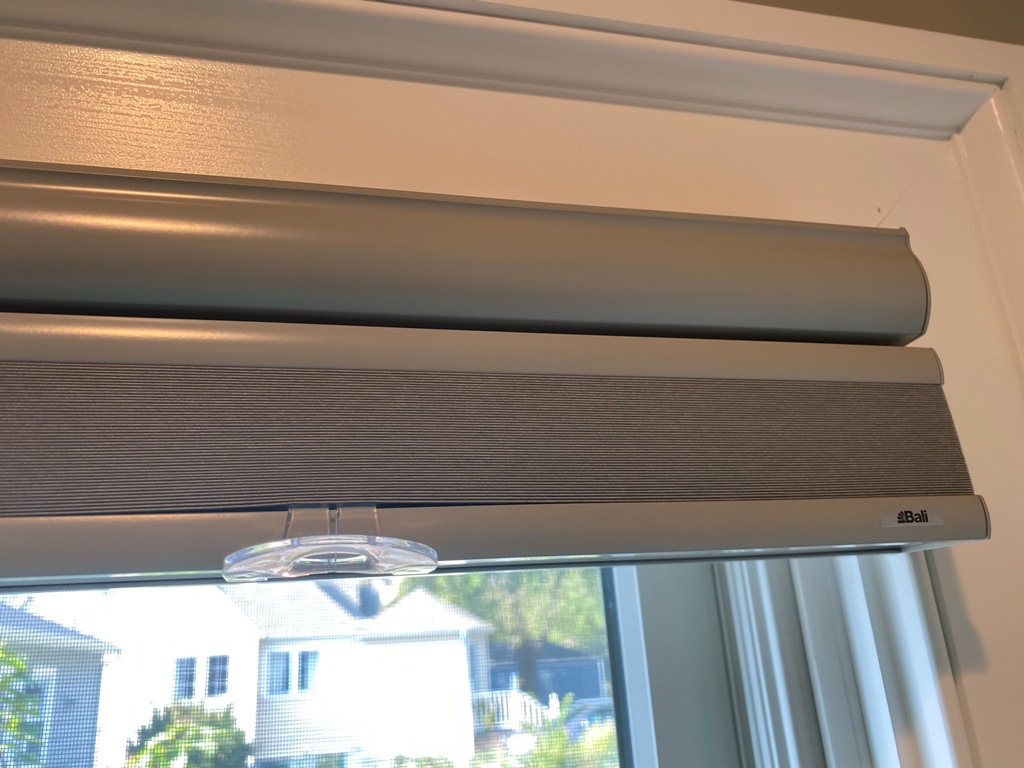
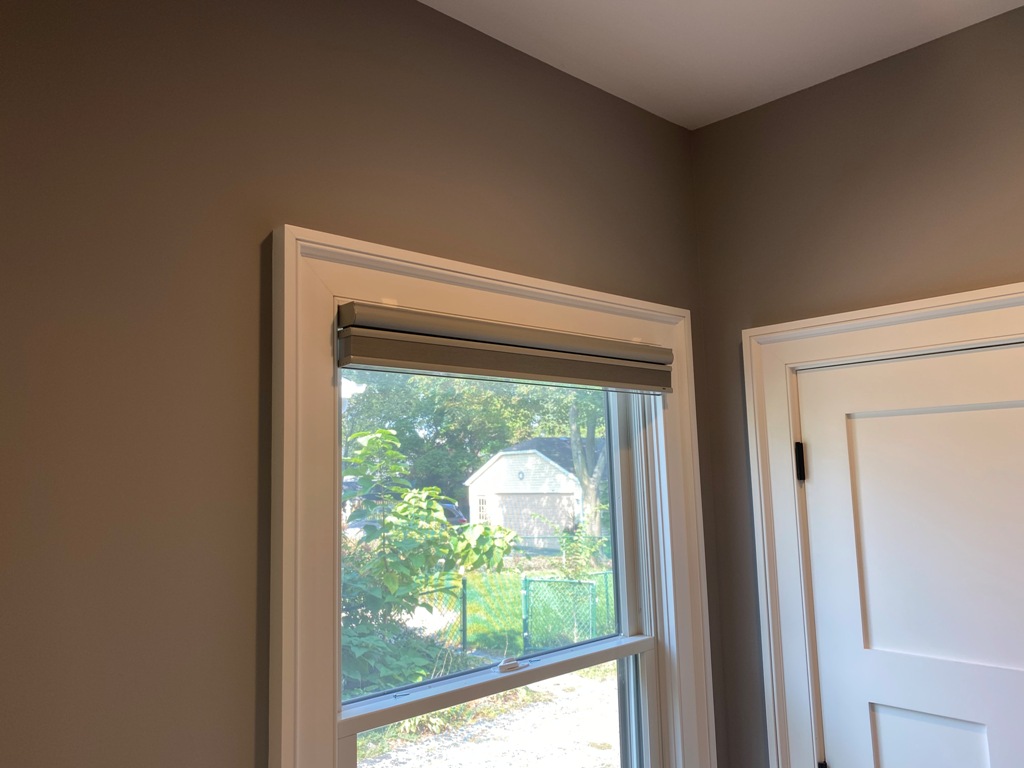
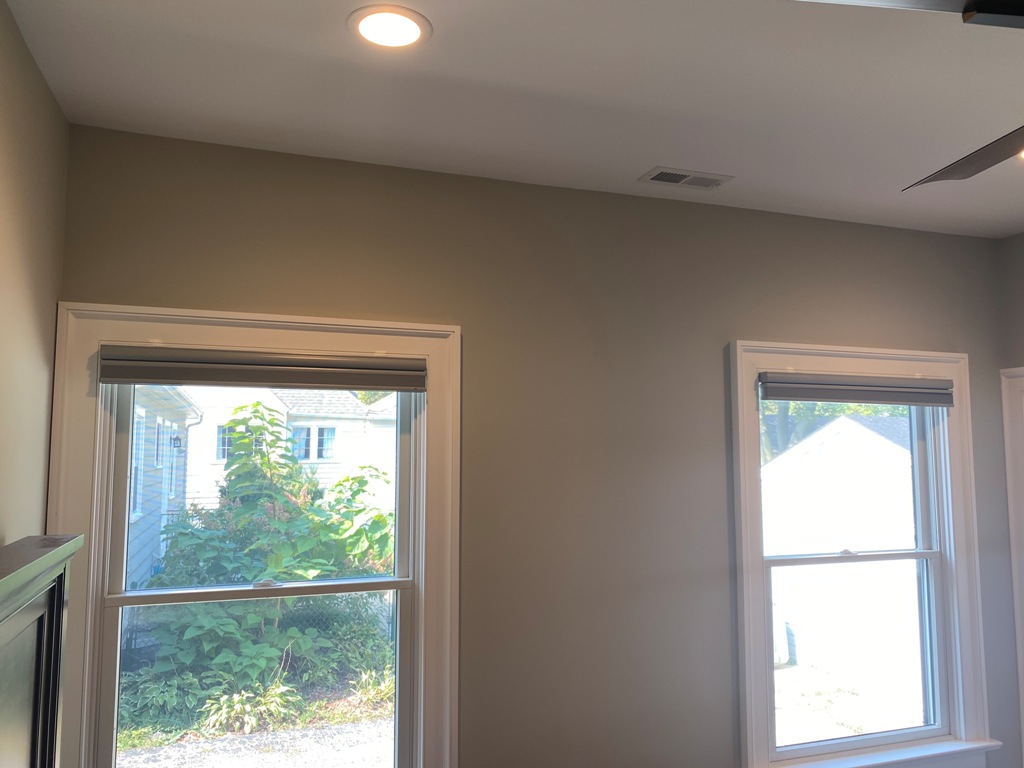
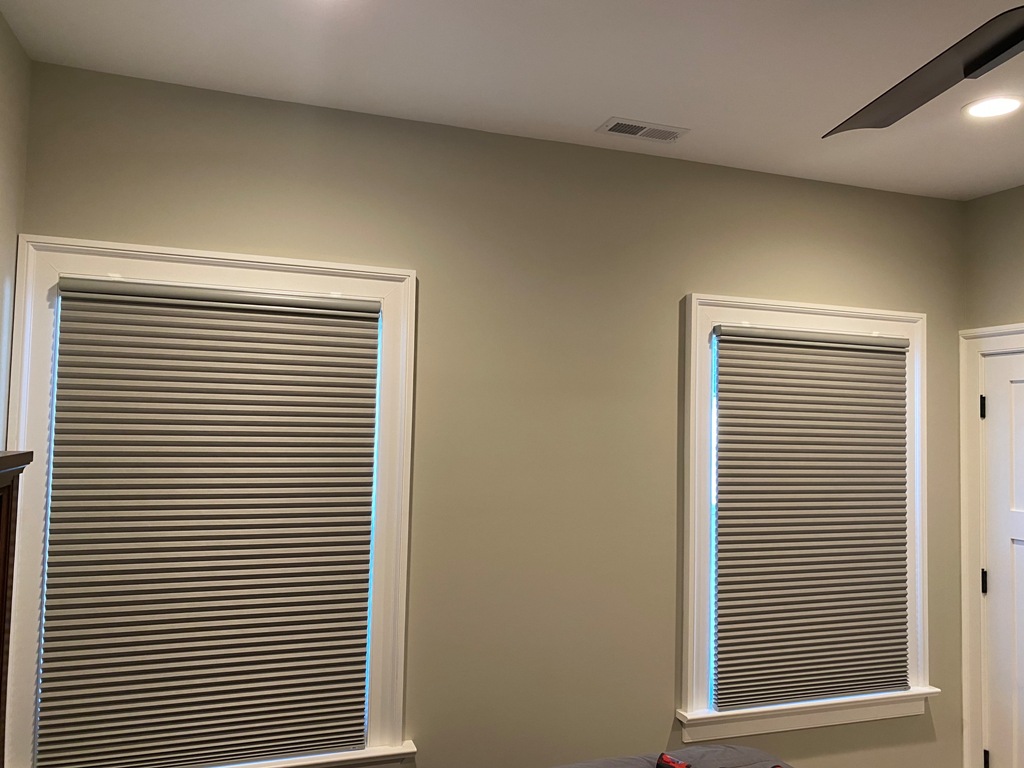
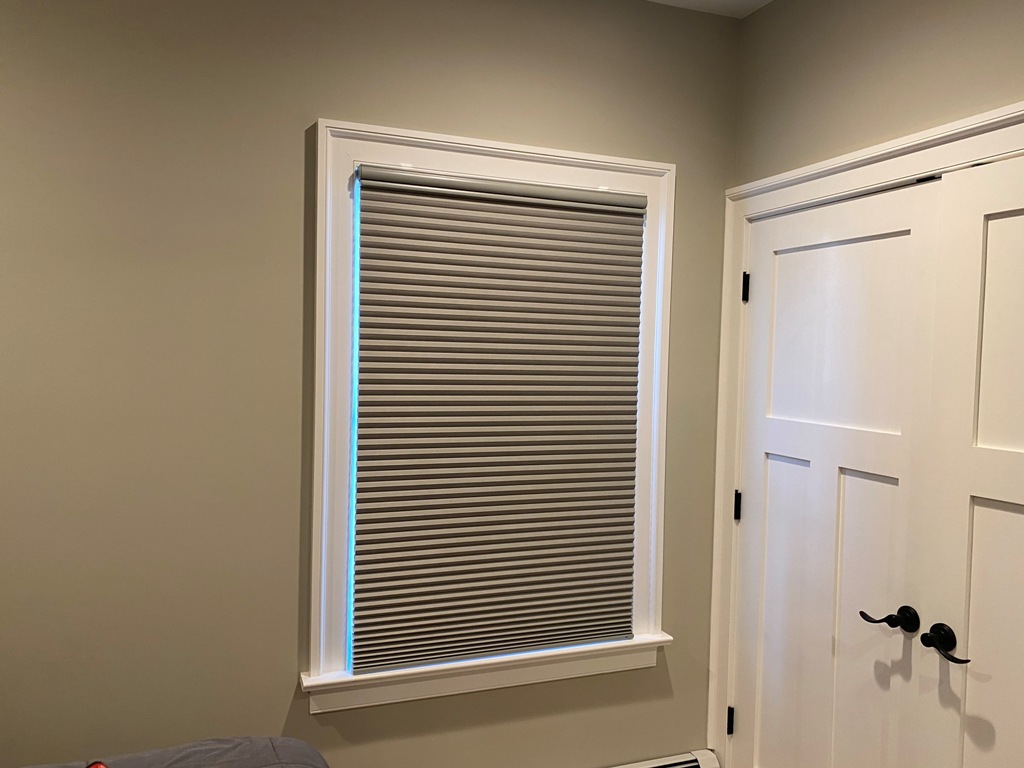
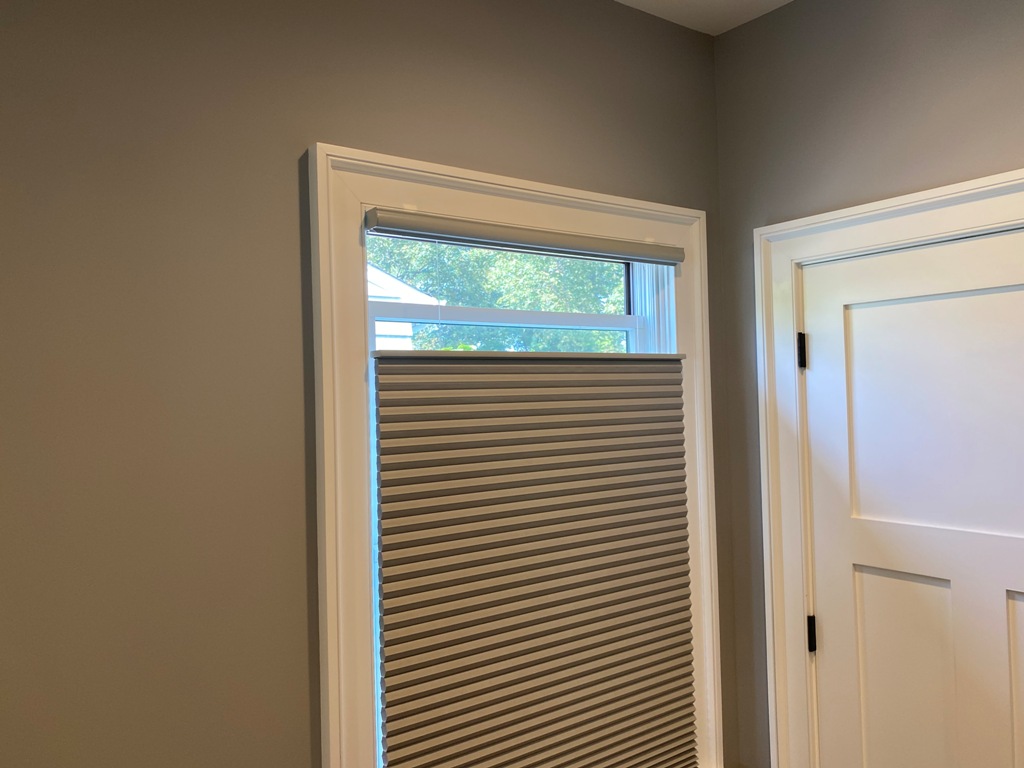
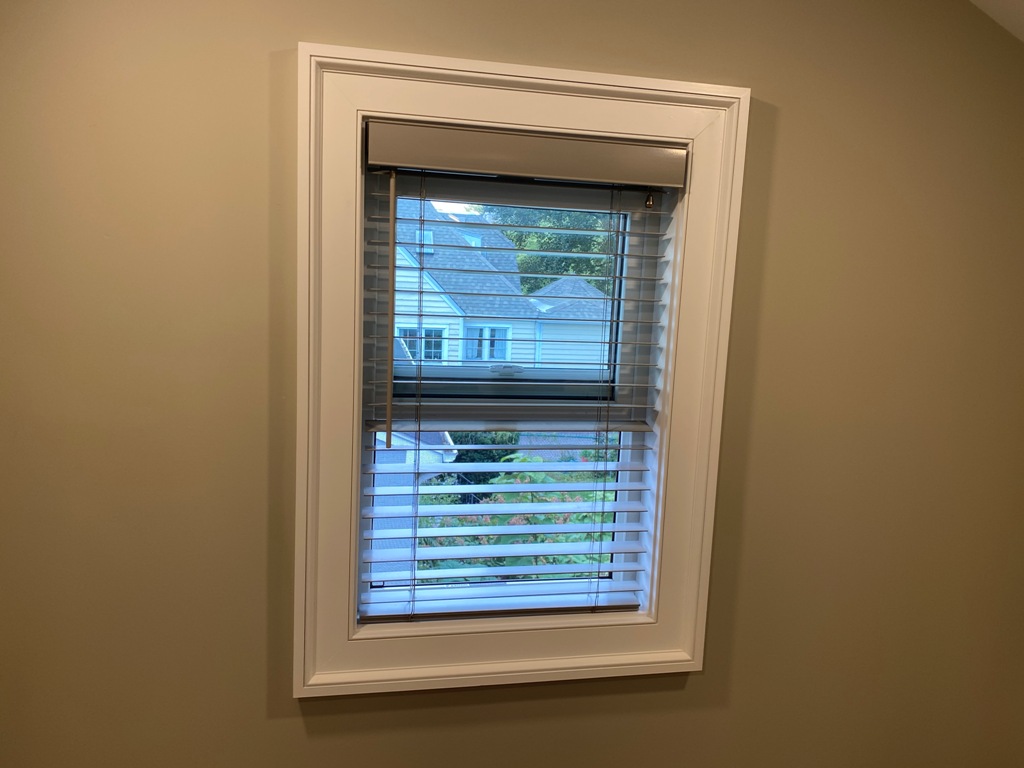
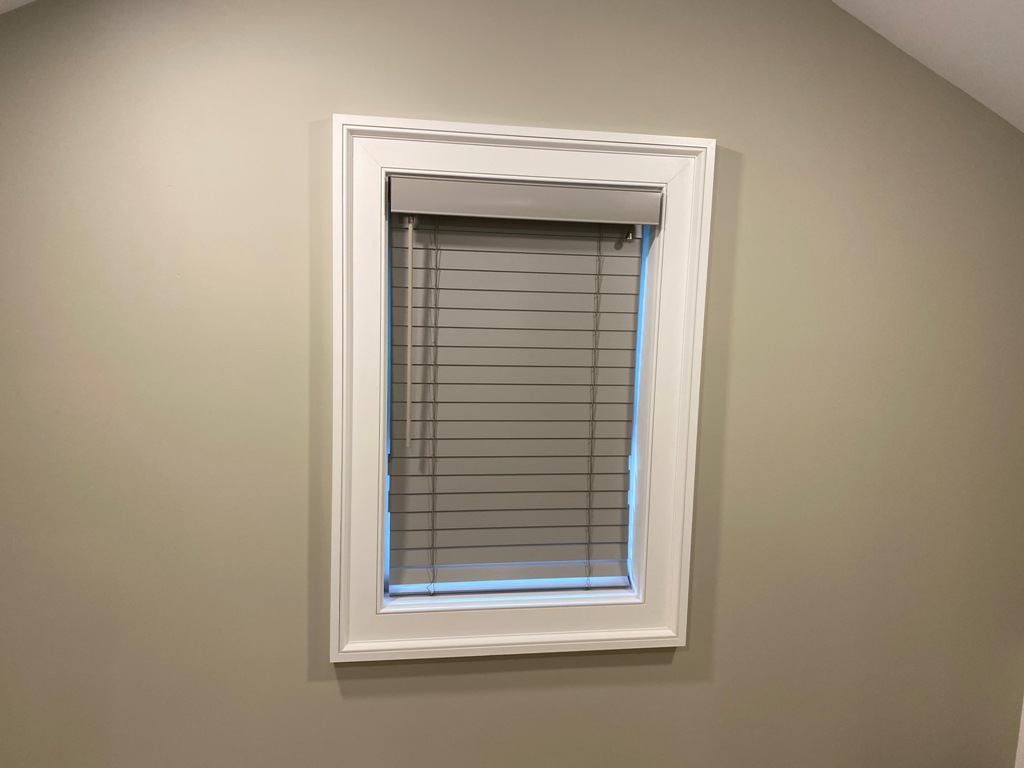
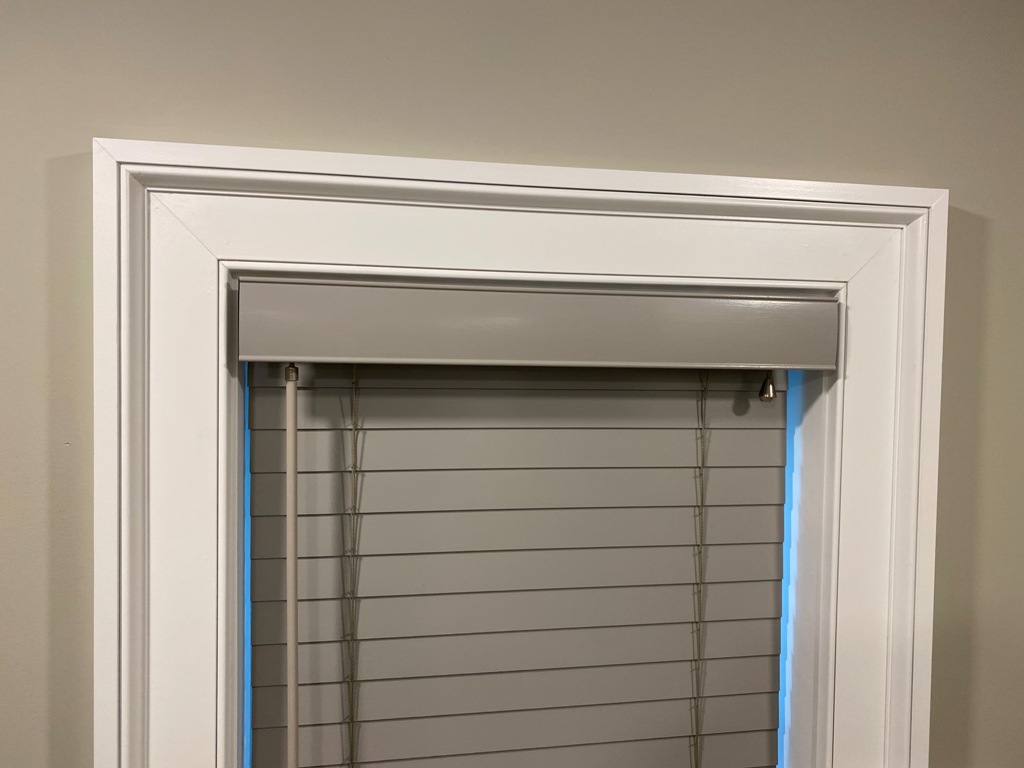
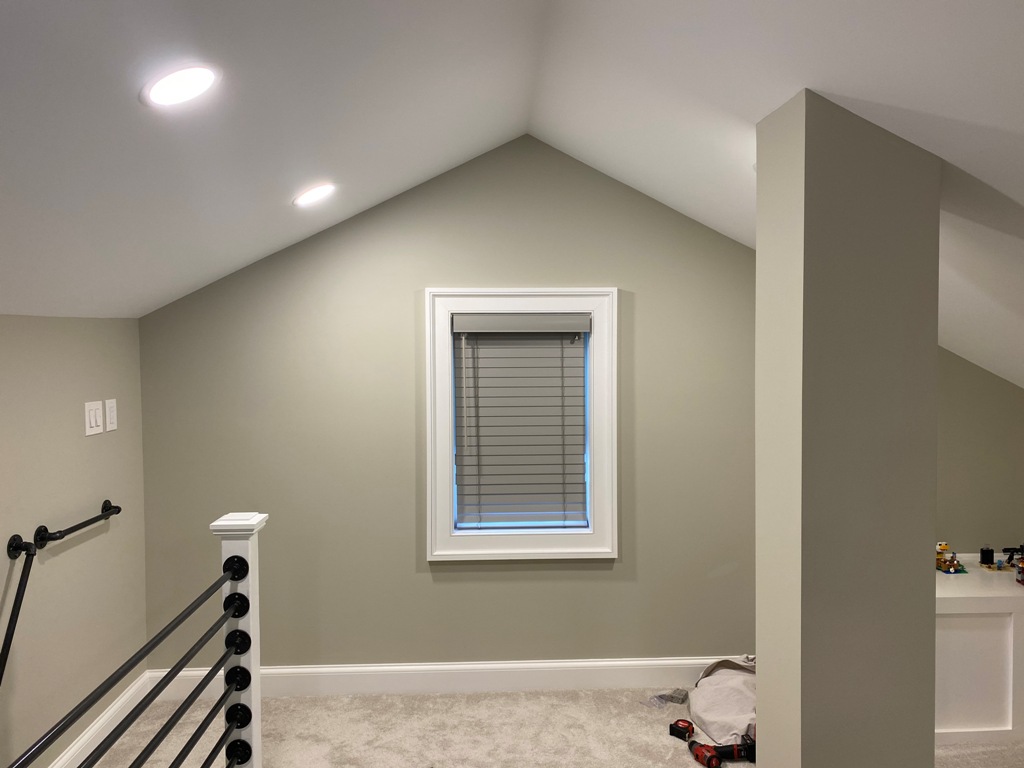
So this is what they look like when they are done. Easy as 1-2-3. I have to say I was relieved when they were all installed and I hadn’t made a measuring error.
If I can recommend one thing, pay a little extra and get the top-down/bottom-up shades. I love being able to open the top window sash along with the shade to get fresh air in the house. I can leave the bottom closed for privacy – a perfect solution for those nosy neighbors.
Shades
Shades/blinds are easy to install. And the one thing that really surprised me was the quality of these shades. I wasn’t sure what to expect but the shades were much nicer than I had anticipated.
Final Thoughts
As I noted earlier, I have done some crazy stuff to my house and I still laugh that the blinds were what worried me the most. Before I started, I thought I was going to have to follow some crazy measurement system and I would mess them all up. For me, I felt like it took more time to do the measuring than it did to install the shades.
I also have to admit, when I did get the blinds, I put the install on hold for a while because I wanted a full day. I thought it would be a bunch of small pieces or have to do something crazy. Each window was a breeze to install.
When I was done, I did have to sit back and laugh at how easy everything was, from measuring to installation – it really couldn’t have been any easier.
If you are looking to get Bali shades or blinds, which I would highly recommend, don’t worry, the measuring and installation are super simple.







What’s the deal with Bali blinds, and how are they different from normal ones? I saw Bali ones once but couldn’t exactly see any significant differences, but perhaps I wasn’t looking where I was supposed to. So can anyone help me out in this case?
Quality is the biggest thing but your right, you can’t see that. The blind material feels thicker than the other brands. I have had mine for a while and also notice I don’t get the dust and dirt clinging to mine like the previous blinds we had up. When operating them, they are very smooth. When they are closed, they go all the way to the window sill and stay there. I have had other blinds that when I close them, go down, but will always raise just enough to be loose too when the air kicks on or any air movement, they are moving around. There are other reasons but really when it comes down to it, it’s quality.