For our next Mother’s Day project idea, we are going to make a gift that all mothers would love to have…… a custom hand built cutting board. I’ve been making cutting boards for quite a few years now and every board I make is unique. I love making cutting boards because it’s a very simple build that yields beautiful results. So let check out How to Make a Cutting Board.
In this build, I’m going to show you the way I make a cutting board and in case you don’t have the same tools as I am using, I will give you some ideas on what tools you can use as a substitute. Like I said before, I’ve been making these for years and have made these same type boards using many different tools.
Design
Every board I make tends to be right around 1″ to 1-1/4″ thick by around 16″ long by around 12″ wide. I typically start off my project on the larger size to give me some wiggle room in case I make a mistake or find a flaw in the wood. I can always go smaller with my work.
Choosing the right wood for the project is important. The best choices for this are domestic hardwoods like walnut, maple, cherry, and ash. Red Oak is the one hardwood I stay away from with cutting boards. I don’t recommend using red oak because it is so porous. To really make my boards stand out, I like to sprinkle in some exotic hardwood with unique colors and patterns such as purple heart. Purple heart can be a bit expensive compared to domestic hardwoods and is by no means necessary.
Supply List
- Mineral Oil
- waterproof wood glue (titebond 3)
- orbital sanding pads up to 220 grit
- hardwoods
Tools Needed
- Miter Saw
- Table Saw
- Random Orbit Sander
- Thickness Planer
- Drum Sander (can substitute belt sander or hand planer)
- Clamps (parallel, pipe, or bar clamps)
- Jointer
- Router
Instructions
I typically begin by cutting my hardwood stock to 16″ lengths. I do this first because it helps me keep everything lined up in the end. If you don’t have a drum sander, you might want to consider keeping at least a few pieces about 4 inches longer than the rest. This will help eliminate snipe from your thickness planer. 
I like to make sure all of my boards have a uniform thickness so I run them through the thickness planer. I’ve done this in the past where the boards looked uniform in thickness but were not. So to prevent any issues, I just run all of the boards I am using.
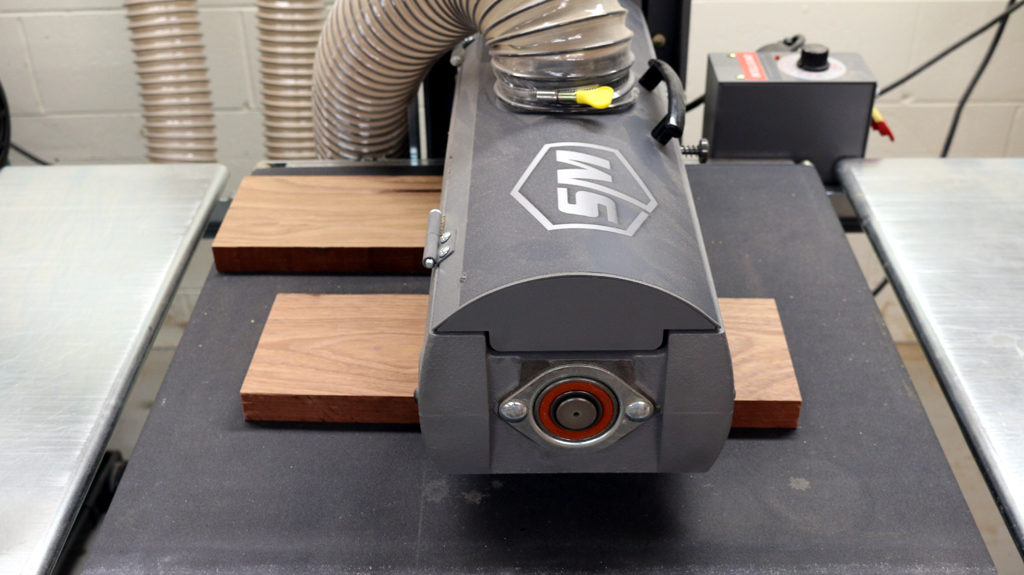
If you end up with some snipe from the thickness planer, you can get rid of it by running it through a drum sander or by using a random orbit sander. You will want to get rid of the snipe because the face of the board is going to be the side you glue up later on and this ridge could cause cracks between the boards during glue up.
There is one more step left in prepping our wood. We need to have at least one straight edge to ride on the table saw fence. If you buy your wood from a big box store, chances are, you can skip this step. A good deal of the high wood prices in these stores is due to the finished edges and faces.
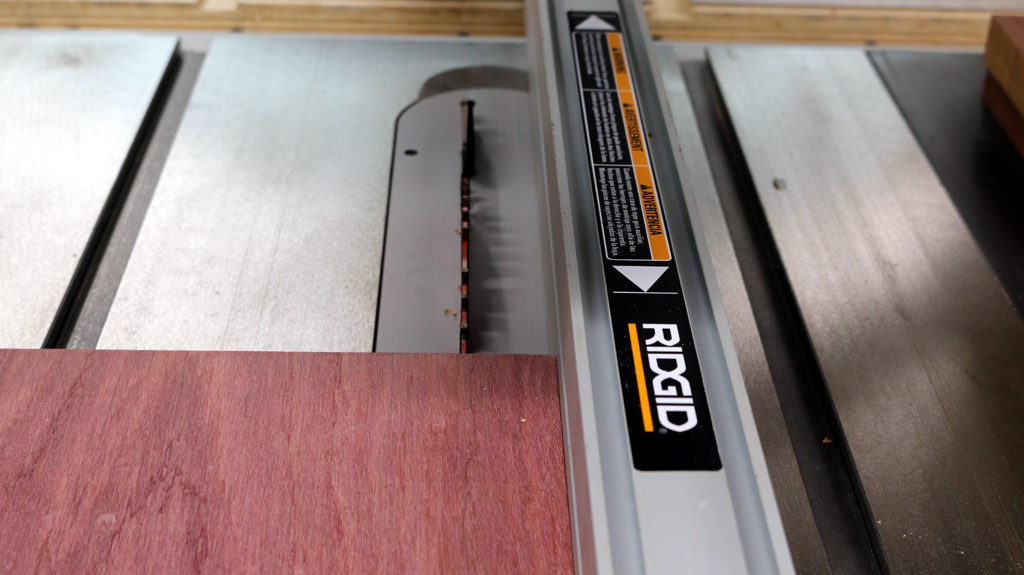
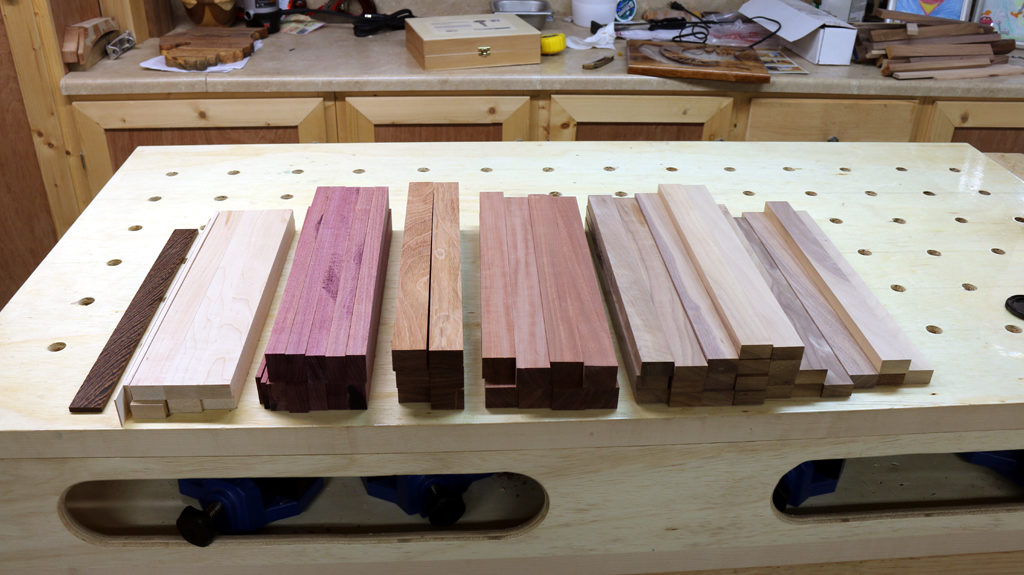
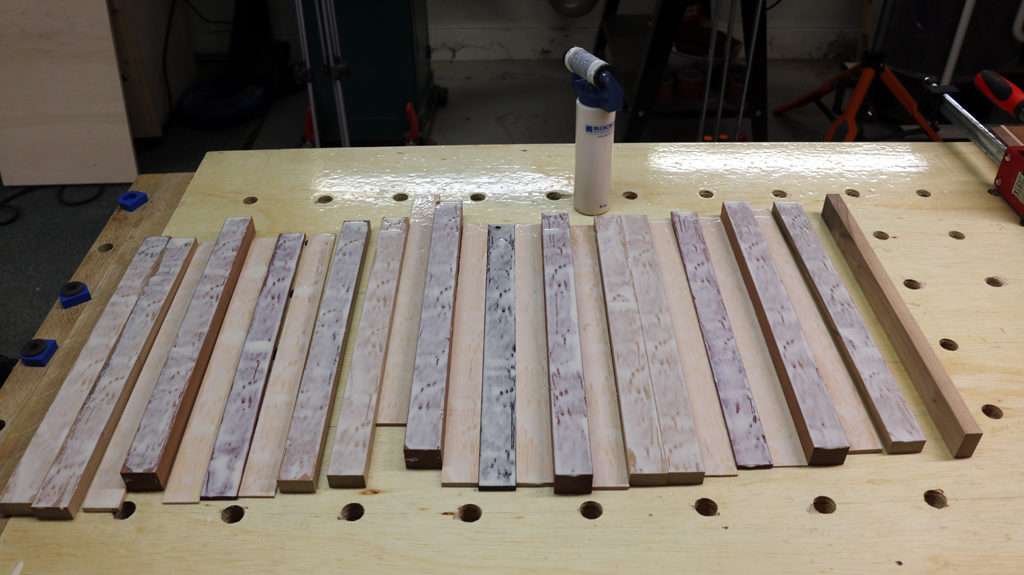
Our next step is going to be cutting all of the boards into 1-1/4″ strips These strips make up the initial thickness of your cutting board. I like to keep the pieces from every individual board stacked separately. This way I know when I pick a piece up from a stack, it will be the same thickness, have the same grain pattern and color.
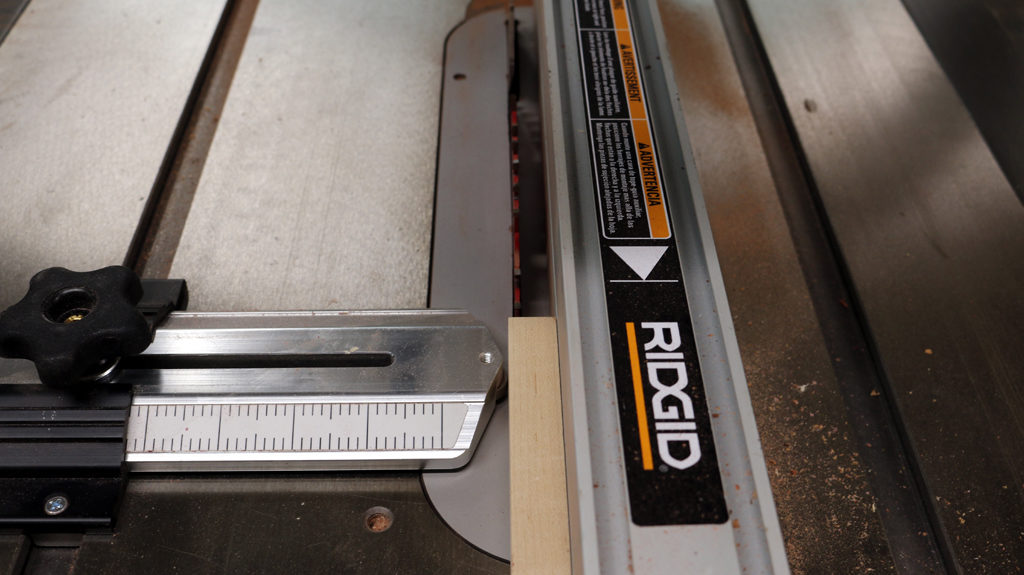
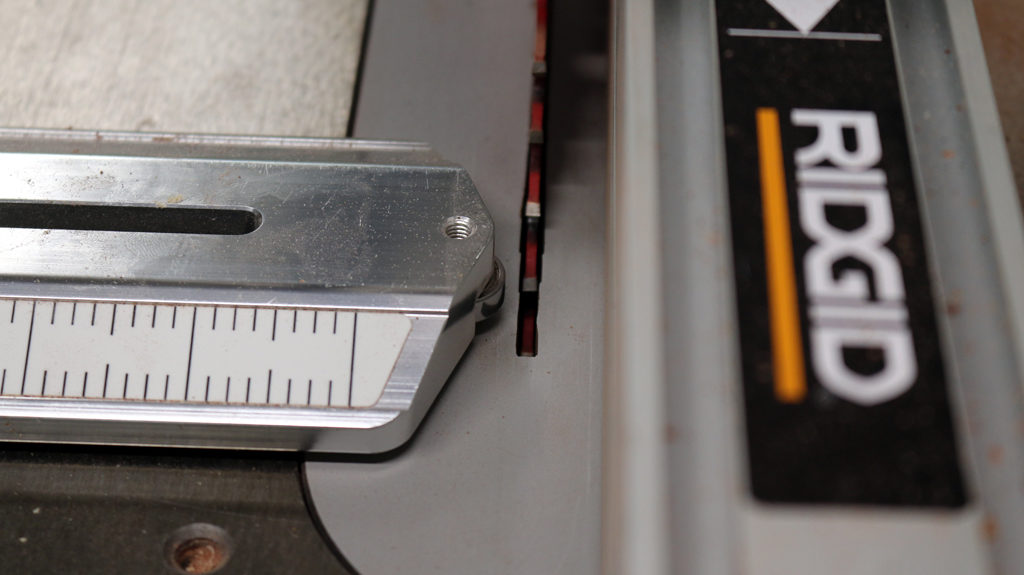
Now in order to create some really interesting thin strips on my boards, I like to take the 1-1/4″ strips of wood, stand them up on the table saw and cut really thin strip. Since I have my blade up over 1-1/4″ in height and I want to make sure I have consistent uniform cuts, I am using a thin rip table saw jig. After each cut, I just move the fence until the piece of wood hits the bearing on the jig. To my knowledge, this is the safest way to cut thin strips on a table saw.
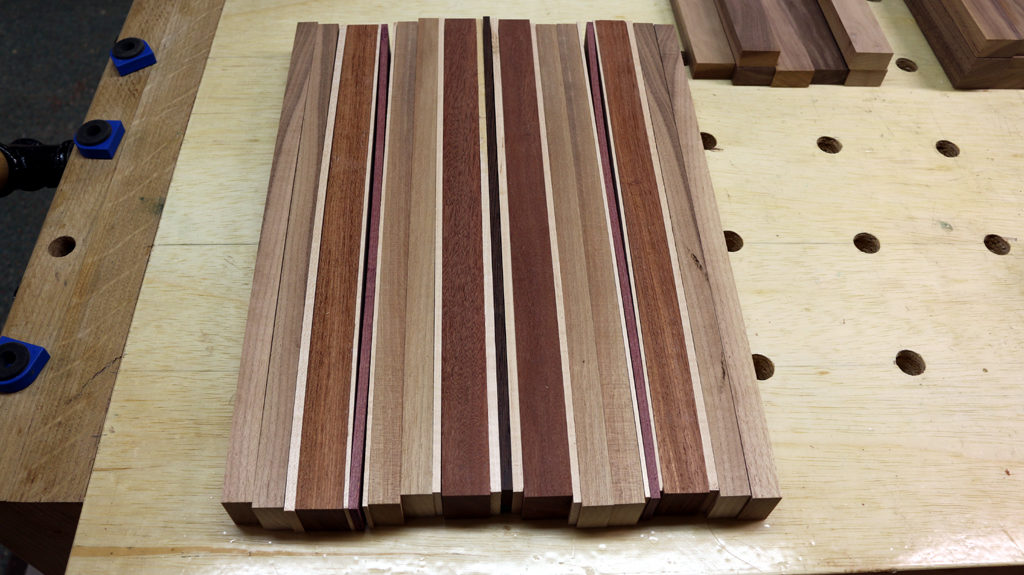
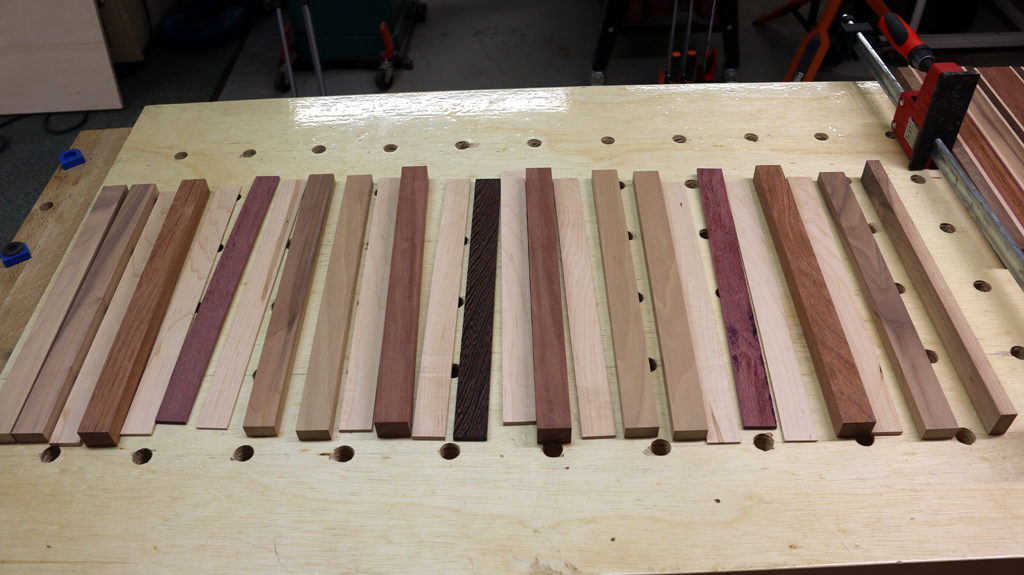
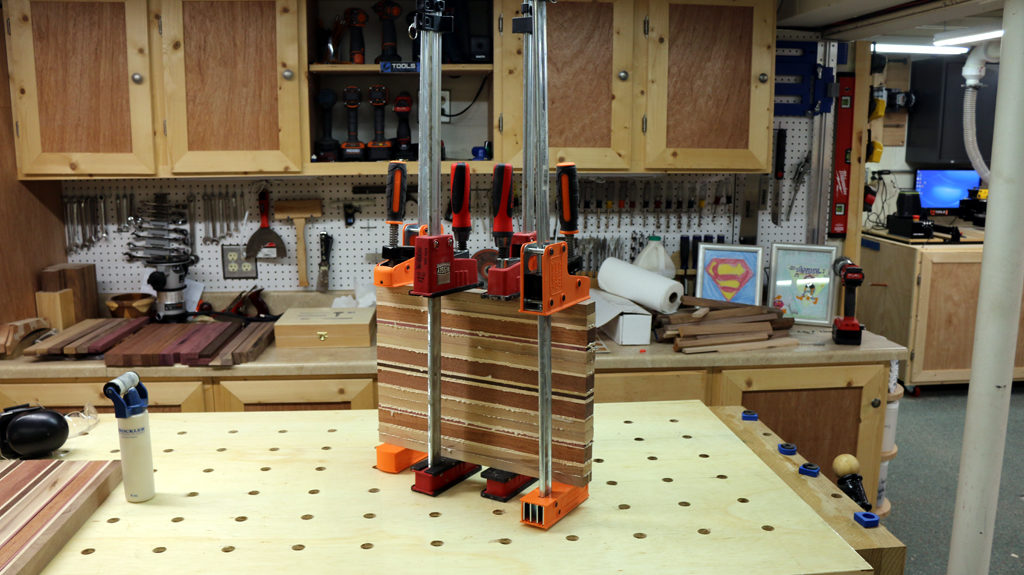
After you have all of your strips cut, now its time to have fun. Play around with the different colors and sizes until you find a pattern you like. Then role every strip, except the for the last one to the left 90 degrees. You will then cover each of the pieces that were rolled over with glue. Roll each piece back to its original orientation and then clamp up.
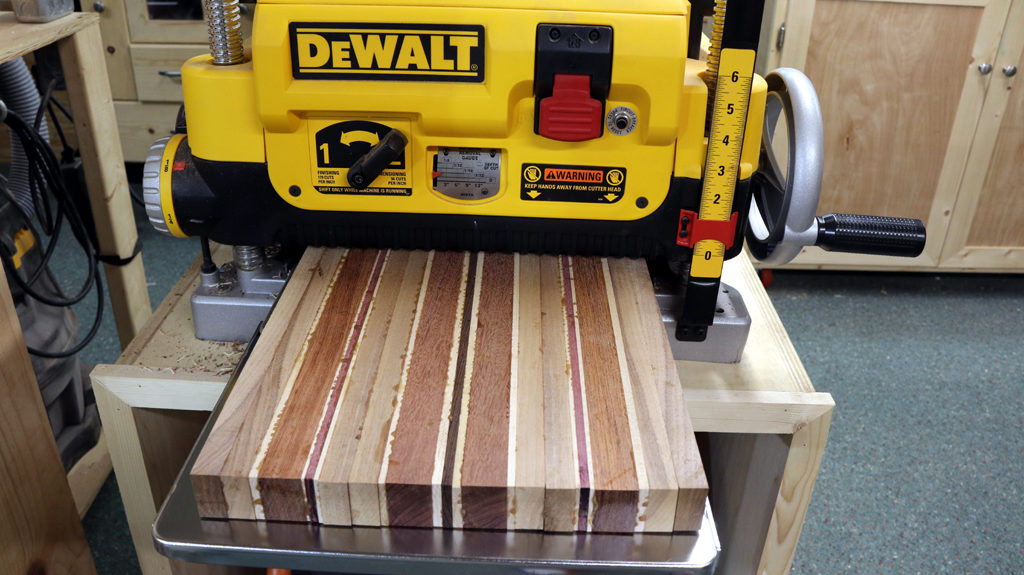
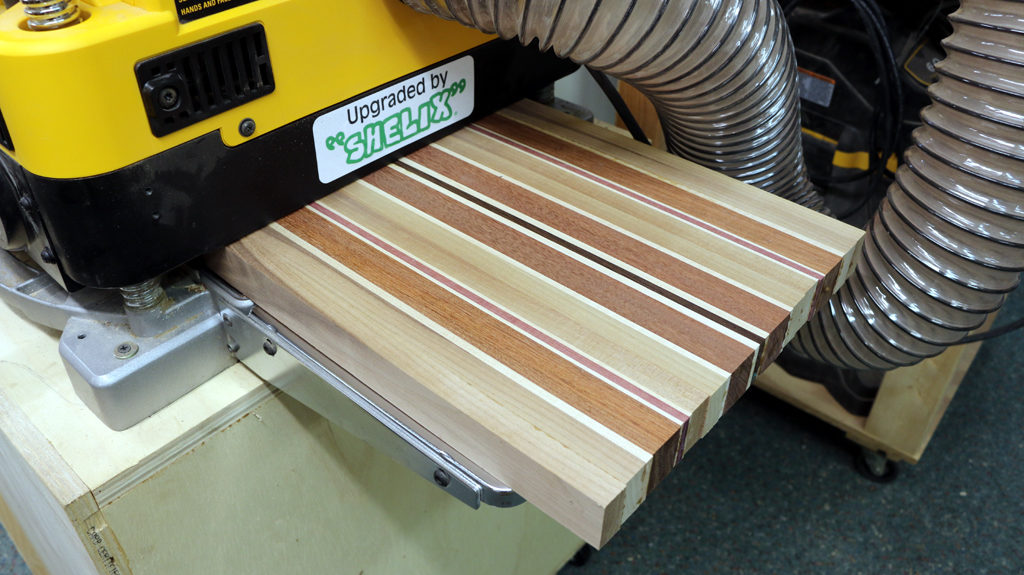
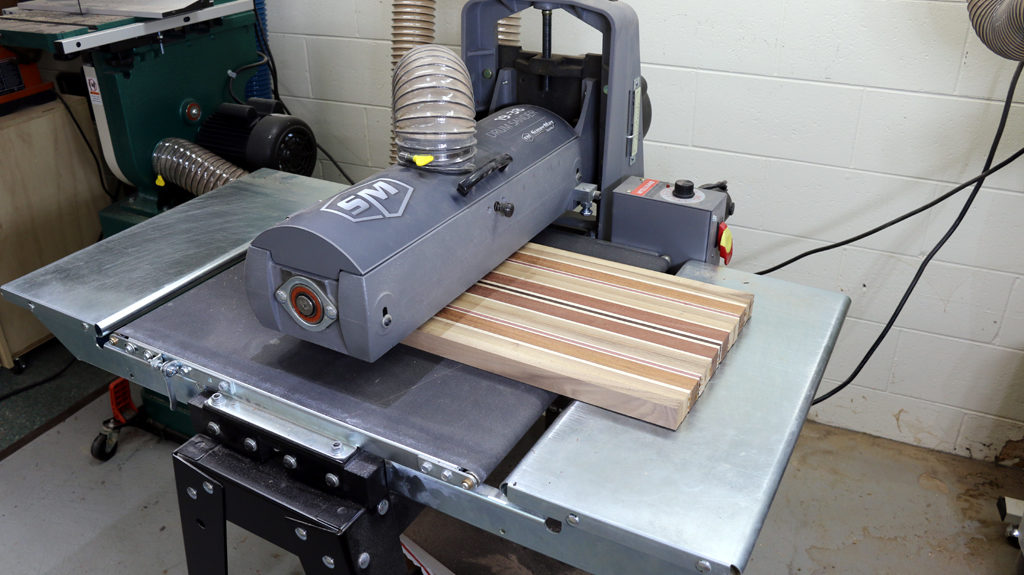
After you glue has dried, this is the worst your project is going to look. I like to run my boards through the thickness planer to remove all of the glue on the surface of the board and to flatten it out. Of course, my next step from here is to the drum sander, where I use 150 grit paper. Just as before, if you don’t have a drum sander you can do this task with a belt sander or a random orbit sander.
To clean up the ends of the cutting board, I go to the miter saw and trim a little bit off all of the strips.
To give the cutting boards a softer feel, I like to use a round off bit on all of the edges. Here I’m using a router table with a 3/8″ round off top bearing bit, but you can also use a handheld router as well.
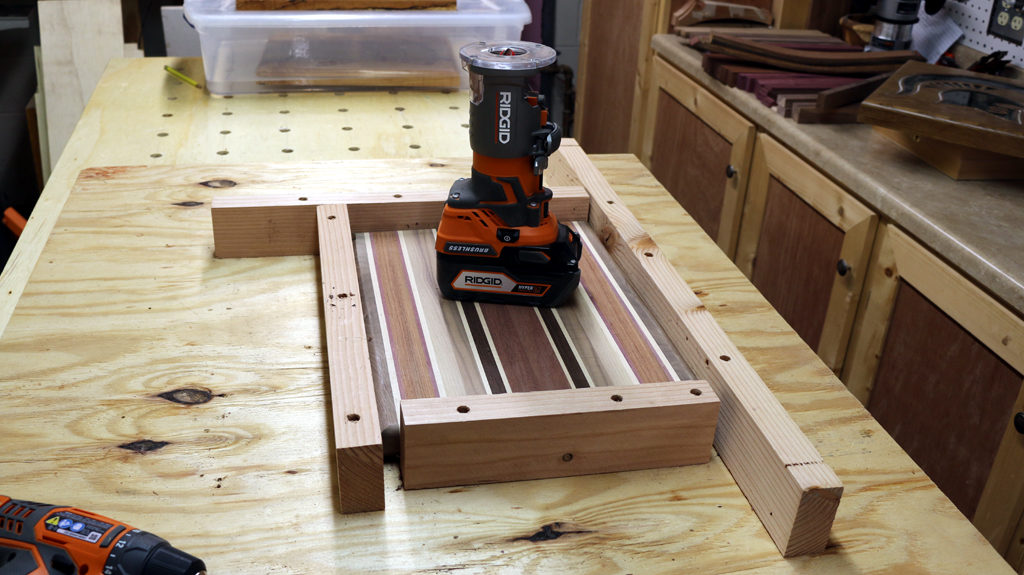
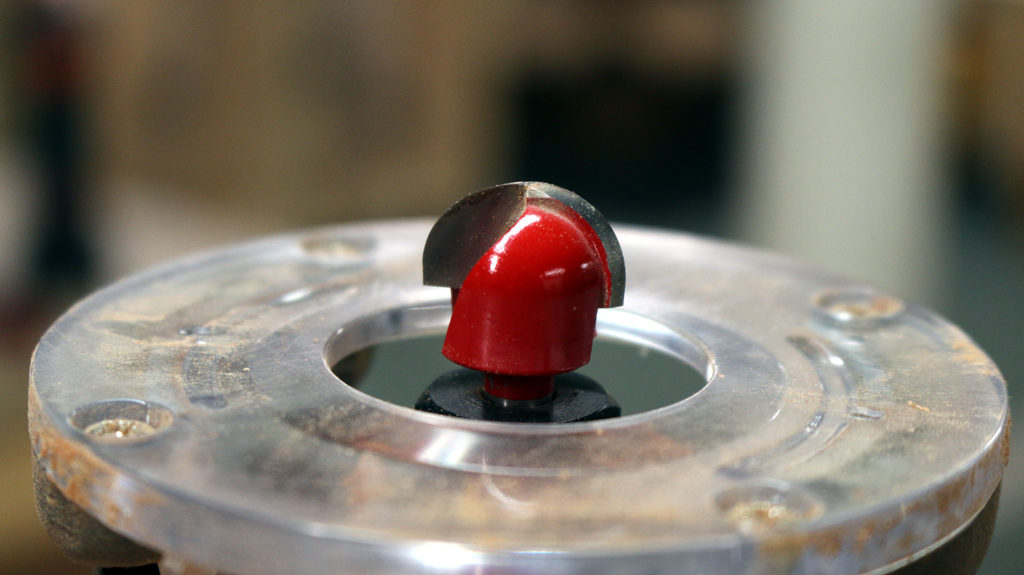
Now, this next step is completely optional. I have a lot of people request juice grooves. These take a little time to set up but it is a fairly simple task if you want to try it. You will need to create a simple jig where your router base rides along an edge and the cutting board is held snugly in place. You will want to use a cove core router bit and the key to getting good results is to move the router bit down a little at a time. Don’t try to take off the entire depth in one pass, you won’t like the results.
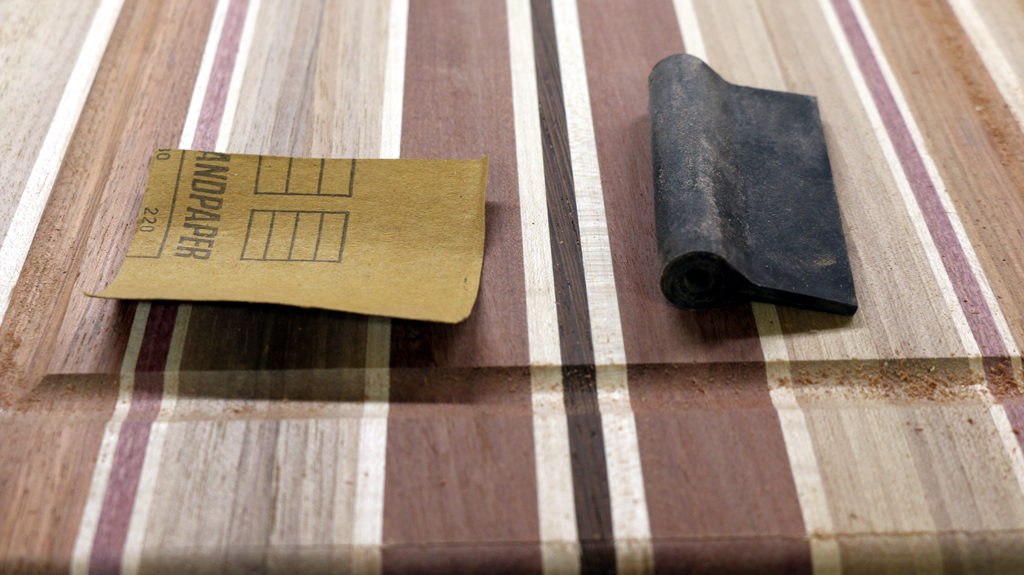
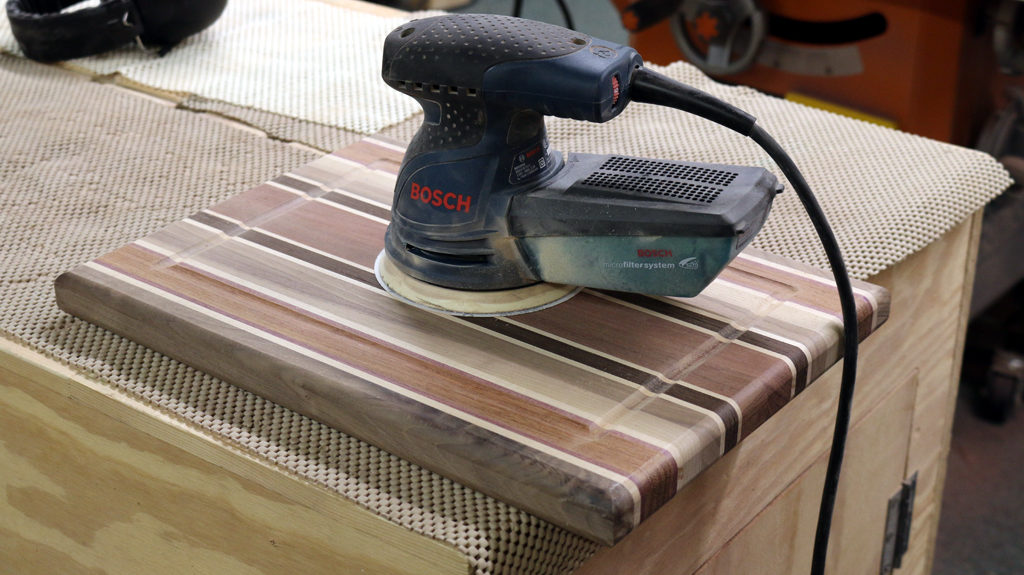
Now comes the sanding. There are three things you will need to sand. First, you will want to work on the juice groove and I’ve found rubber contour sanding grips work really well for this task. You will also want to sand the face and edges to 220 grit.
At this point, the build is complete and all there is left to do is condition your board. There are several ways to condition a cutting board, but I’ve found the most simple way to do this is with mineral oil. All you need to do is pour some mineral oil on the board and spread it so the entire board is covered. The mineral oil soaks into the board keeping them from drying out and cracking. The mineral oil also fights against bacteria growth and aids in digestion.
To make sure the cutting board gets an adequate amount of mineral oil soaked in, I like to keep my boards in a mineral oil bath overnight. This only makes sense because I make quite a few boards. If you are only going to make one or two, then applying the oil with a rag is much more cost-effective.
Board Maintenance
If you want the cutting boards to keep from getting dried out, you will want to periodically coat the cutting board in mineral oil. There is a rule of thumb for conditioning and maintaining a cutting board and it is as follows.
- Once a day for a week,
- Once a week for a month,
- Once a month for a year,
- Once every year
Also, you won’t want to clean these cutting boards in the dish washer……soap and water hand cleaning only. These are good things to tell the person who is going to receive the cutting board.
Conclusion
Cutting board builds are a quick, easy and a lot of fun. I’ve made about a hundred cutting boards so far and none of them are exactly alike. I’m always trying to come up with unique looks.
If you haven’t tried to make a cutting board yet, go for it. I’m sure you will be pleased with the reaction you get after giving it your mother or wife on Mother’s Day.






Great article. I have been wanting to make a cutting board for a while but have kept that project on the back burner. I may have to move the project up the list and try to make a board as nice as yours. Thanks for the info!
Thanks for the kind words. You have to move making a cutting board up your list of things to do. I promise you, after you finish one, you will be hooked.
I have been thinking to make a cutting board for a while. Think so your all ideas and tips helping for me. Not only me i think this article are helpful for all. People knowing from here how to make cutting board. Thanks for the sharing such a helpful also informative article.
Hello Alfredo, Thank you for the kind words. I hope when you try to make a cutting board it comes out great. If you think about it, share your pictures of your board on the Tools In Action forum.
Hello John Miller,
Here is a step by step explanation you discuss, all point works fine. But I have a few problems to cutting my board with DIY. How, can I perfectly flatten my wood? I am happy to find this blog. Here are you discuss a beautiful point. The good lesson I learn from your knowledge.