
Pluming AND electrical. Wow. Impressive.
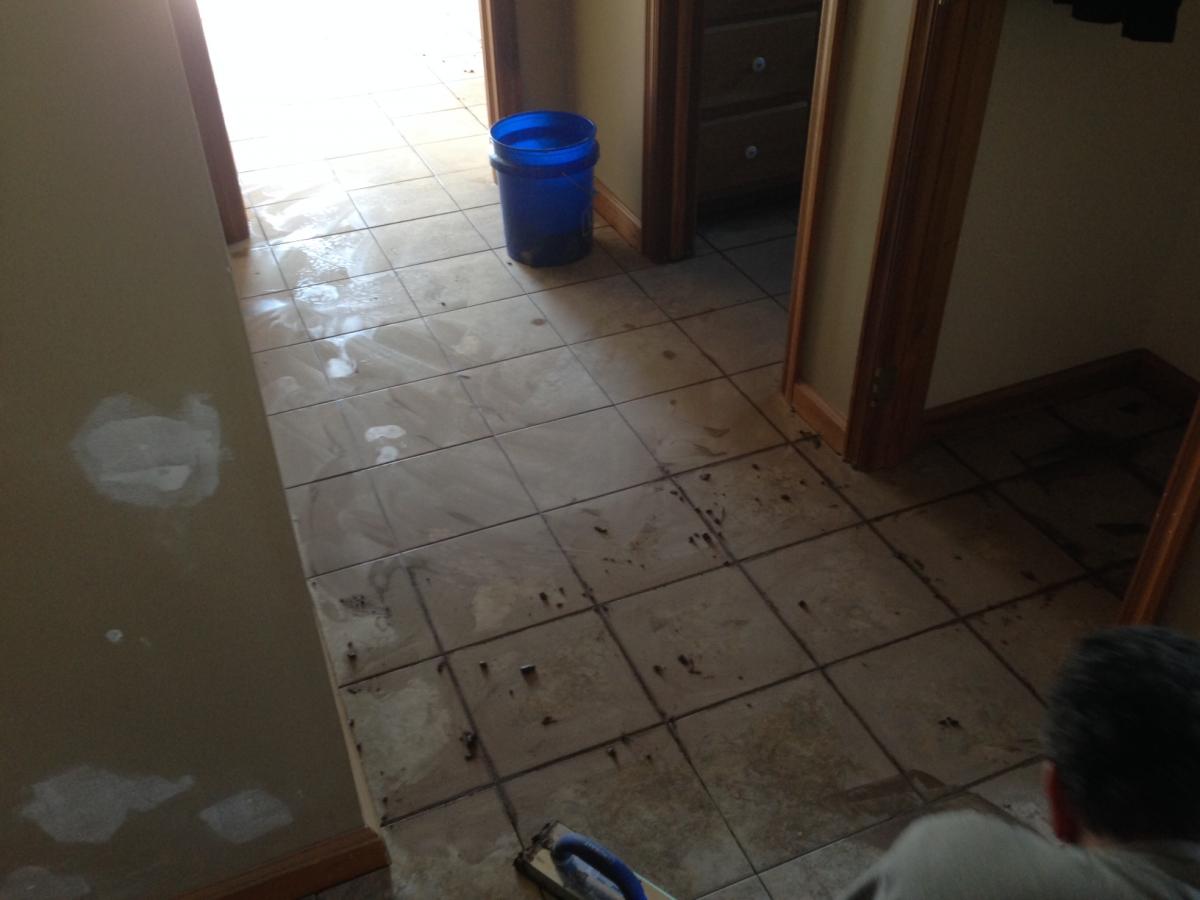
Well, we got it all grouted today. I can’t believe we did it, but I’m sure glad we did. Took about 9 hours and that included about 45 minutes of laying the last section of backsplash.
I need a hot shower and a handful of Tylenol, but I will try to add some pics in a bit.
As I mentioned earlier, today was all about grout, and lots of it. We grouted the laundry room, mud room area, downstairs bathroom, kitchen floor, and backsplash, for a total of over 600 sq. ft. I did have a buddy helping, but I still never dreamed we’d get it all done today. Tomorrow Mrs. Conductor gets to mop.
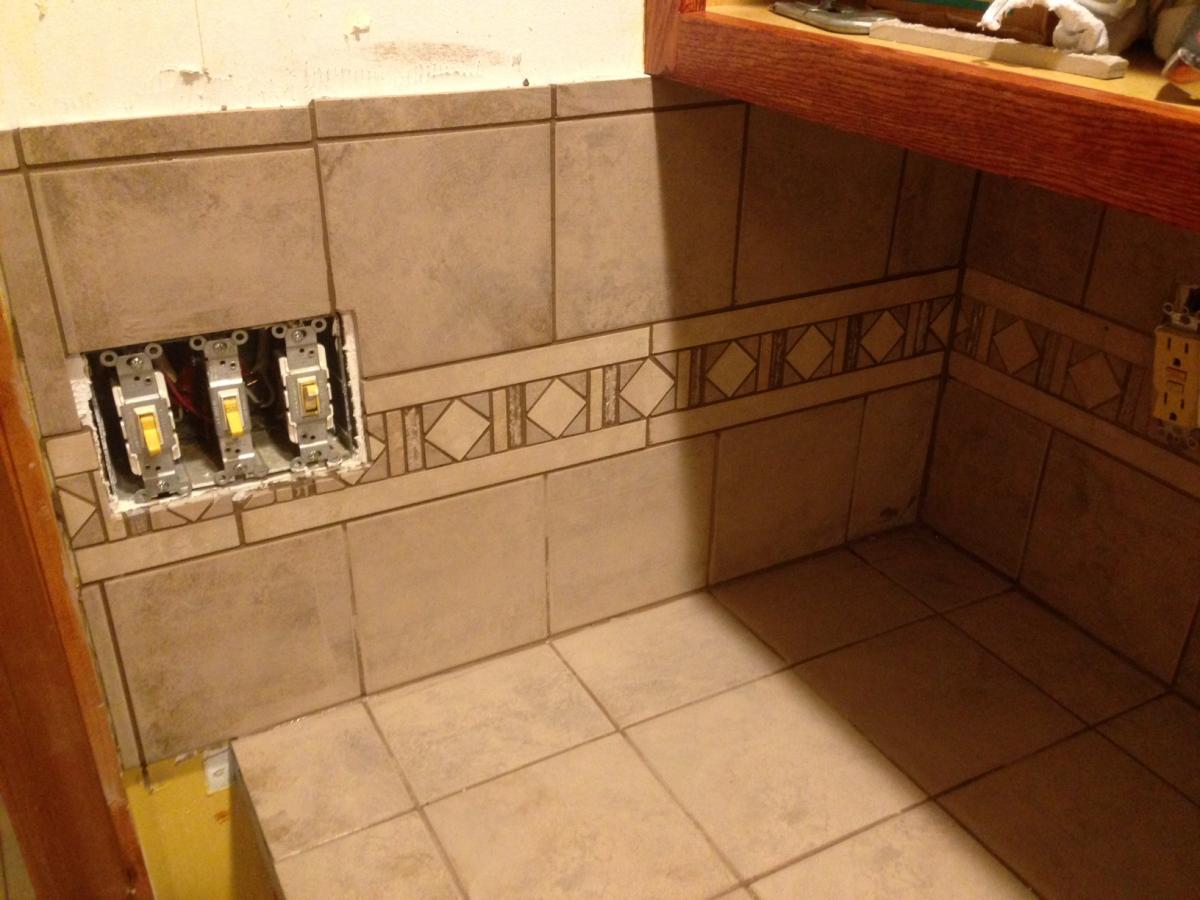
The backsplash needed finished. Somehow this 1 little section got overlooked in the original laying. I laid it early in the day and went ahead and grouted it last. I couldn’t have done that with thin set, but the adhesive was dry enough after a few hours to permit it.
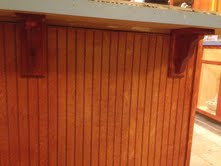
As I mentioned in an earlier post, removing the formica from the counter top (done at my father in-laws insistence) turned out to be a bad idea and caused some slight bowing on the island. I used 3 of these supports to undo the warping as much as possible and while it still dips slightly, these reduced it to a mere 1/2″.
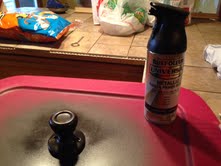
At Harold’s suggestion, I decided to give the Krylon product a try as opposed to replacing all the door hardware. It looks fantastic. I’m a picky person when it comes to matter of home improvement, but I’m satisfied. I’ll go with it and replace them 1 by 1 as/if needed.
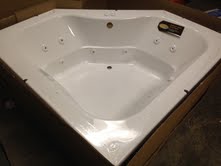
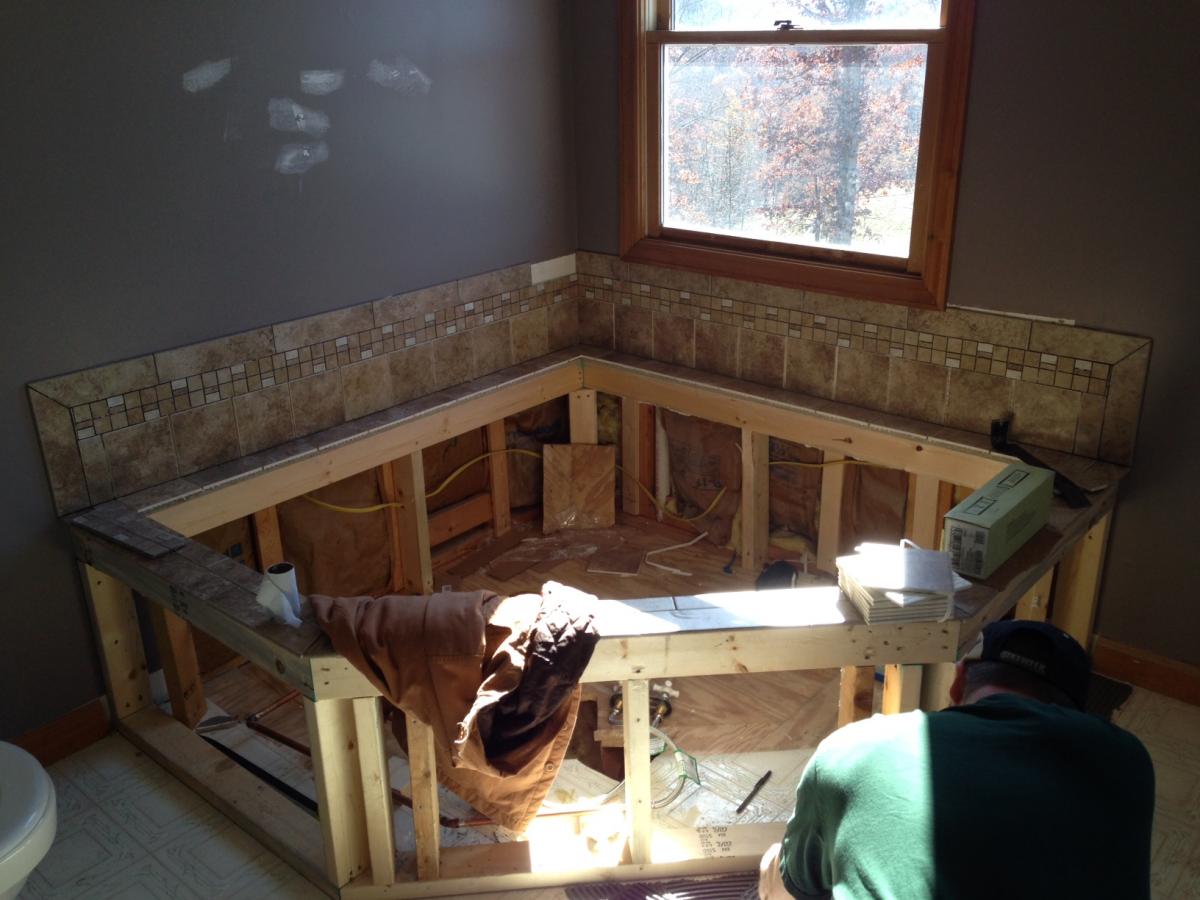
Here is Mrs. Conductor’s Jacuzzi tub. It’s huge! Even I was surprised at the size of it which I didn’t realize until the surround was built. If the master bath hadn’t been massive to start, we may have had some serious space issues.
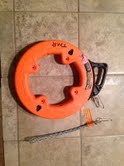
I’m not an Electrician, but having a 50′ fish tape lying around is just good business. I bought it a year or so ago, I’ve used it a hand full of times, and yesterday I couldn’t have gotten by without it.
This little GFI doesn’t look like much, but it was a total pain in the ass. An electrician acquaintance of mine told me this had to be on it’s own 20 amp breaker, and that to meet new construction code, it needed to be a GFI breaker. When I saw that the GFI breaker was $54! I said to hell with code. This isn’t new construction. I’m not planning on moving and if I have to sell, I’ll worry about it then. I bought a standard 20 amp breaker for $8 and a 20 amp GFI outlet for $10. I’m not the penny pinching type, but if someone is going to rob me it’s going to be with a gun. I got the same functionality for $18.
I’ve never had to buy wire. I’ve always had relatives that were capable or “borrowing” a few feet (or a few hundred feet) from their employer. I couldn’t believe how much 12/2 was. Unfortunately the pain didn’t stop at the register. My house has 2 attics. The attic above the main part of the house, and another over the garage. The garage attic has high clearance, solid floors, and is a snap to work in. The main attic is a different animal entirely. It has about 3 ft. of head room at the highest point. Over by the outside wall where the wire need to be ran it was less than a foot. I didn’t even have room to stand the drill up. I had to end up crawling around like a coal miner, on my belly, in insulation, shot the first hole into the top of a stud, and cussed to the point that my eternal soul may now be compromised. I ended up running it down the side wall (still within the area of the tub surround) and ran it through the studs around to where it need to be. The fun didn’t stop there either. We liked to never got it fed from attic 1 to attic 2 or through the top of the panel box. All in all it was 4 hours of sweaty, frustrating, insulation induced itching. This was a hard fought victory for the home team.
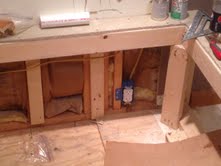
This sad excuse for a supply is what happens when DIY network meets terrible idea and poor taste. Clearly this shit had to go.
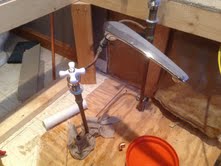
Normally plumbing is a frustrating job if it involves sweating copper, but after the wiring ordeal, this was women’s work. I wanted the new supply to be at the center of the tub, so I hacked off that mutant mess in the previous pic, and ran them along the floor to their desired location. I may possibly have to re-work the longest line, but I think it will clear the bottom or the tub.
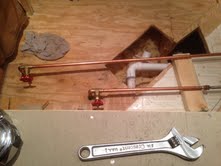
In addition to the supply lines, the drain wouldn’t match up either. I cut out the proper location, hacked off the old drain, and glued up the new one. This was by far the easiest part of my day.
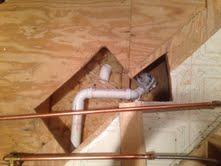
While all this shit was going on, my father in-law framed up the tub surround. By the time the day was over I didn’t have the energy to clean up the work area and as of this post, all this shit is still sitting there.
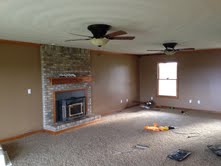
The living room is finished. It’s about the only thing that’s completely finished, but progress is progress.
One of the many light fixtures I’ve had to install.
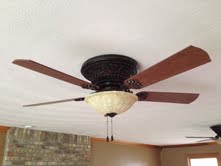
It all looks nice conductor!
That is some serious amount of shit you did!! Very funny how you said “cursed so much my eternal soul may be compromised “.
Wow, that is awesome. You have been jamming with the house. Nice job. You will have to throw us a party so we can come and see it.
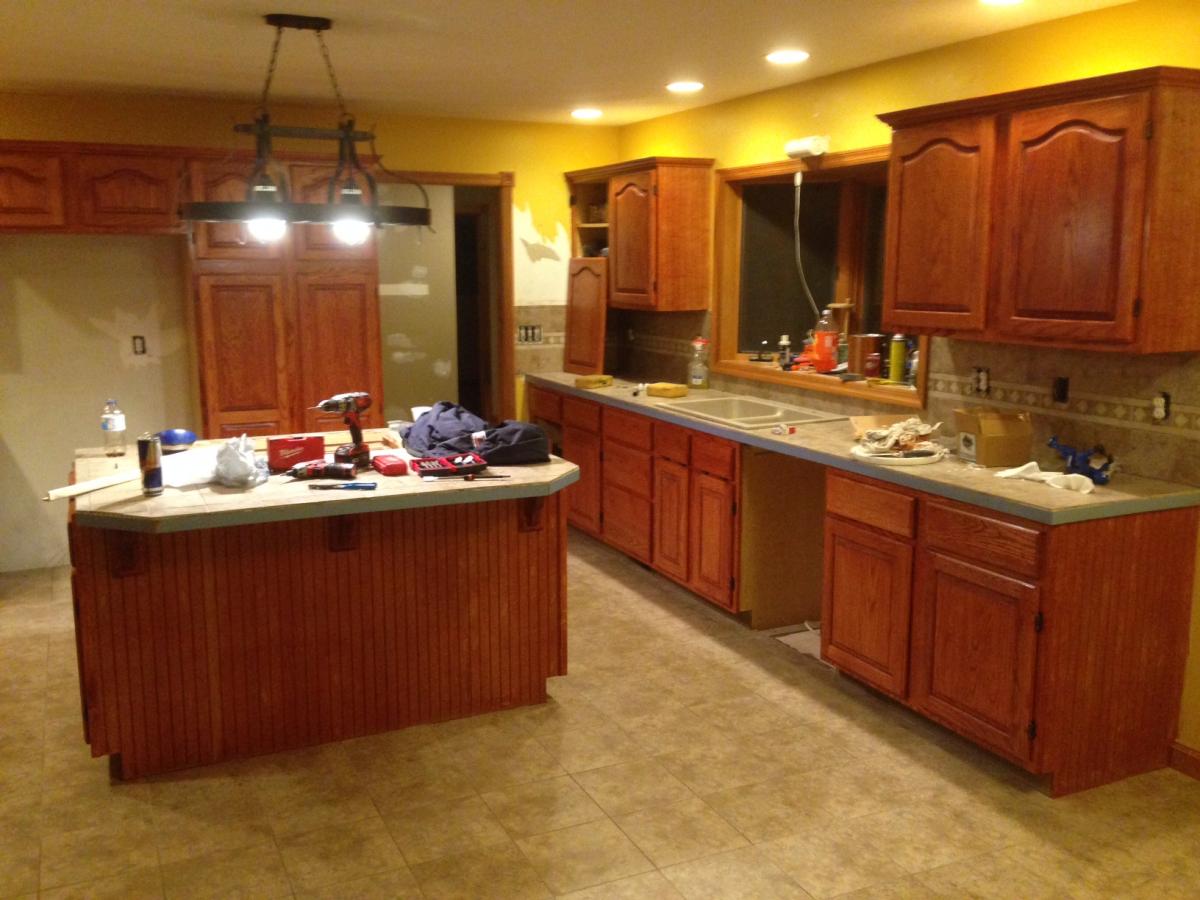
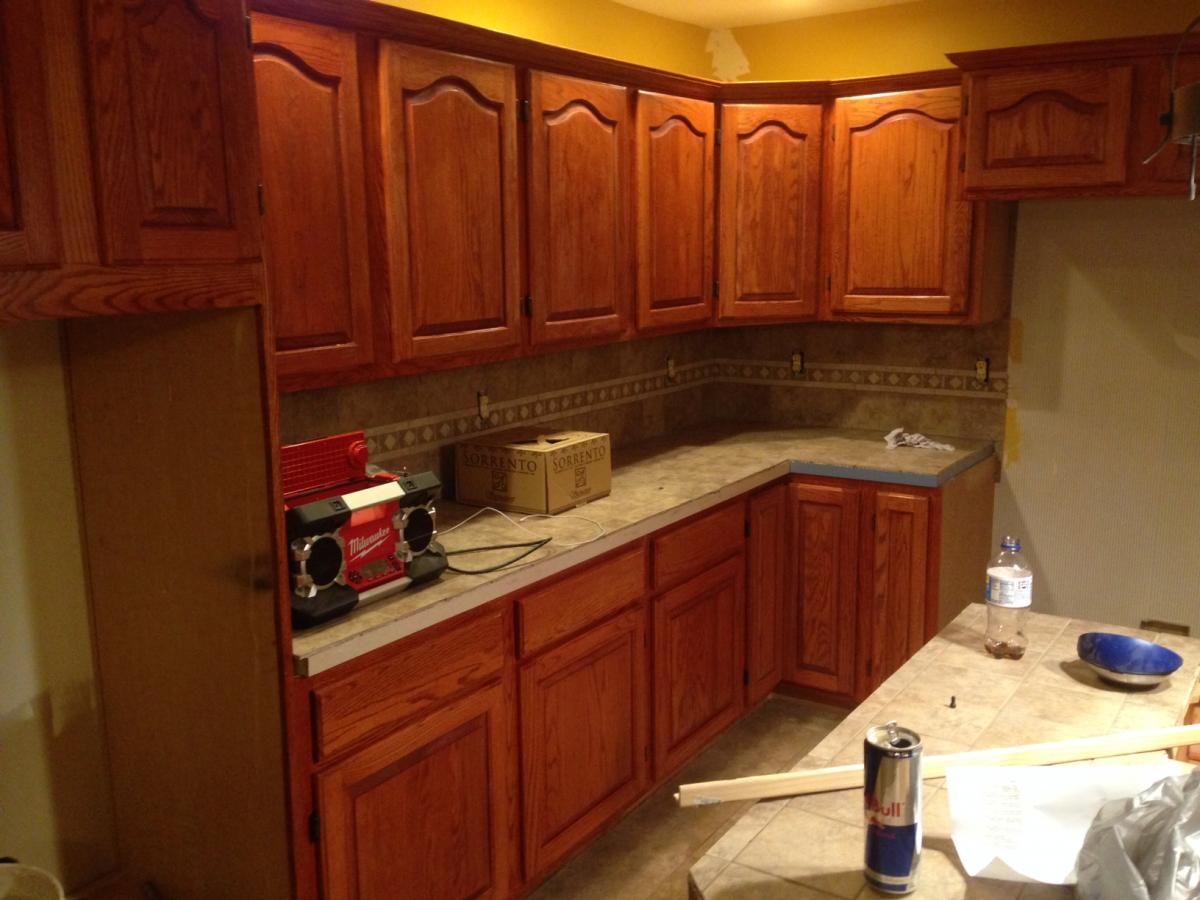
Last night I got the kitchen cabinet doors re-hung. It took about 3 hours because I had to pre-drill everything as the old holes didn’t match up with the new one. It took me 3 or 4 doors to develop a system on making sure they would all shut snug and hang plumb. I basically shot 1 screw in the center hole on both hinges, closed the door, then removed the bottom screw, adjusted accordingly, and shot the other screws in. When doing this I had to use a fatter screw in the hole that had previously been used and on 2 doors I had to drill a new hole in the hinge. It all worked out and all 30 some doors close nicely.
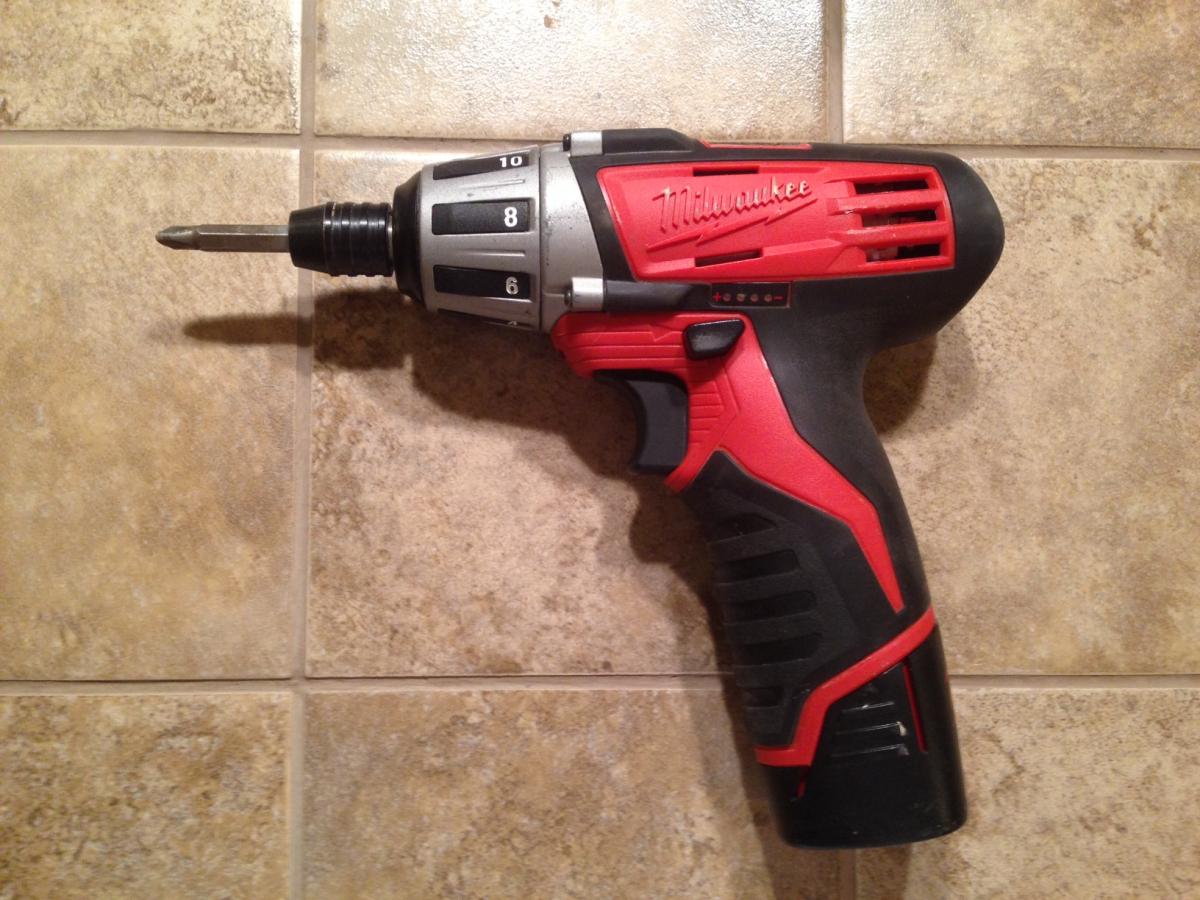
I’m going to give Milwaukee a compliment sandwich here. My 2401 Compact Driver has been used to death. It’s the most used power tool I have and it has been through hell. It’s been a versatile and capable tool in more projects than I can count. It’s been dropped out of an attic onto concrete, sat out in the rain, and generally abused for the entire time I’ve had it. I would recommend it to anyone. Ironically, I got it free when I purchased my inspection cam.
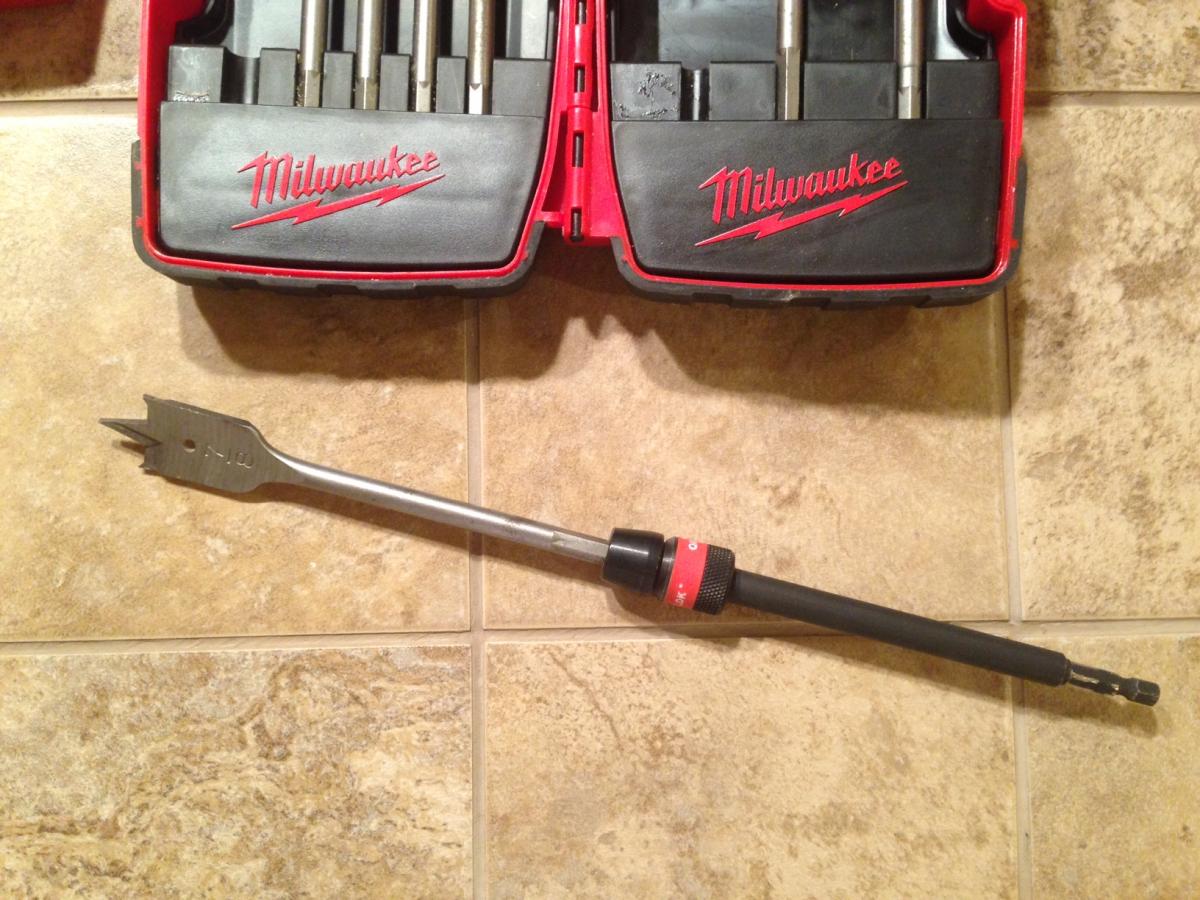
Now for the sour part. I have a lot of Milwaukee accessories. They’ve all been good quality (especially the hole saw kit and Thunderbolt bits) and the spade bits are no exception. I have a nice set of Bosch spade bits I typically reserve for more precision projects (furniture, etc.) but for shooting holes in studs, running wire, etc., I always grab the Milwaukee set because A: There are less sizes than the Bosch set which makes it a little more compact, B: It has a hard case that doesn’t get all nasty looking as easily, and C: The set includes a quick-loc extension that usually proves essential when running wire. I’ve had it a couple years with no complaints and good performance. Yesterday something happened though. I was doing some general clean up from my wire running ordeal, but when i went to put my spade bits up the damn thing would not come out. I’ve tried everything. I’ve pulled, pounded, lubed, twisted, you name it, it’s stuck. Short of cutting the quik loc off, I’m out of ideas.
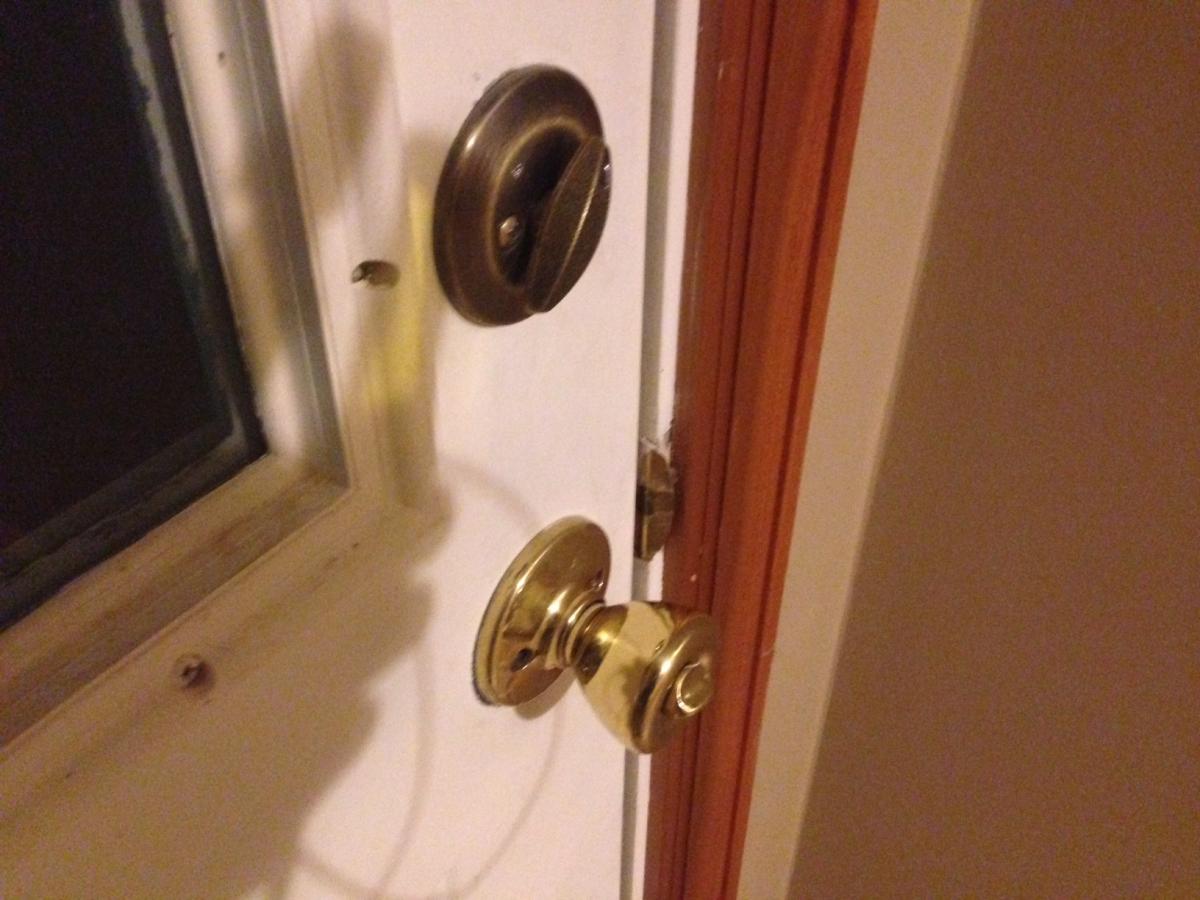
Here is an example of the miss-matched hardware. To most, this probably isn’t a big deal, but little details like that drive me absolutely insane. Thankfully Harold’s suggestion has made matching everything up more practical. Thanks again Harold 🙂
Not sure what I’m going to do tonight. The cabinet doors and drawers still need the final coat of poly, I still have to stain and poly the shoe moulding, kitchen outlets and switches still need to be replaced, still have 3 bathrooms and 1 bedroom to paint, ceilings to touch up, hardware to paint, 2 ceiling fans to go up, geez, I’ve still got a lot of shit to do 🙁
Kitchen looks amazing my friend almost went with that glazed look when he was planning on doing his kitchen he just never added a kitched to his house he eats out most of the time. I only thing I could think of is trying some heat on the twist lock. I would call and complain to millwaukee that shouldn’t have happened either.
Wow and Wow!! You are busting everything out. How the heck do you have time to type any of these detailed updates, let alone everything else. Drilling all those holes and making it fit. That would of taken me a week alone. You also posted photo’s. Nuts.
I agree with you about the Milwaukee drill driver. I have the same one and I use it aaalllll the time also. I got the new m12 fuel 1/2″ hex impact driver and have been forcing myself to use it. But I miss my 2401 compact driver.
You don’t have to thank me at all for the oil rub bronze paint idea. With all your knowledge, I’m sure you would of found out about it.
I am still perplexed how you are able to do so much and talk about it. You have been inspiring me to work harder to get my projects done.
Like DR or someone else said, thanks for making us feel like slow pokes.
My .02 about the stuck bit, what about using an air hammer. I have never used one but I read that can break things free very well.
Tonight I got the 2nd coat of poly on the cabinet drawers and doors, tore out that cira 1977 vanity top in the master bath, finished stripping the vanity bottom, and stained the shoe moulding for the kitchen. I did have a little help from my brother, otherwise I’d have probably only got the poly on.
Harold: I like the compact driver. Maybe I’m old fashioned, but there are still some thing I prefer a non-impact tool on. It may just be a perception thing, but I feel like I have more precise control with the 2401.
As far as working my nuts off to get it done, there are 2 factors in play.
1. I’ve never been the “kick back in the chair” type. When I’m home I’m working on something. I think I end up doing things that don’t really need done because I have nothing else to do. I seldom sit down before 10:00 or after and when I do, I go straight to the forums usually.
2. Moving in with your parents at 30 with your wife, 4 kids, 4 dogs, and a cat is incredible motivation to get shit done. It’s easier to get things done when you aren’t living there. I might have moved in, but with so much chaos and all the tile I figured it was best to tough it out until it was done.
The multi-speed impact drivers help with the control of the tool still the lack of a clutch isn’t idea for really fine control. I would like to get the M12 fuel screwdriver but I really don’t need it I would rather have the ratchets or impact wrenches first.
I agree with both of you. I bought the impact driver because it looked sexy and I just was not thinking. I should of waited and bought the new fuel screw driver. Like you said DR, a clutch is ideal for fine control.
The last couple of days have been busy leaving little time to devote to the house. We did make a little progress wednesday, but with a meeting at work and trick or treat, we didn’t even go out there yesterday.
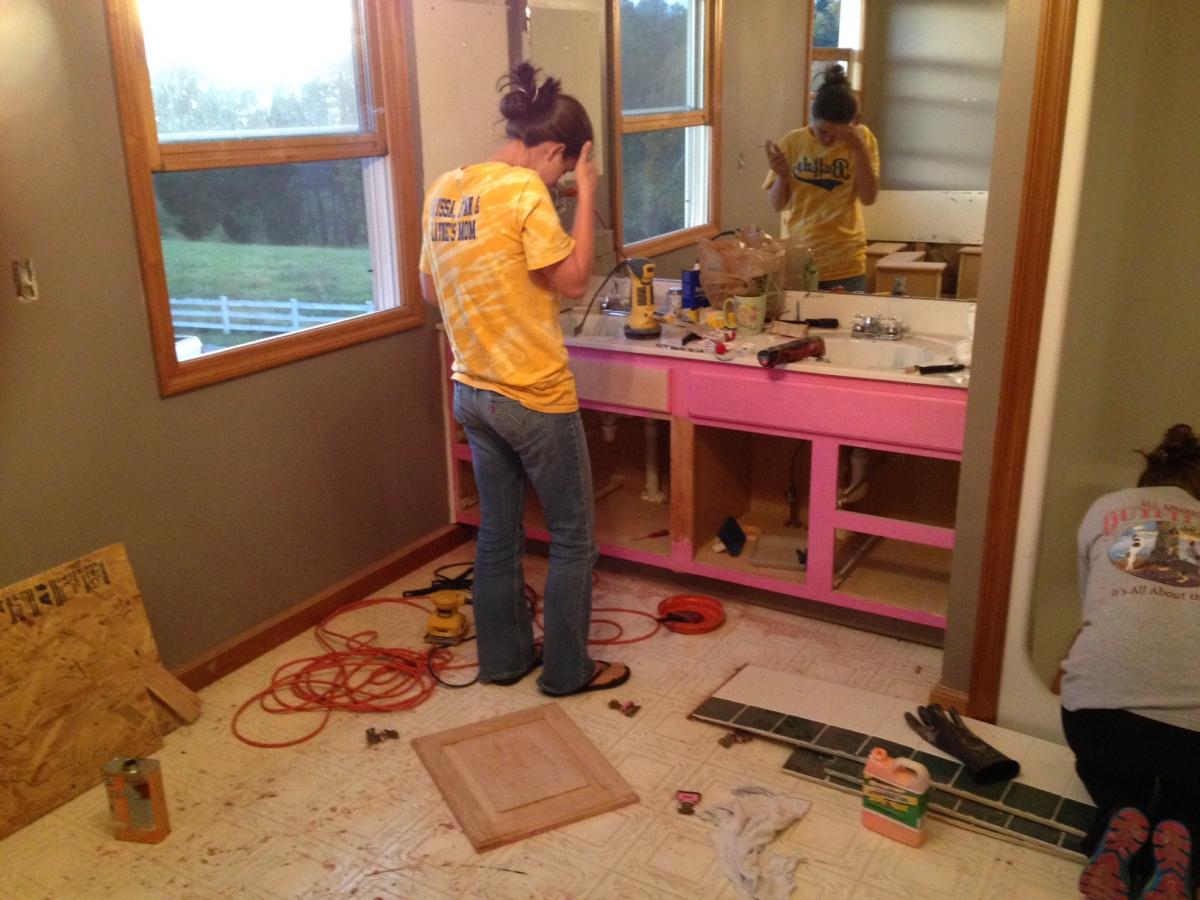
Wednesday was one of those days where we got some things accomplished, but it still didn’t feel like I got enough done. Mrs. Conductor and one of her friends went to town on that pink ass vanity. The experience the acquired during the kitchen cabinet strip made this job a snap. The weren’t up there no time before that awful pink was just a bad memory.
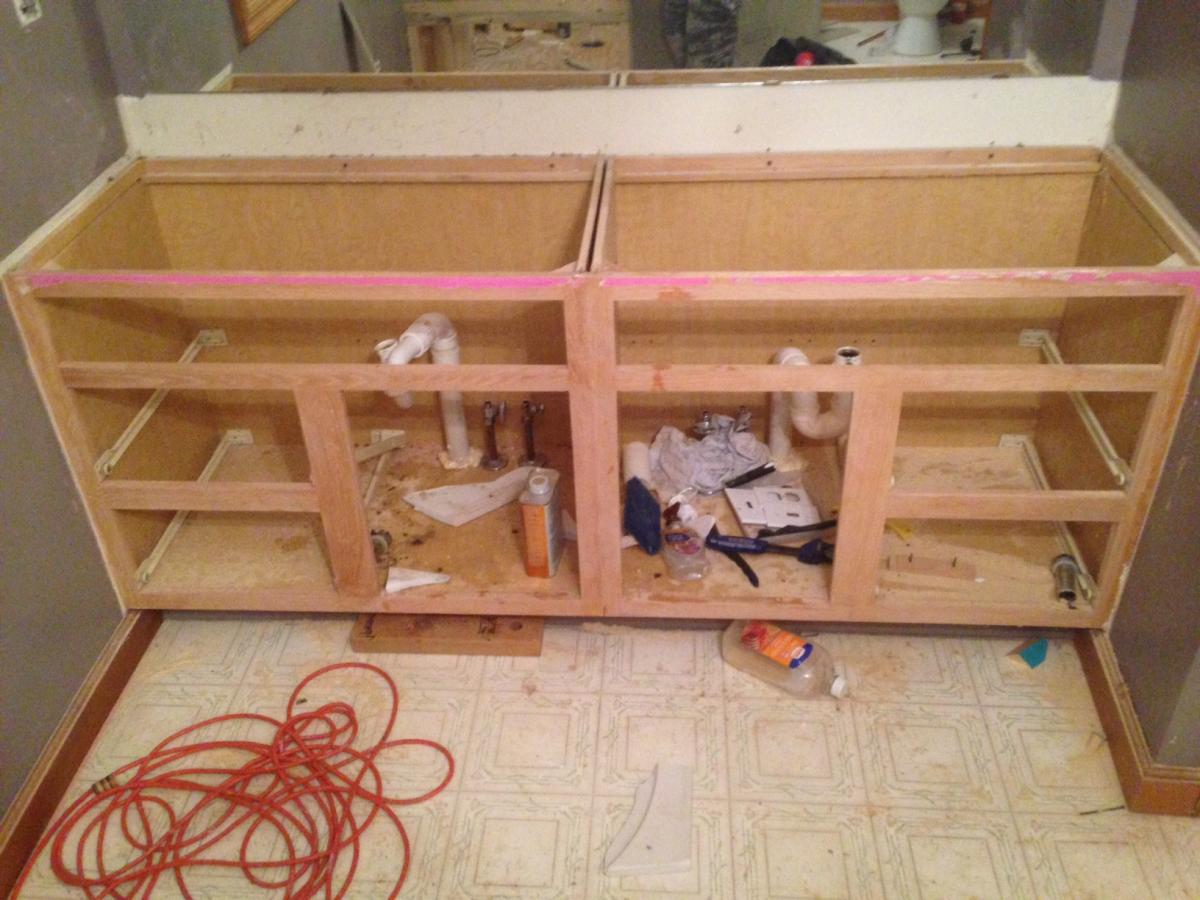
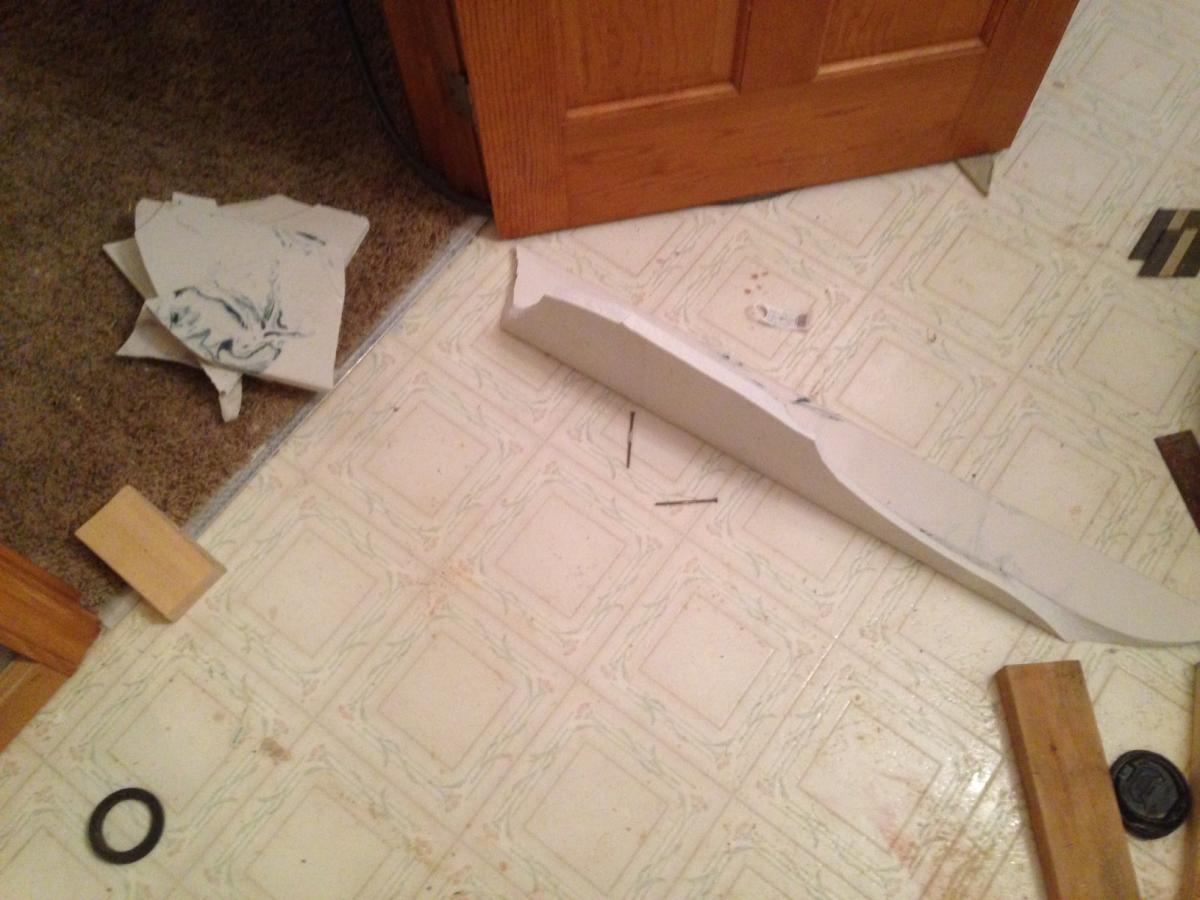
As you can see in pic 2, the old vanity top is gone as well. For whatever reason, we could not get it off the cabinets. I tend to be a more precise person, but in a moment of weakness, I took a BFH (big f*&king hammer) and sent that tacky bastard back the point in the distant past (I’m guessing during the Reagan Administration) from which it came. After 1 good whack with a 48 oz. Proto ball pein, the small shrapnel below is all that remains.
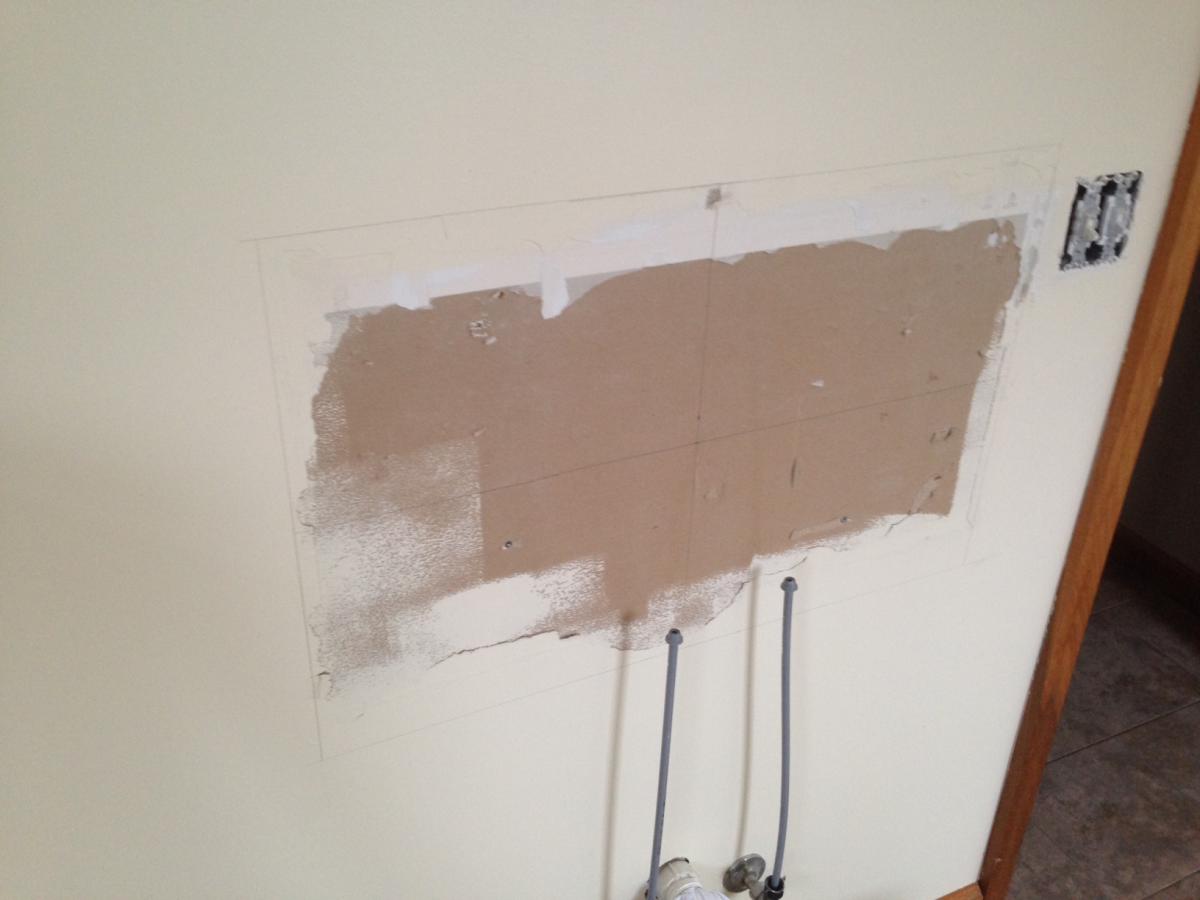
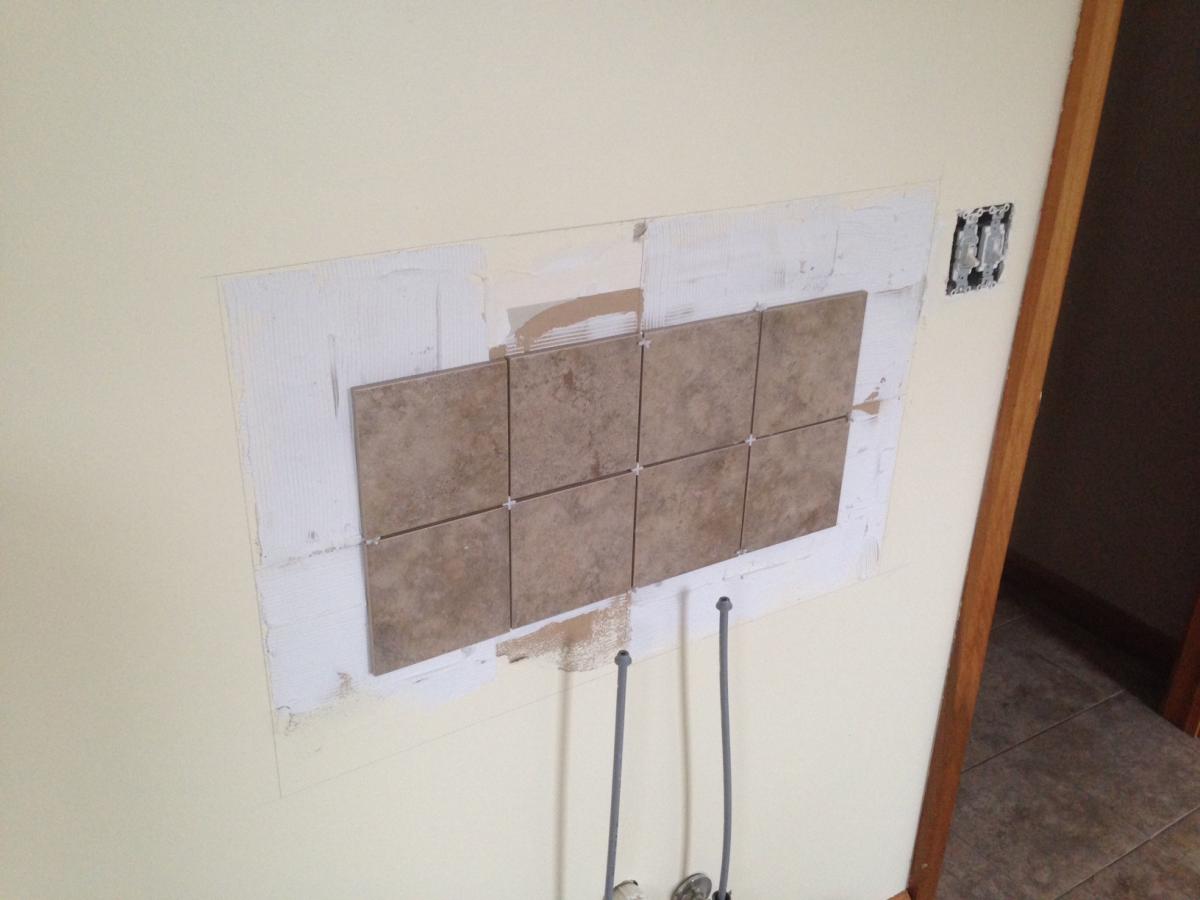
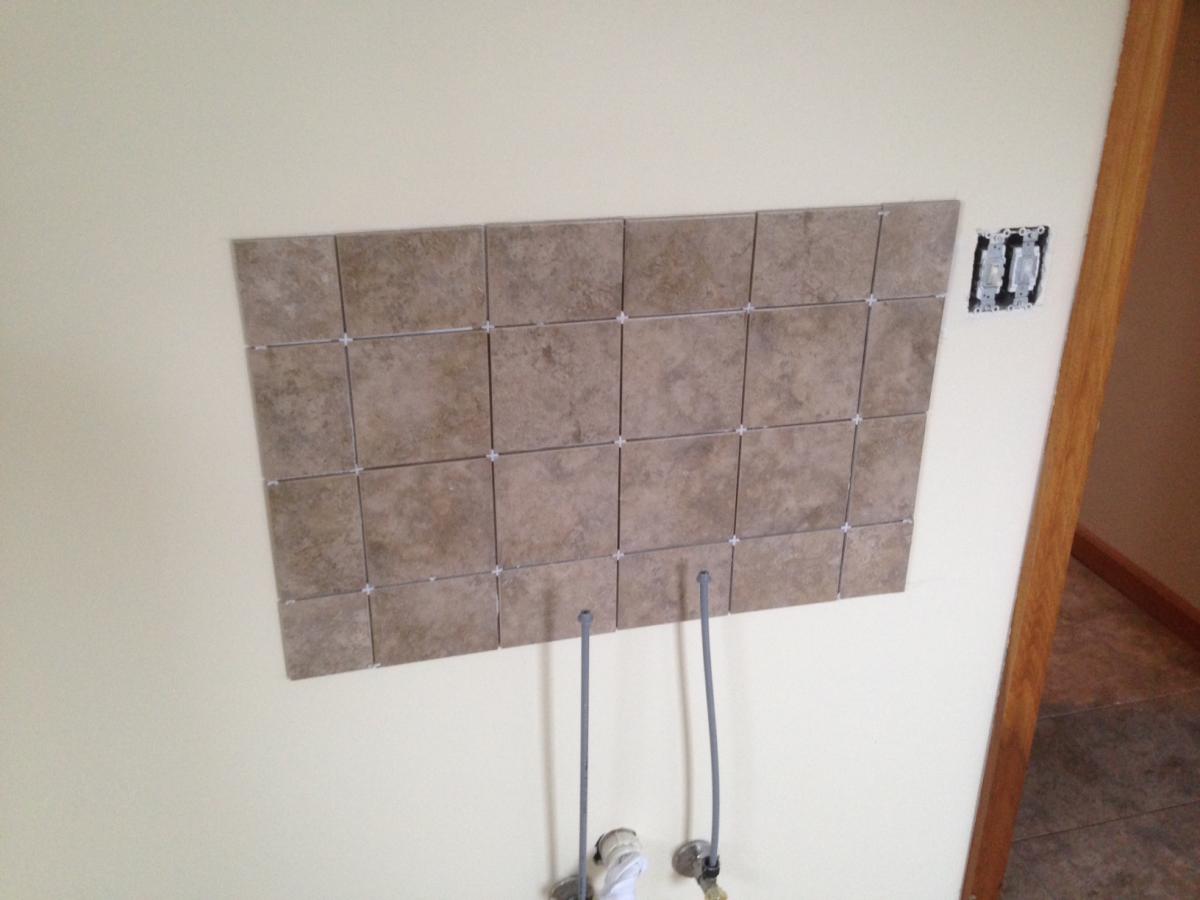
While the girls were stripping (lmao), I was tiling the backsplash for the laundry sink. Pretty simple. I marked everything off, laid my full pieces, then worked my way around the outside with my cut pieces. Took about an hour. Used the same Acrylpro from the kitchen and I grouted it that evening. After the pic was taken, I did have one piece that slid down slightly. It was pretty dry by the time I saw it, and not enough to make me pull it off and redo it, but I’m guessing I may have gotten the adhesive on a little bit thick as it was the last piece I laid.
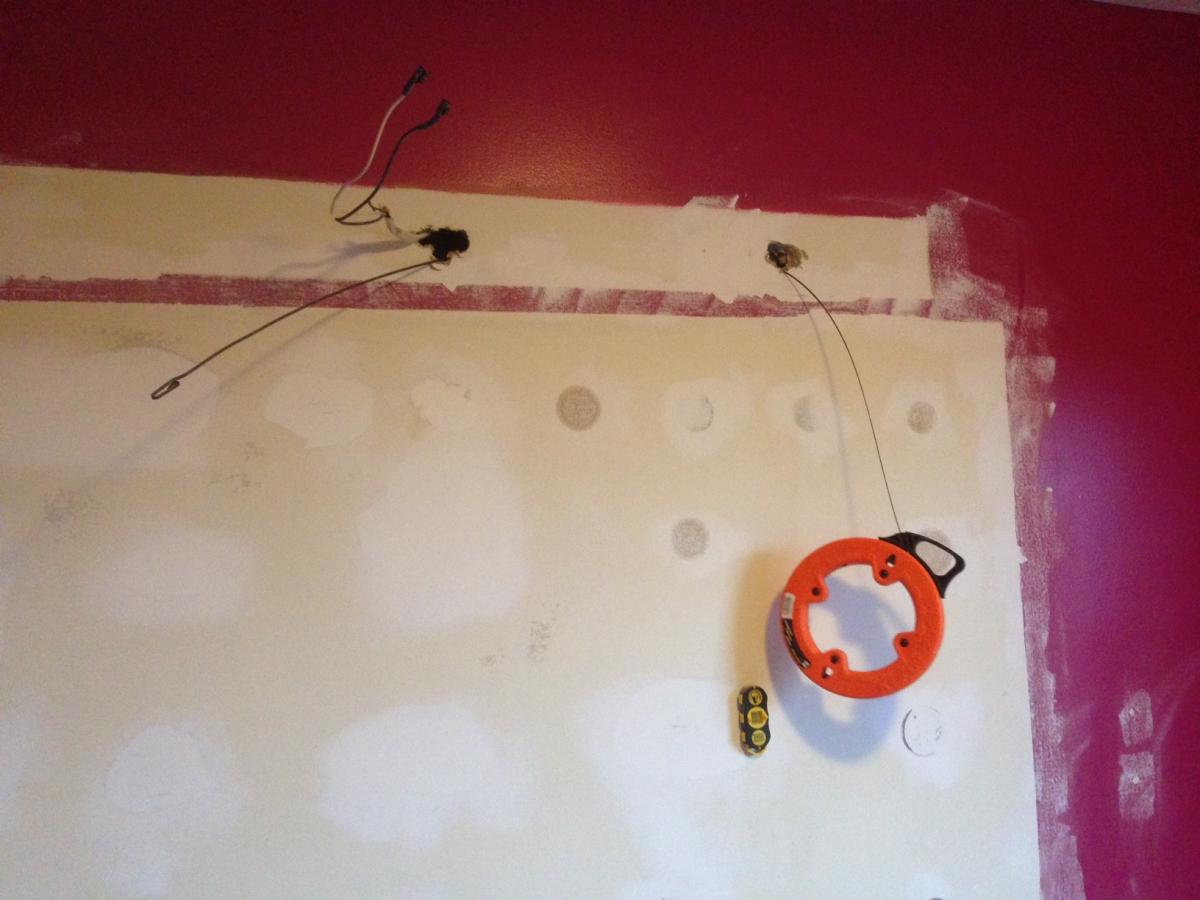
The light bar in the boys bathroom was off center to where the sink will be. I’m assuming at some point in it’s pink filled past there was a larger vanity in use, but regardless, it needs re-located. The stud (see stud finder in the pic) didn’t turn out to be much of an obstacle as I was able to use my malfunctioned quick-loc spade bit to get through it with any major drywall damage using only the hole the wiring will run out of. After getting the fish tape fed, my suspicion was confirmed that the wiring isn’t long enough. I’ll have to splice a foot of 12/2 onto it before I feed it over, so for now it’s sitting like this.
I’m supposed to do some paint work for my little brother this evening, so I doubt I get to work on my house, but saturday’s are our big progress days so there will surely be good pics in the near future. Master bath is the star of the show this weekend.
It’s been a while since I’ve been here. And, My but don’t you have a view! 🙂 From both your comments and your pics – it appears you certainly do have yourself a fun little project. :unsure: Hey, with all the pink stuff going on, maybe one of the former owners was a Mary Kay distributor. 😆
I dunno about Mary Kay, but I can tell you for sure she had:
1. Terrible taste
2. Terrible painting skills
3. A cable/satellite subscription that included DIY and HGTV
4. Terrible taste (reaffirmed)
5. From the deadbolt on the master bedroom door I’m assuming she was into kinky shit.
She was a very nice lady, but she damn near ruined the house doing dumb shit.
LOL, I like that one
Make that 1″ hole for the vanity light a 3 and 5/8″ hole and put in a pop in light box and bring it up to code. Just a suggestion from a electrician. Also fish a new wire if possible instead of having a splice in your wall.
Thanks for the info Yamatitan.
Funny stuff Conductor. Love seeing all you’ve done. Finally got that pink shit off. I was going to ask you what you were going to do about splicing a new wire. I have the same issues sometimes. Yamatitan answered my question. I guess the best thing is to fish a whole new wire. UGH.
Well, Saturday was something of a wash. My father in-law was sick, so I just painted the kitchen and stained the bathroom vanity.
Probably paint a couple more rooms tomorrow or possibly lay the tile in the boys bathroom. This just hasn’t been my week at all.
Well, I took the day off yesterday to get a couple of obstacles scaled. My father in-law is going to start coming out and helping me for a couple of hours each evening, so things should pick up a bit.
After getting the kitchen painted on friday, I got the back hallway and the downstairs bath painted over the last couple of days. I got all the switches and outlets changed out yesterday as well. I don’t have pics of everything yet, but I did snap a few.
I’m at that point in the process where most of the big, involved, tear out and redo, type stuff is done or near done. Now there are 500 small but time consuming things. I tried to start knocking some of them out.
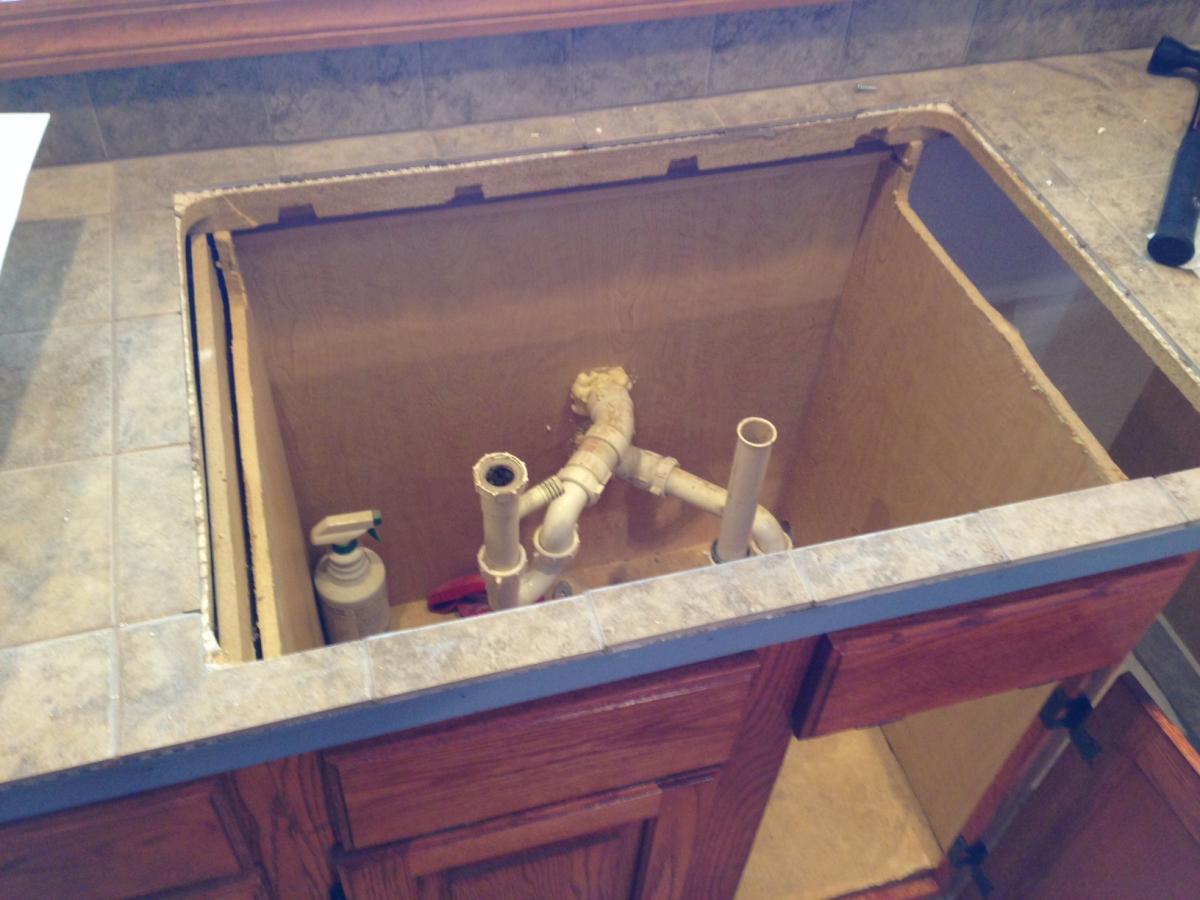
The kitchen sink was starting to annoy me. It wasn’t a huge deal, but looking at the hole made the kitchen feel like it was still miles away from finished.
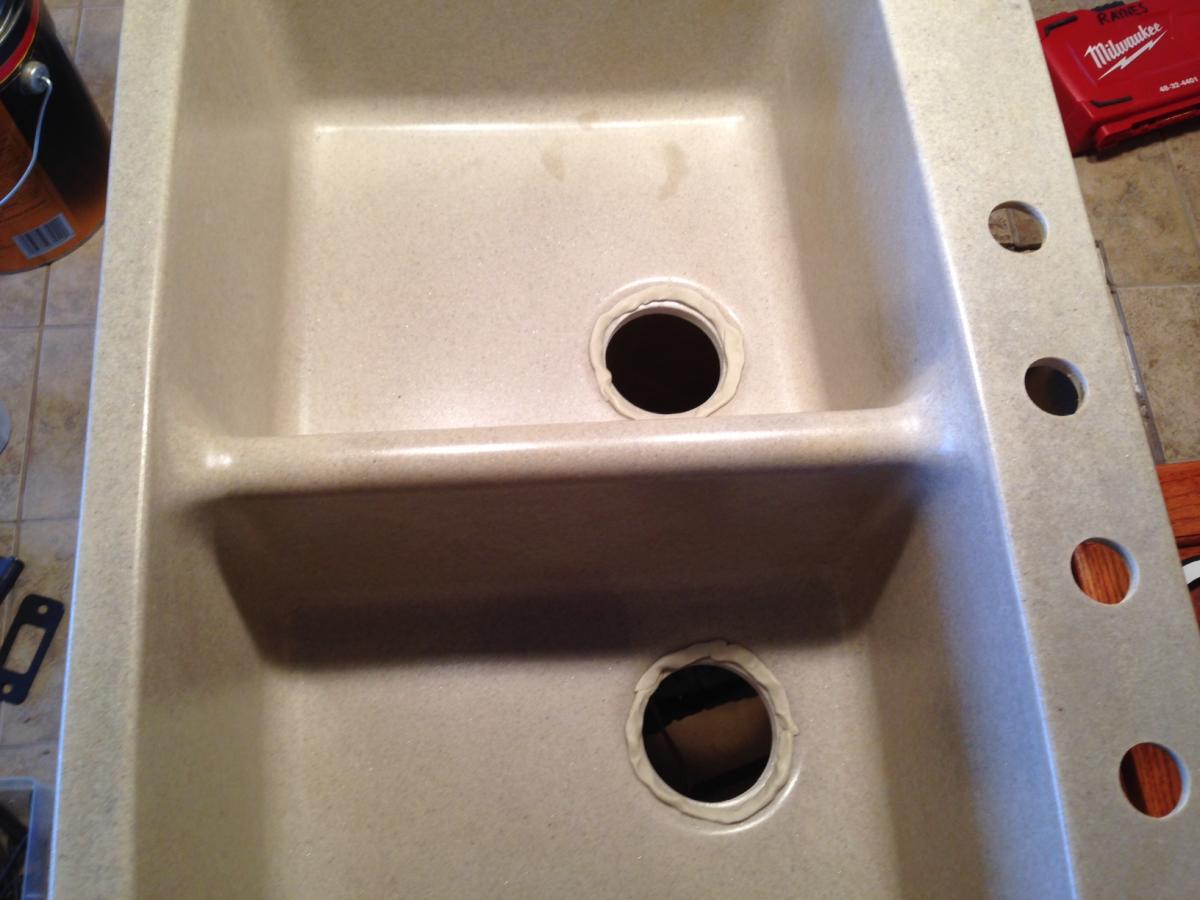
Mrs. Conductor selected a composite sink that matched the countertop and has a stone look about it. The strainer baskets I bought claim to seal without putty, but I call bullshit. I’ve heard that shit before and ended up pulling the damn things back out and redoing them. As you can see, I used putty.
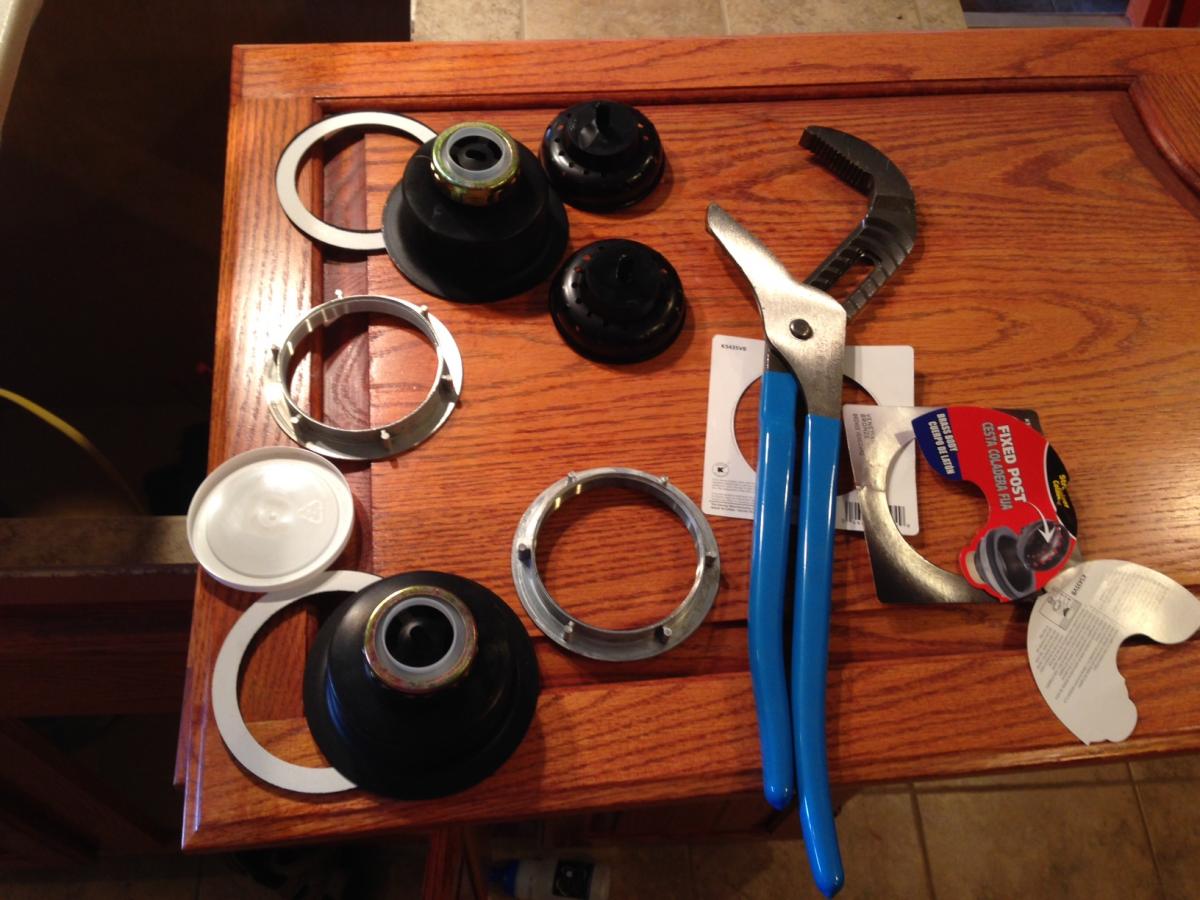
I selected oil rubbed bronze strainer baskets to match the other hardware and fixtures. They were expensive (almost $40 each) but I felt they would really set off the area and show an attention to detail.
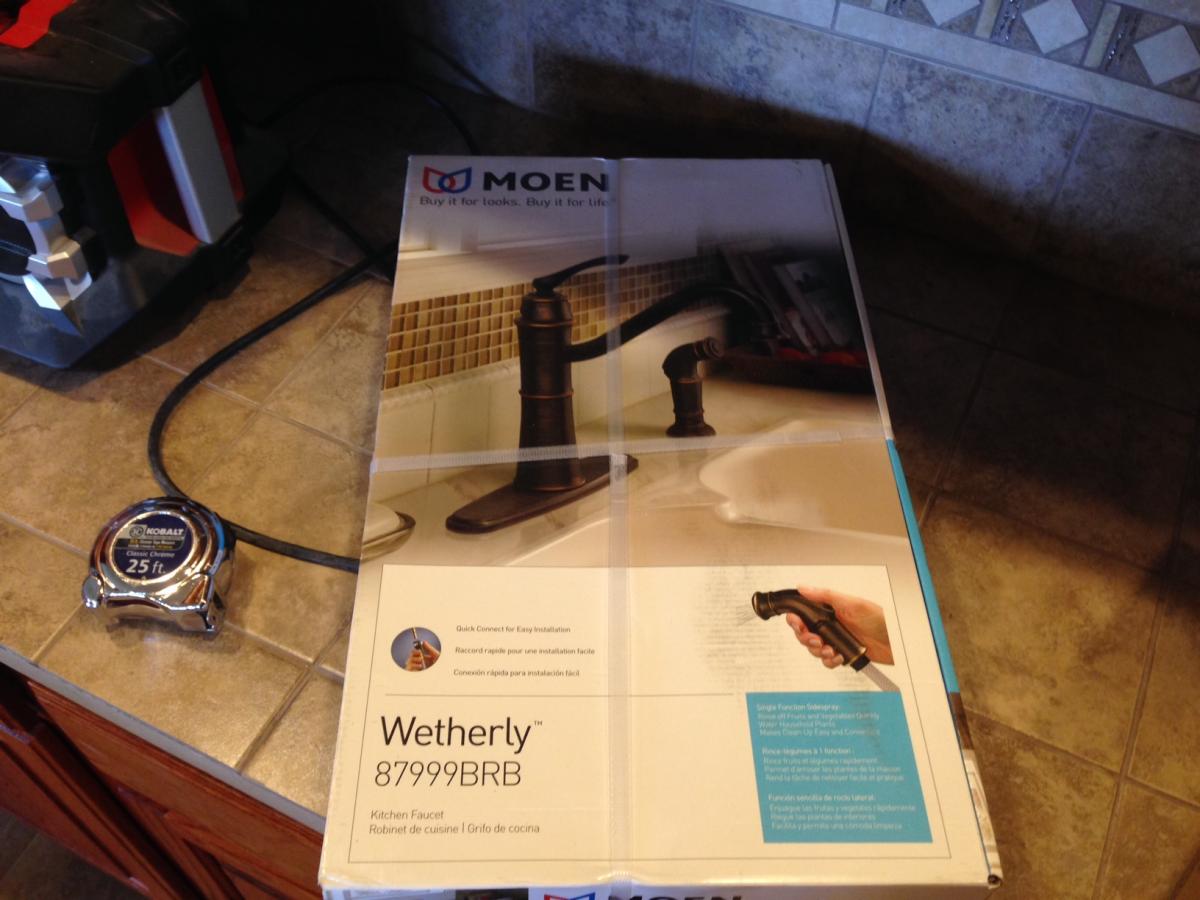
After remodeling 3 houses consisting of 7 bathrooms and 3 kitchens, I’ve come to appreciate Moen faucets. I’ve used Price Pfister, Delta, Peerless, AquaSource (Lowe’s) and Glacier Bay (HD), and I can tell you that Delta and Moen are a cut above the rest. I did my first house in Price Pfister, and within 2 years they all leaked. The kitchen faucet, which was the most expensive, was an “HD Exclusive”. To the common man this would mean it is only available at HD, which while true, doesn’t tell the whole story. The truth of the matter is that it’s manufactured at a cheaper price point than the manufacturer’s standard offerings. The other side effect is that only HD carries replacement cartridges and such, and since my particular faucet was discontinued shortly after I bought it, they no longer carried them and I had to replace a 2 year old faucet I paid $160 for. I kicked myself 100 times for buying it, but it was a “late in the game” purchase when my budget was bottoming out and in a moment of weakness, I bit. When I called PP about the “Lifetime Warranty” they passed me around and wanted me to send it in. Not wanting to be without a Kitchen sink for a month, I said f$%k it and bought a Moen. Lesson learned.
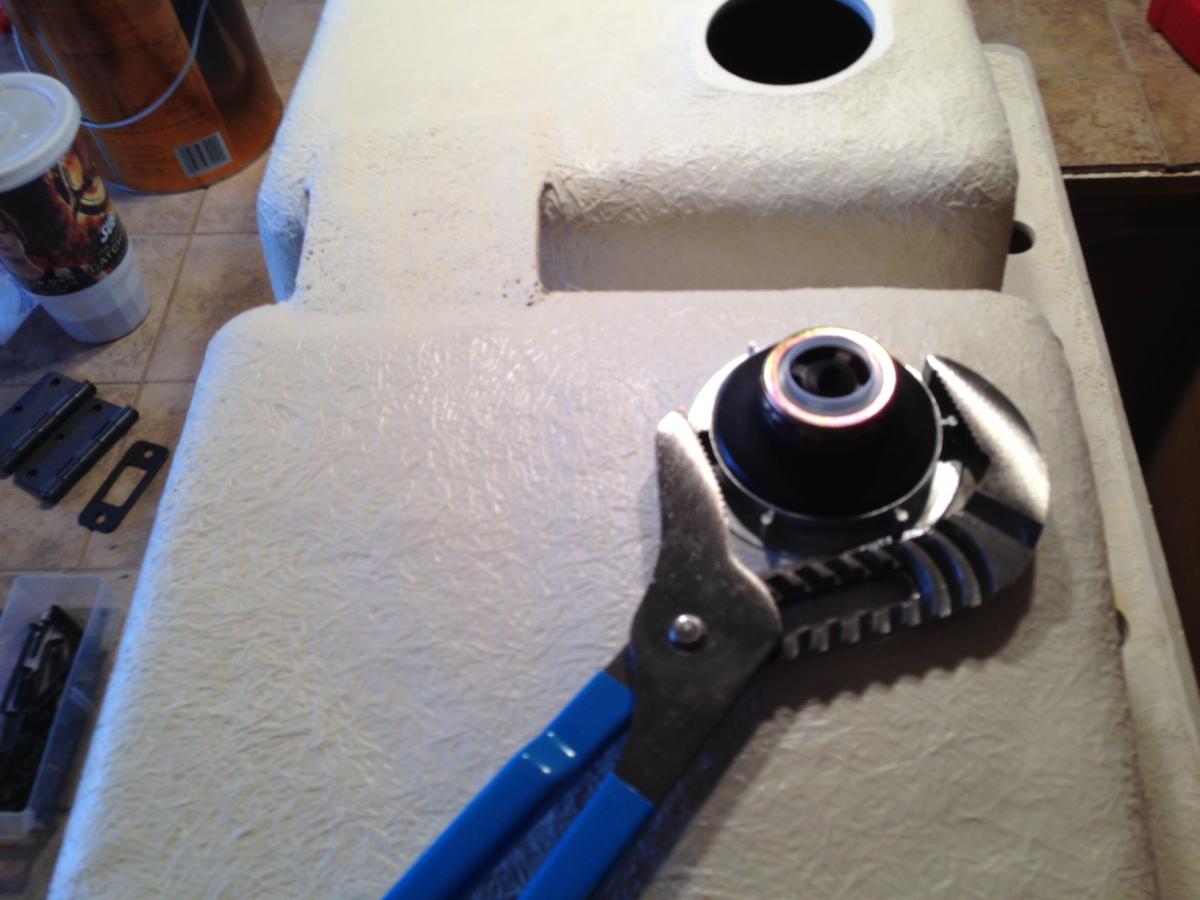
When installing strainer baskets you have a couple of options. You can buy one of those specialty wrenches for $15, or you can spend $30 or so and get a pair of BigAZZ #480 Channellocks. You’re probably saying “But I’ll never use a pair of Channellocks that big”. Yes you will! At over 20″ long and a jaw capacity of 5 1/2″, they won’t be something you’ll likely use once a week, but I’ve used mine several times for various plumbing issues. Consider this, you pay $15-$20 for a strainer wrench you’ll use once or twice in your life, or you pay an extra $10-$15 and have an awesome pair of pliers suitable for plumbing, opening large jars, home defense, starting an armed conflict, and countless other things. Seems like a no brainer to me.
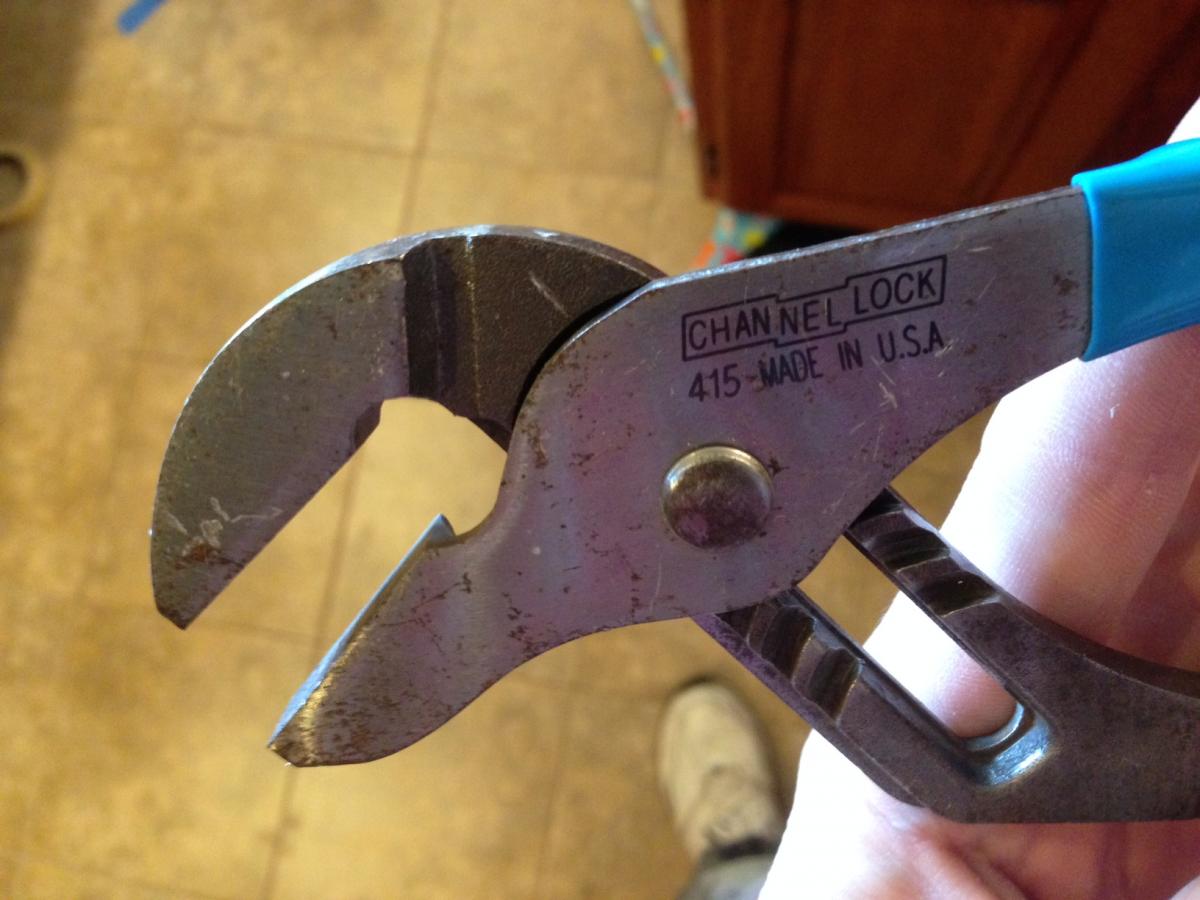
Since I’m talking Channellocks, another seldom seen but highly useful pair is the #415 Smooth Jaw model. They are basically a pair of #430’s with no teeth. They are excellent for fixtures and such that require the use of pliers, but have a delicate finish you don’t want chewed up. At 10″ long, the 415’s are the only smooth jaw T&G model Channellock makes, but I’d love to see a smaller pair as 10″ can be a little cumbersome in tight spots.
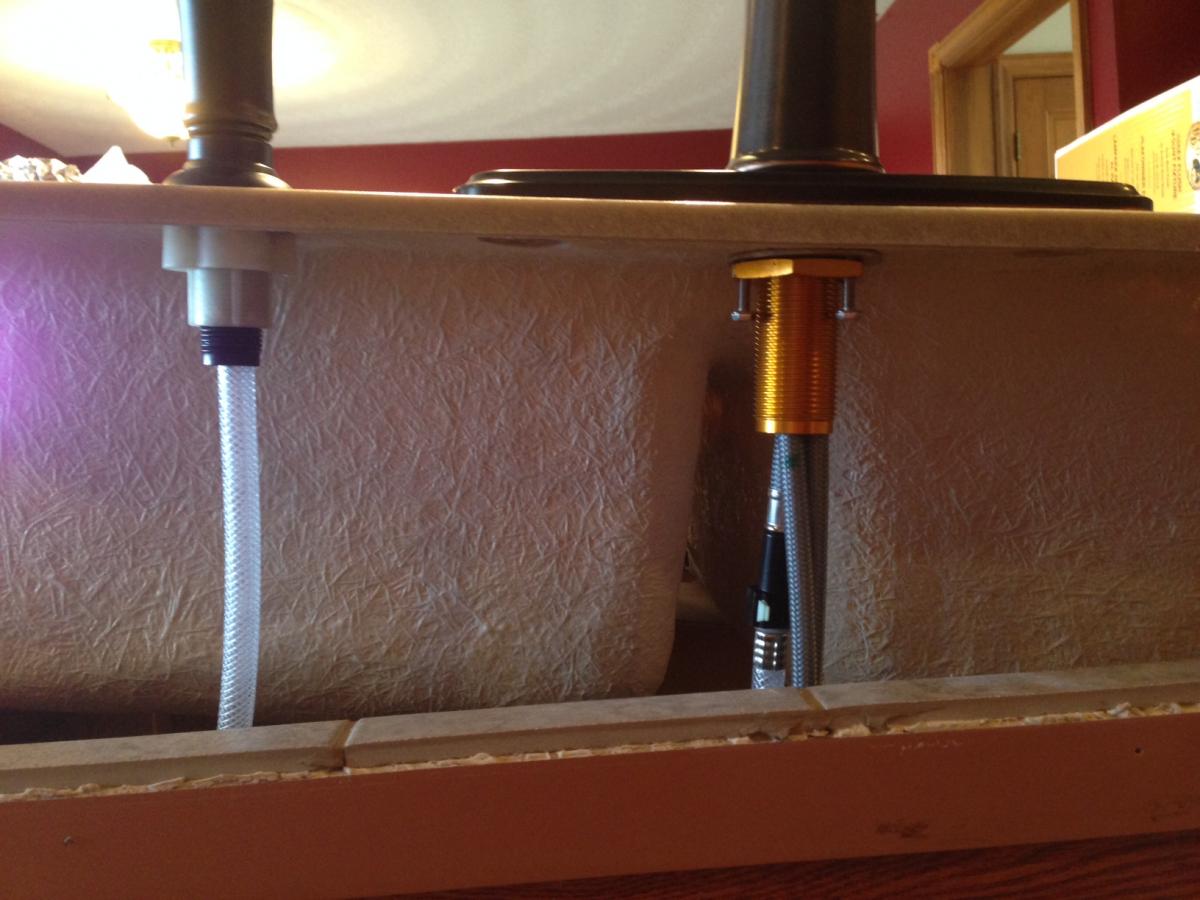
For possibly the first time in my life, I was afforded a major convince for my sink install. As I’ve mentioned before, I like plumbing work (sweating copper is one of my favorite things in life), but I hate the places in which I usually find myself having to do it. Having the ability to sit the sink on the counter, hook everything up, and drop the pre assembled piece into the hole, beats the tee total hell out of laying in the floor with half you body hanging out of a tiny cabinet and your arms twisted up in pipes and hoses. In the future I may just rip the damn sink out, install the faucet, and drop it back in. This install was truly painless, both literally and figuratively.
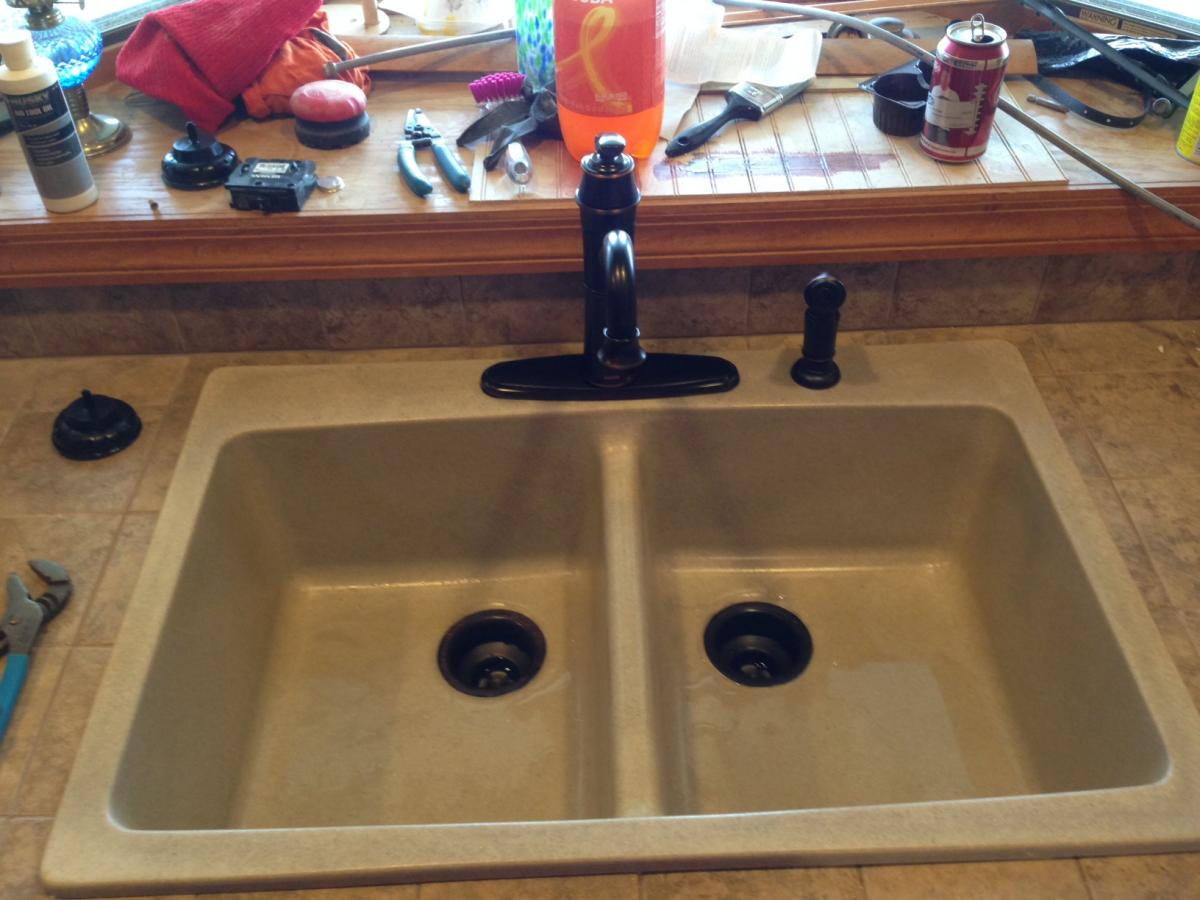
The finished product looks very nice IMO. No leaks, aches, pains, cuts, or bangs. As for sealing it, I laid a bead of caulk, dropped the sink in, and worked the caulk that oozed out. Even that went smooth. Monday I was clearly on my A game.
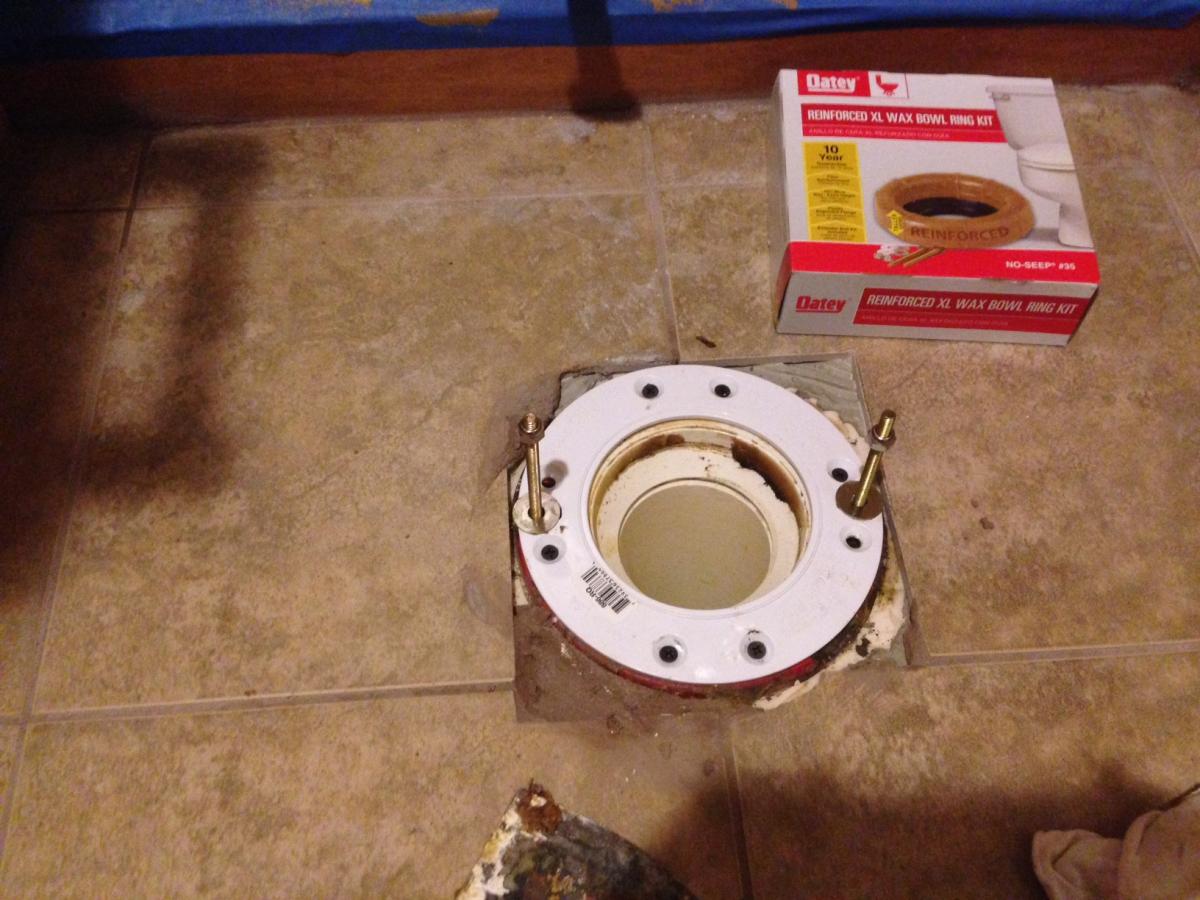
Since plumbing was the theme, I prepped the toilet hole in the downstairs bath to re-install the shitter, If you’ve ever laid tile in a suit house, you know that you have to raise the flange higher than the tile to get it to seal. You can go through the hassle of reworking the existing flange, but it’s a hell of a lot easier to attach a $3 flange extender. If you do this, be sure to use an extra thick wax ring when reinstalling. Get the kit also as you’re original bolts will likely be too short. Once I even had to stack a standard ring on top of an extra think to get it to seal. Never figured out why.
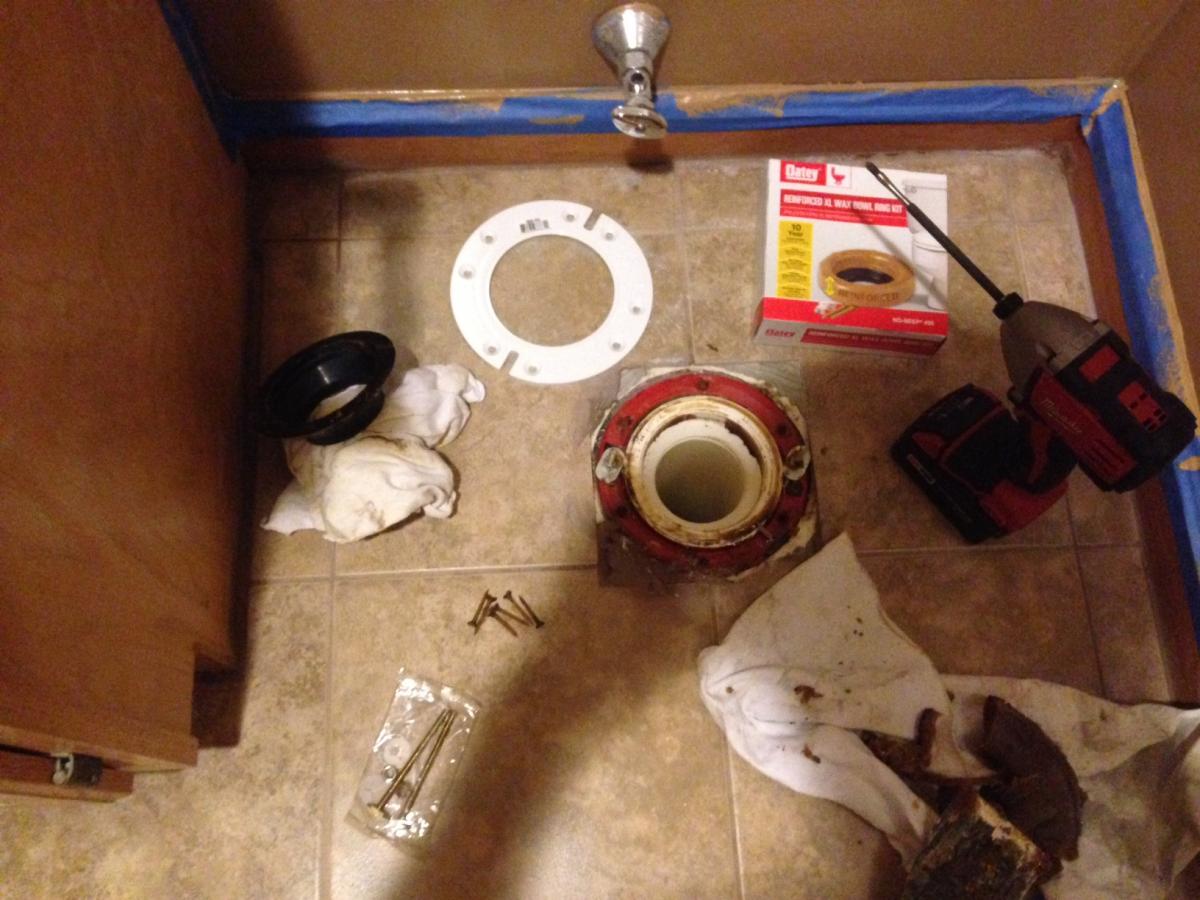
None of the holes in the flange extender matched up with the existing flange. I drilled corresponding holes and replaced the rusty old screws with brass. This is a shitty job (pun intended). Peeling up the old wax and jacking around with a shit pipe is never fun. Only 2 more to go and I’m home free.
Shitty job. Lol! Really like both channel locks. Very useful. Didn’t know they had the no marring smooth. I HATE it when they leave gouges. Love all the details and the pictures. Your really working your ass off.
Man I have no idea how you find the time to do all that, looks awesome. I agree about getting the oil rubbed bronze strainer baskets. It’s more cash, but in the end it will look much better as it matches. Plus when you factor in how long they will last, it’s worth it.
Thanks guys. Everything is starting to come together now. This project has been truly overwhelming. I was fortuneate to have enough cash saved up to be able to go and buy the bulk of what I needed at once rather than buying it paycheck to paycheck. Mrs. Conductor has saved us a lot of money. We get 5% off for using our Lowe’s card, plus Lowe’s sent us two 10% off coupons when we closed on the house.
We went one trip and bought the Jacuzzi tub, about all the tile, lights & fans, faucets, etc. and got $900 off a $6,000 purchase. She goes to customer service and pays the card off the next time we go and do it again trying to make a few big purchases rather than 100 small ones.
That’s great! You make a great team.
I think out of all the Faucet makers Kholer is the king, but man you pay for the name and quality. I have a Glacier Bay bath tub faucet that’s been great knock on wood it’s ugly as hell but I’m limited on having a old 3 valve faucet and it was quick fix on a leaker. The toilet in my house sucks they put the flange way too high its between a 1/2″ and 1/4″ inch off the level of the floor I think they did it because they wanted too leave room for the tile guys. The problem is its cast iron and a next to impossible cut so we deal with a rocking toilet. I tried shims and they all end up working out from the movement.
I agree about Kholer is king. Don’t own any but my friends swear by them. Last and last. That’s shitty about your rocking toilet. Or maybe you invented the next billion dollar idea, The Rocking Toilet,
I’ve heard a lot of people brag on Kholer, but have no experience with the personally. Seems you’re somewhat limited when you want Oil Rubbed Bronze, though the selection is better than it used to be.
DR: Cast Iron sucks. Kinda limits what you can do about it without some more serious work. I’d tile it just to eliminate the rocking shitter.
My first house had galvanized drains 🙁
It was awful. I bought an eel and used it at least once a month. It was a real pain in the ass.
I had to rip out a section of drywall to get to a galvanized pipe in the bathroom. The poor drain pipe was so clogged with crap it looked like a a clogged artery there was just this little hole where water could drain through. I replaced it with pvc took forever to get motivated to patch the drywall afterwards trying to work around a toilet isn’t any fun.
It is looking great!!! You are a Dodge Family! How do you like the durrango?
She loves it. It’s got enough room, without being overly school bus-ish. It has the 3.6 Pentastar. Seems like a nice motor so far.
Conductor562 wrote:
She loves it. It’s got enough room, without being overly school bus-ish. It has the 3.6 Pentastar. Seems like a nice motor so far.
My mom had an 02 durrango and then another 06, then gas went up and it had a 5.7 v8 averaging 13mpg…..traded for a gas saving tree hugging middle east idiots kia optima….it has been nothing but problems, from the car not wanting to run on all cylinders to the turbo quoting…
Her Durango gets at least 20 mpg and better on flat land.
Conductor562 wrote:
Her Durango gets at least 20 mpg and better on flat land.
Wow thats great! It has the v6 right? Im not to sure how good these eco v6s and trucks mix…….but props to dodge, they are releasing the first 1500 1/2 ton truck with a diesel!!
Yea, a 3.6L Pentastar V6. The motor won a couple of awards the year it came out.
Conductor562 wrote:
Yea, a 3.6L Pentastar V6. The motor won a couple of awards the year it came out.
I have heard that durrangos hold up very well in crash tests.
ChaseRogers wrote:
I have heard that durrangos hold up very well in crash tests.
I hope I don’t have to test that theory. It’s a nice car. Has a Mercedes transmission that shifts very smooth.
Conductor562 wrote:
I hope I don’t have to test that theory. It’s a nice car. Has a Mercedes transmission that shifts very smooth.
Haha so you traded you silver dodge?
ChaseRogers wrote:
Haha so you traded you silver dodge?
Yea, for a white 2014. Most people don’t notice it’s a different truck, lol
Friday and Saturday were productive days. Got the floor and most of the surround tile laid in the master bath, re-hung 3 of the doors, got the 3rd and final coat of poly on the kitchen cabinets, painted some more hardware, made and installed the end cap for the counter top, and made the final drywall patches. Several pics, hope to post tomorrow night.
Sent Mrs. Conductor to Lowe’s for supplies. 5 hours later she returned with the wrong breaker, wrong everything really, and 4 bags from New York & Co. ……….
F$&king women 😉
Very cool conductor. I was able to sand more, spackle the 4th coat, and spray texture the inside and outside walls for the new closet today.
Way to go Harold. How big is the closet?
80″ by 27″. But it’s has an angled wall. I will post a new topic with photos.
Harold Wray wrote:
80″ by 27″. But it’s has an angled wall. I will post a new topic with photos.
Sweet! A project thread. I love project threads 🙂
The last few days have been productive, but again, a lot of little time consuming things that you don’t instantly notice.
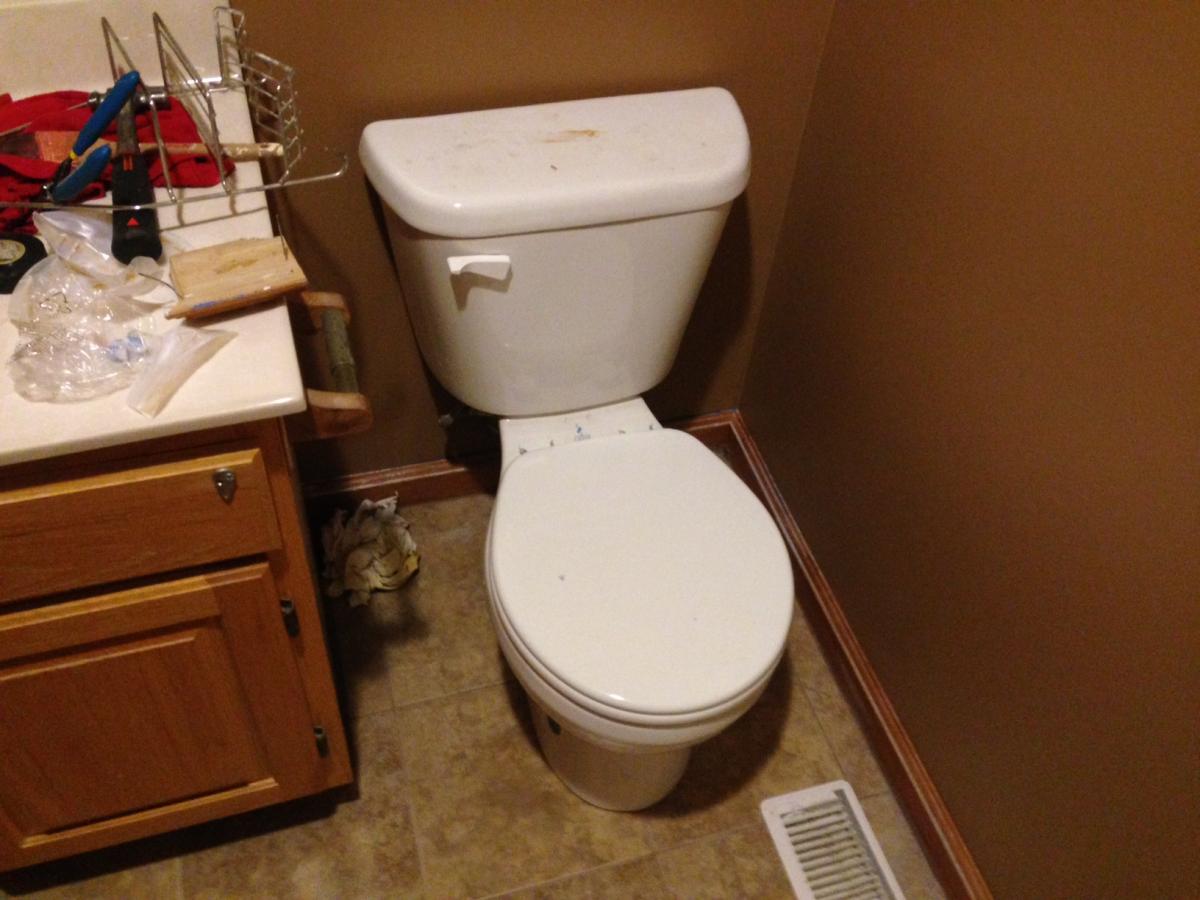
A man has got to have priorities, so the toilet went back in right after paint.
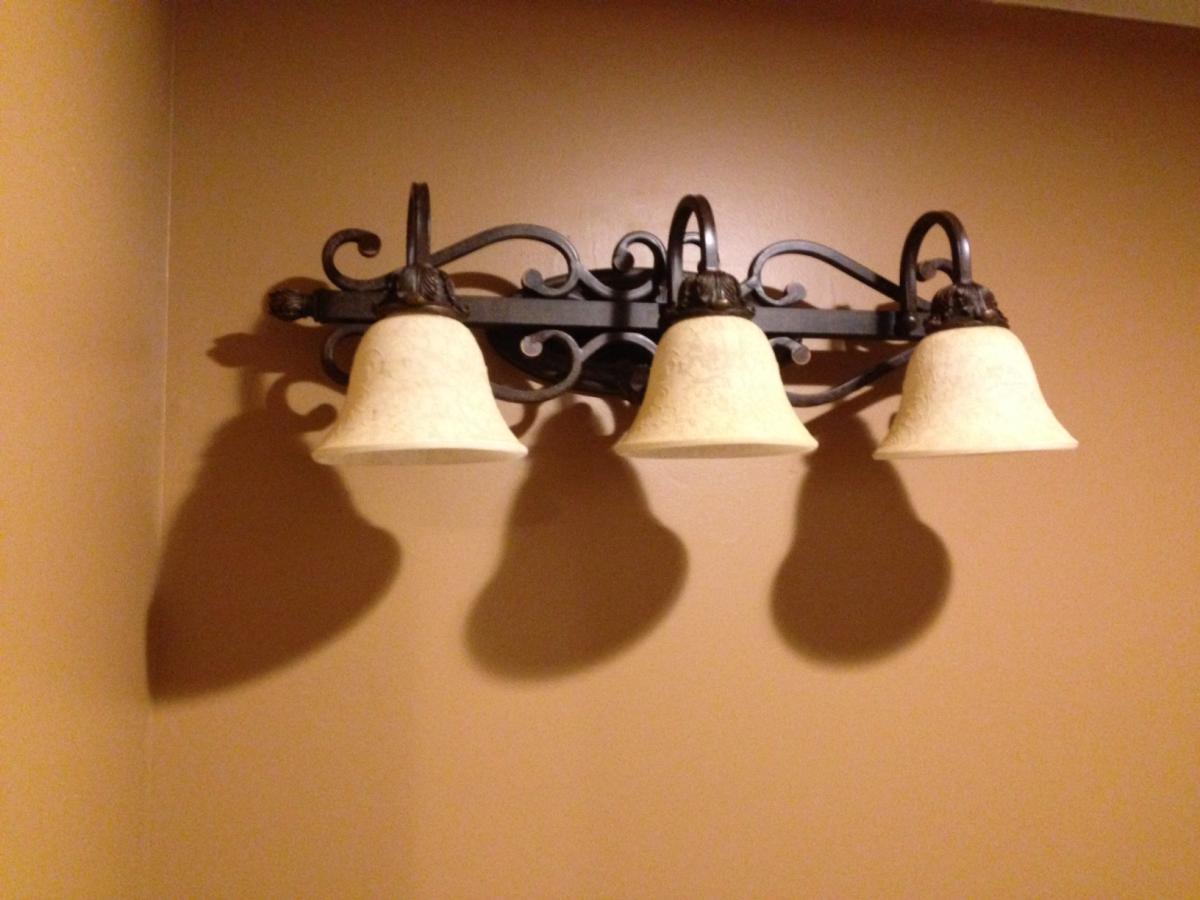
I then realized that pooping in the dark could be disastrous, so I put in the light fixture. Mrs. Conductor did a fine job on it IMO. Very classy looking.
There comes a time in every project where shit just isn’t working out and all conventional methods have failed. Such was the case with this drain. I pried the lip up and broke it out with a pair of V jawed Channellocks. No sense in fighting with it forever.
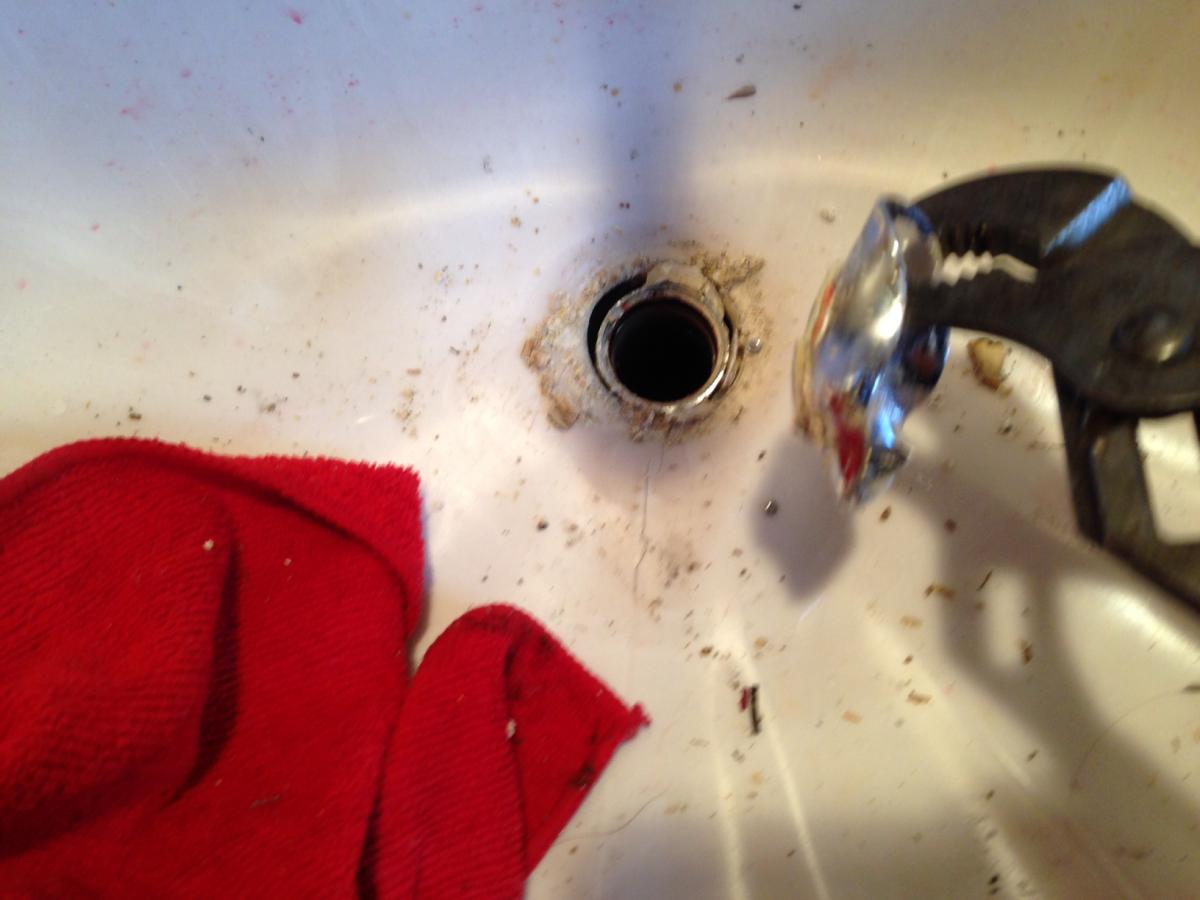
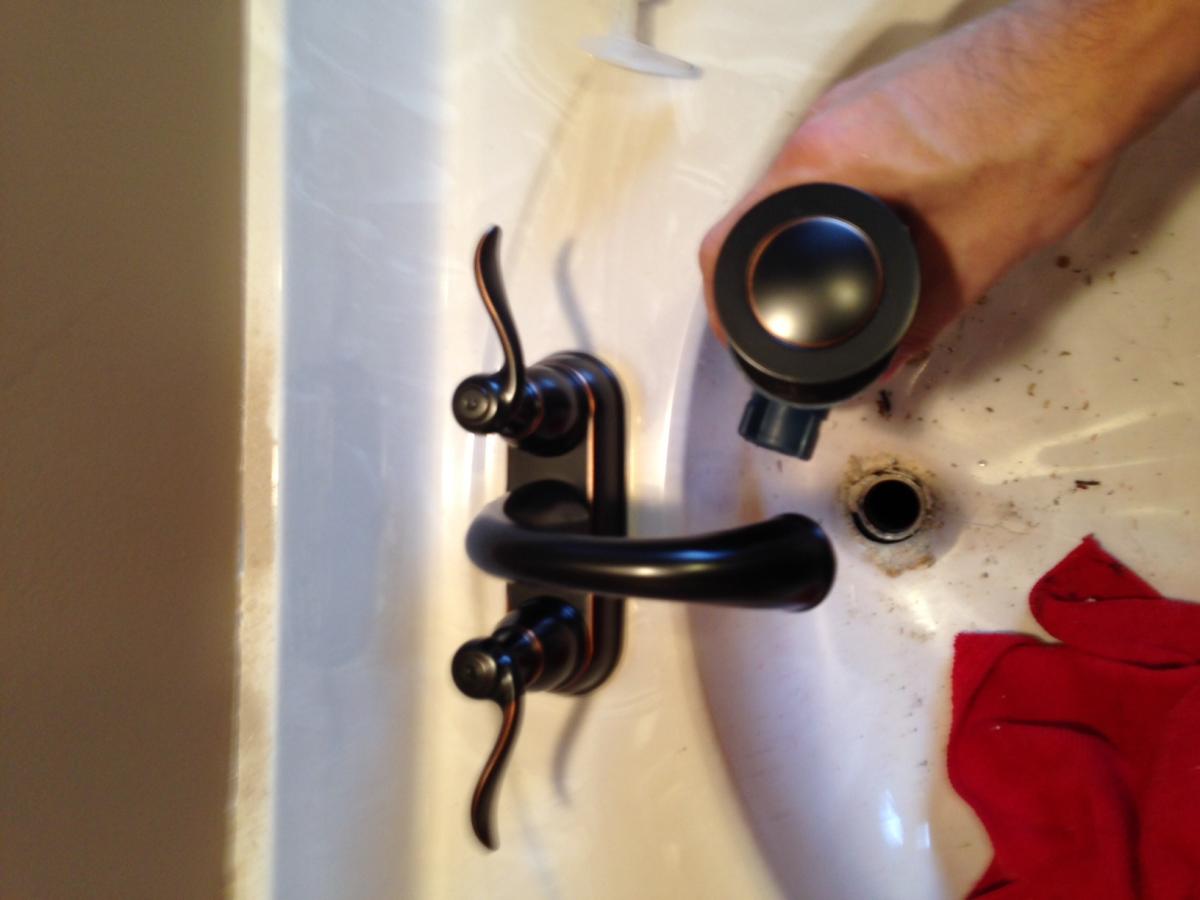
After installing the faucets, I added the bronze drain to match. To my delight, this came with the faucet. Again it was “putty-less” and again, I used putty.
When I bought my router a couple years back, I wanted a comprehensive set of router bits. This 36 piece set from Grizzly was just the ticket. It has a nice assortment of profiles to cover most needs. Grizzly offers purple and green bits with purple being the “premium” models. It retails for $149, but I got it on cyber monday for $99. They have many sets available in a variety of sizes and profiles HERE. My set is the H3426 set and I highly recommend it.
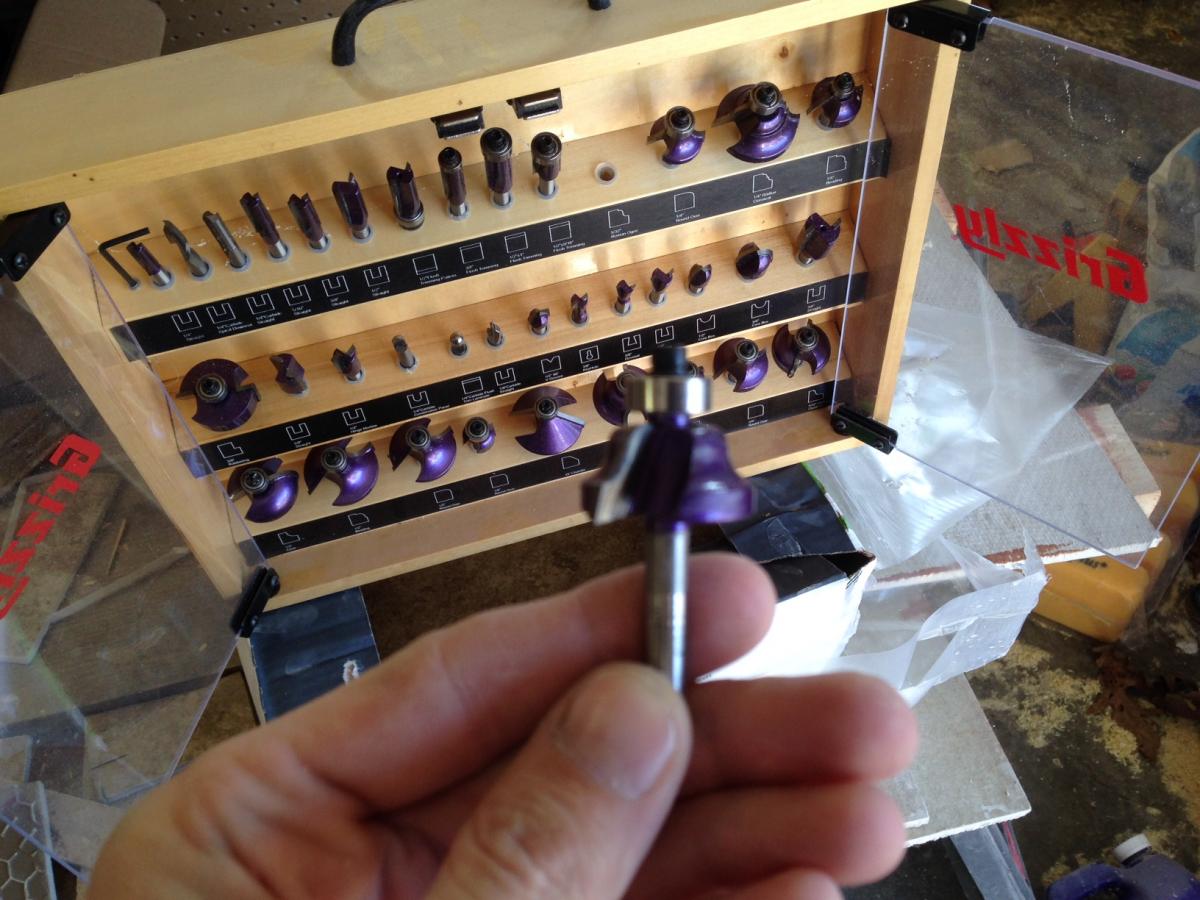
Using the 5/8″ Roman Ogee pictured above, I made the end caps for my counter tops. It would have been a lot easier to finish them before putting them on, but I wanted to have the ability to putty the nail holes. It just didn’t seem like a corner worth cutting.
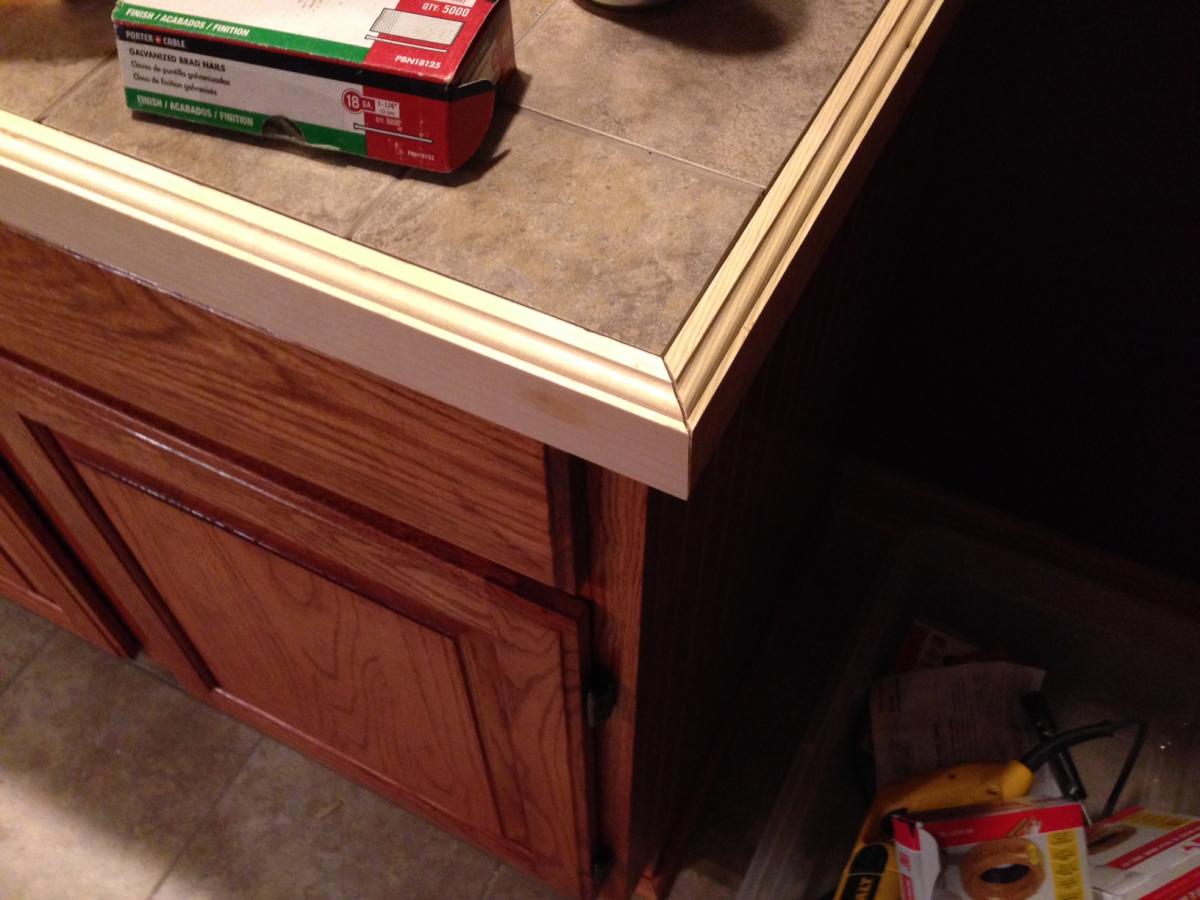
Most corners were simple 45’s, but I did have some 22.5’s on the island.
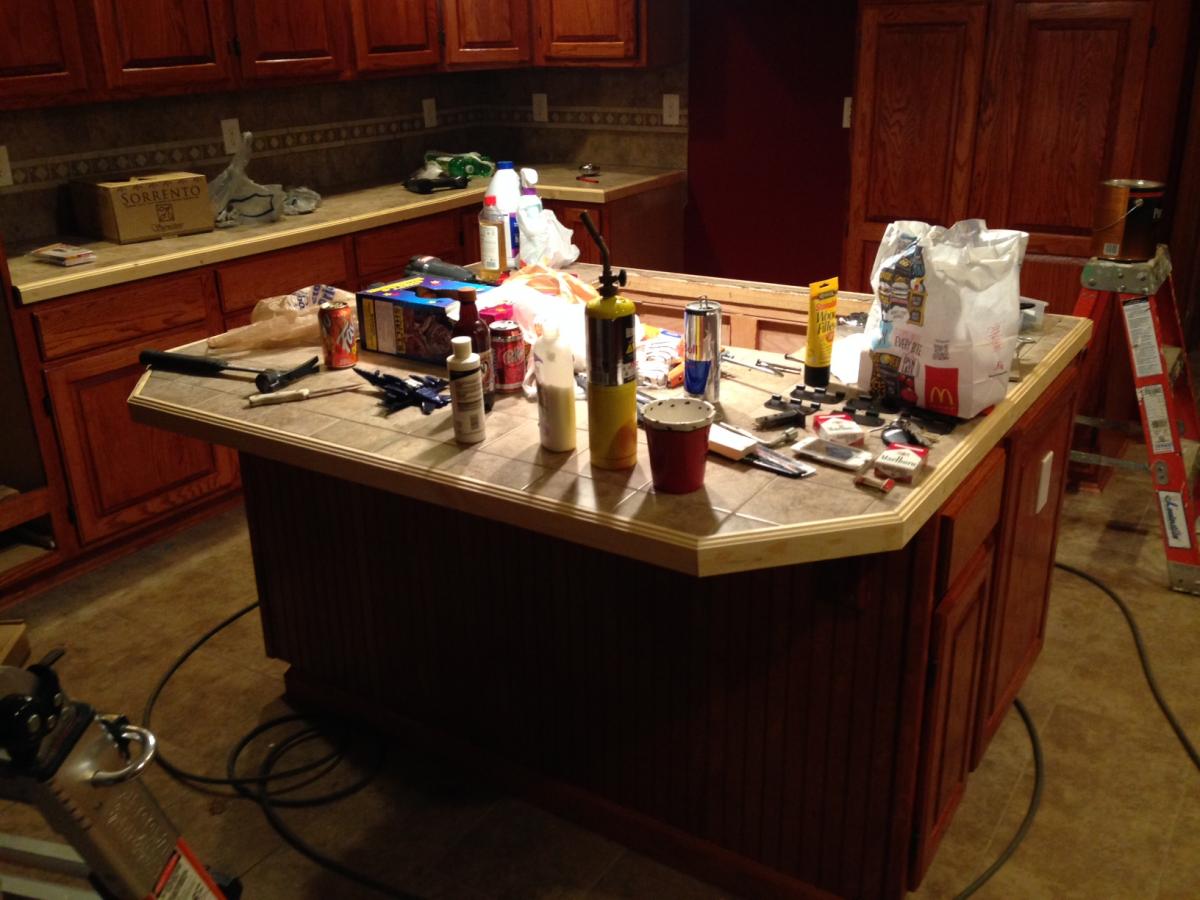
You can’t tell from the pic, but I did finally get the 3rd and final coat of poly on the cabinet doors. I have to admit that I was pretty skeptical about how these cabinets would turn out when we started stripping them, but they turned out beautifully if I do say so myself. Make no mistake, this was a ton of messy, tedious, time consuming work, to get them perfect, but in hindsight it was worth it. They turned out awesome and have a vintage sort of look about them when you see them up close. Perfect for our taste and a true country kitchen.
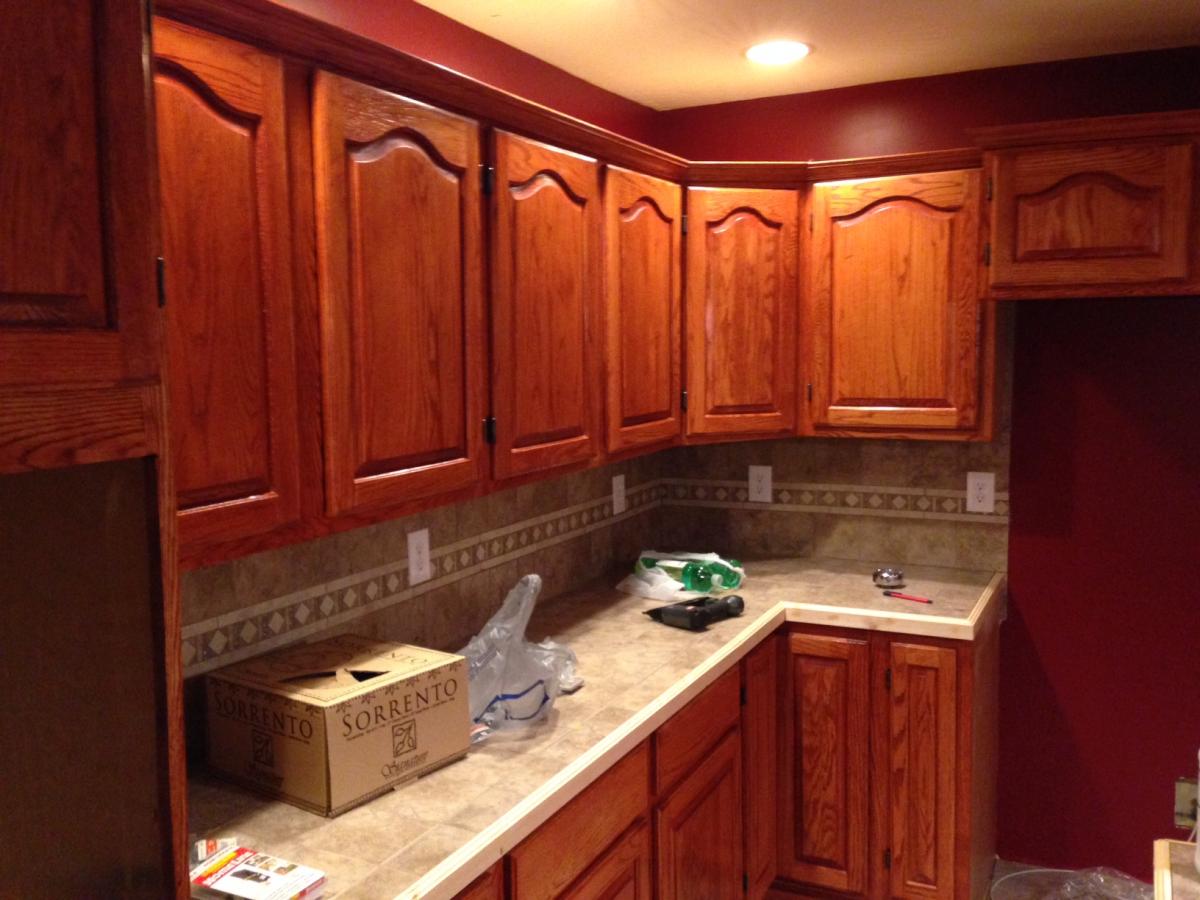
I didn’t think it was possible, but my garage was completely trashed after making the end caps. Complete disaster is the term that comes to mind. I can’t wait to get everything in order and actually have a shop again.
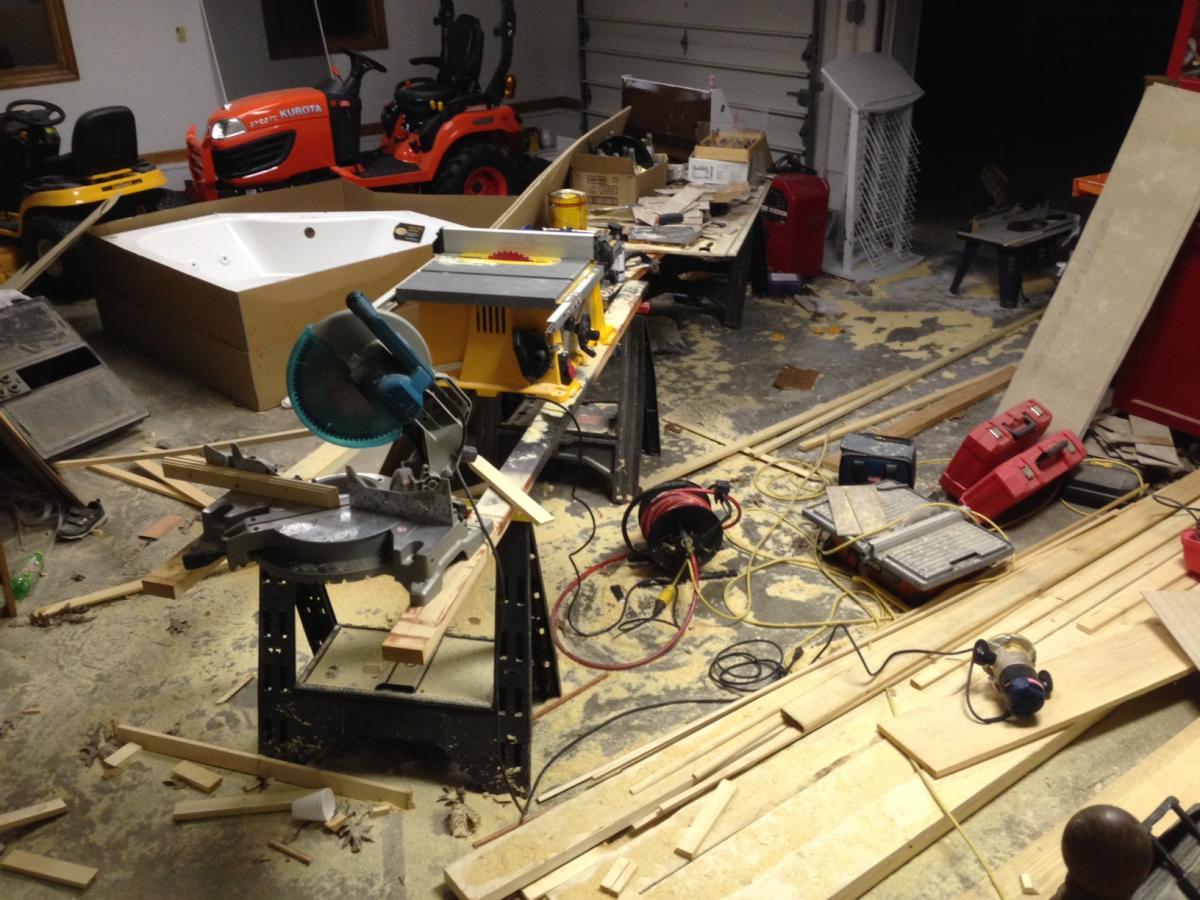
Got the trim around the backsplash and the laundry sink re-installed.
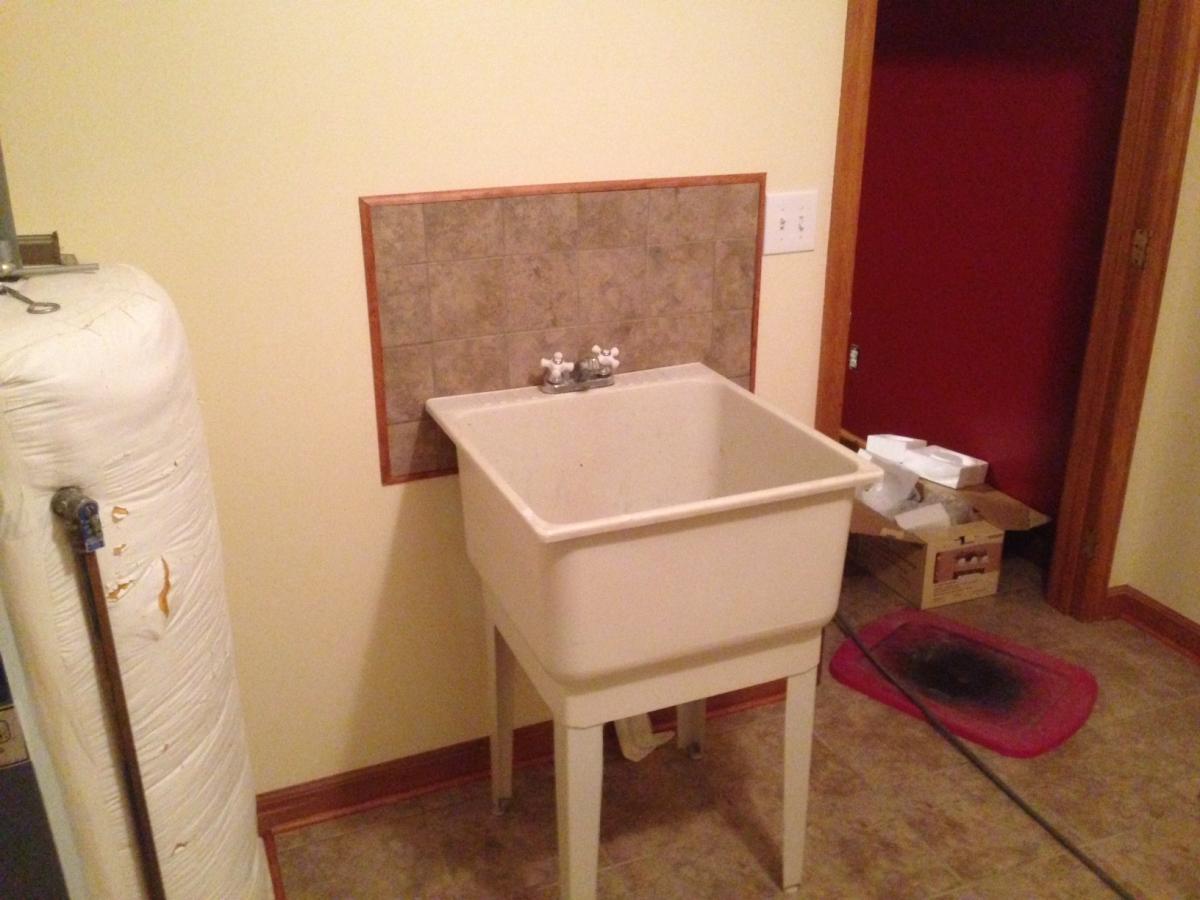
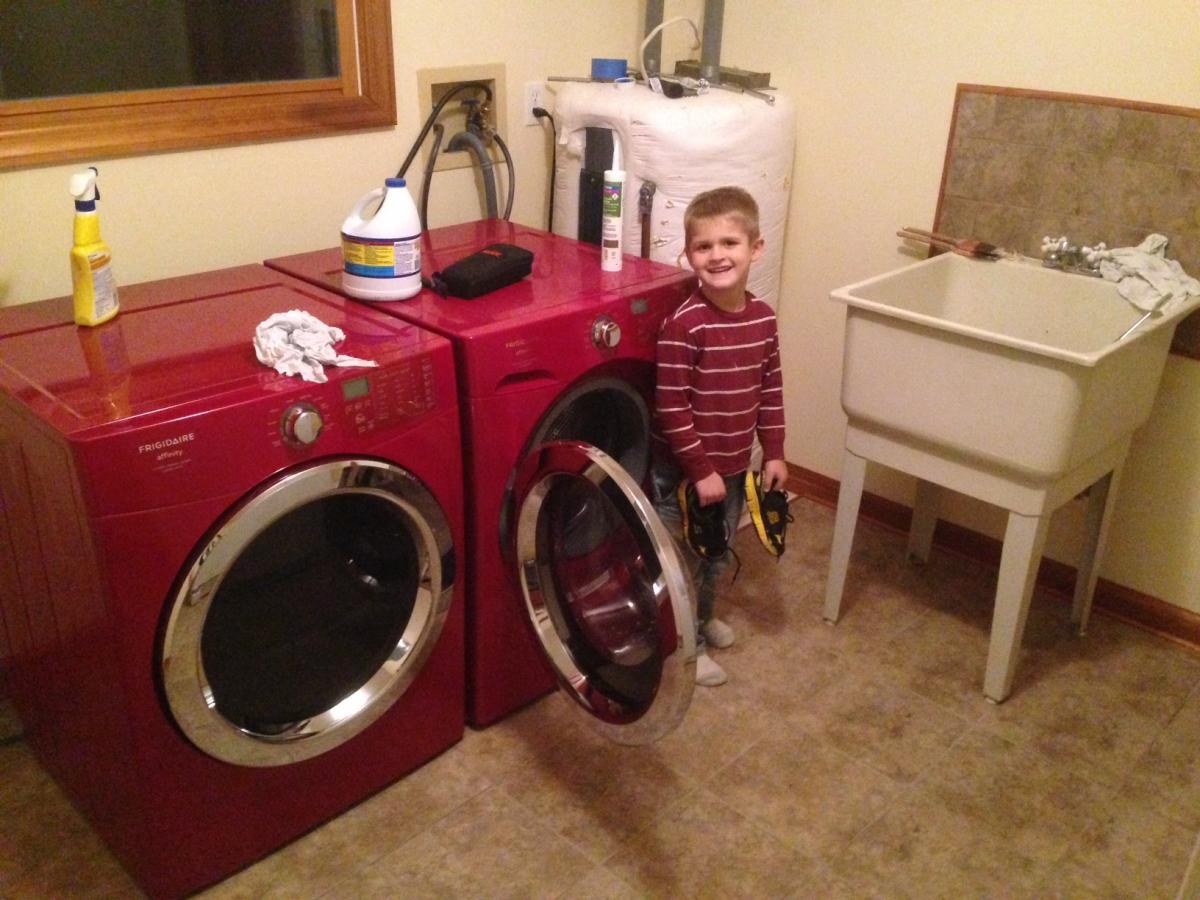
Sunday saw the first wave of things being moved in. Wouldn’t you know the damn dryer cord is the wrong configuration. Have to pick a new one up this week.
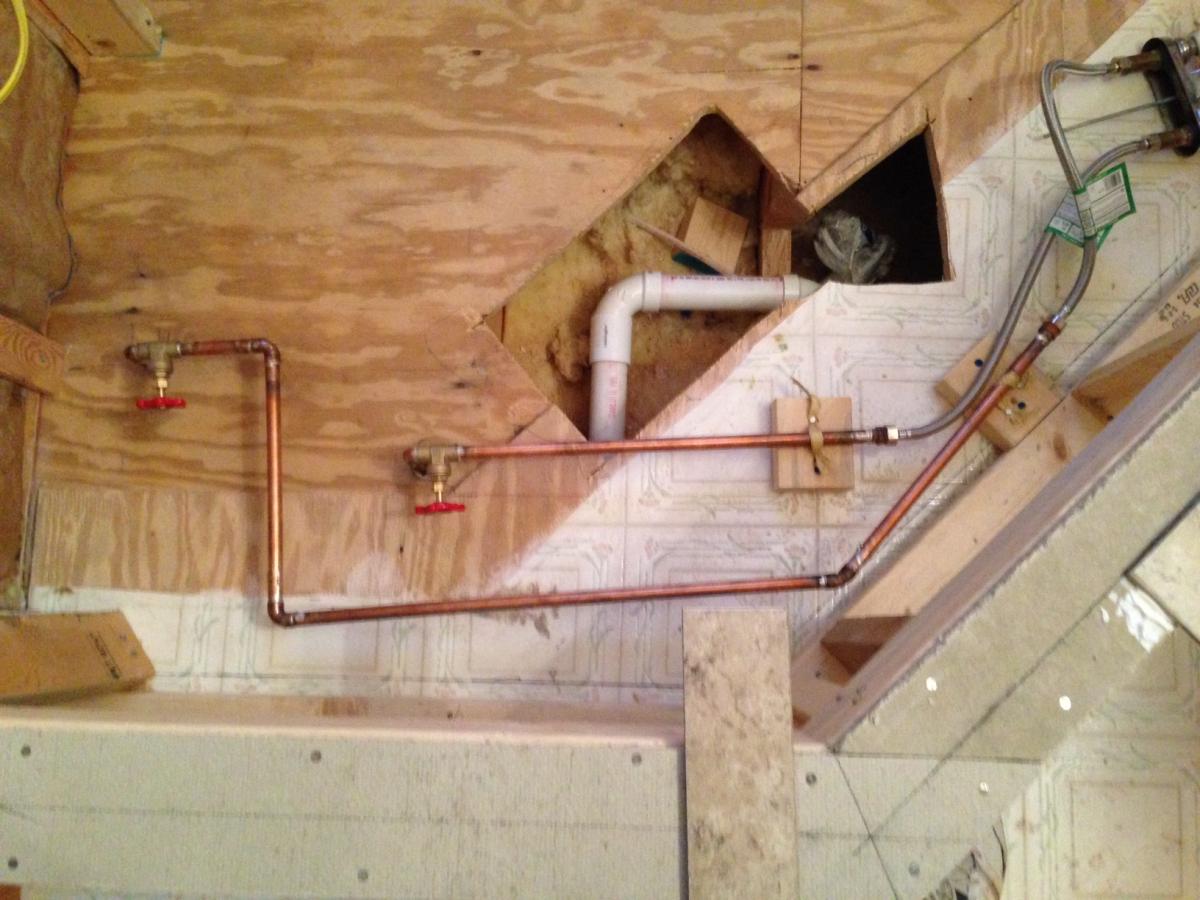
As we get closer to dropping the Jacuzzi into place I started getting less satisfied with how I ran the supply lines. I didn’t want to get down to crunch time and have to re-route the hot line, so I went ahead and ran it around the perimeter to be safe. I think it would have cleared before, but I felt like I was half assign it before.
We started the tub surround tile with the bullnose on the outer edge and went from there. My father in-law led the way on this one.
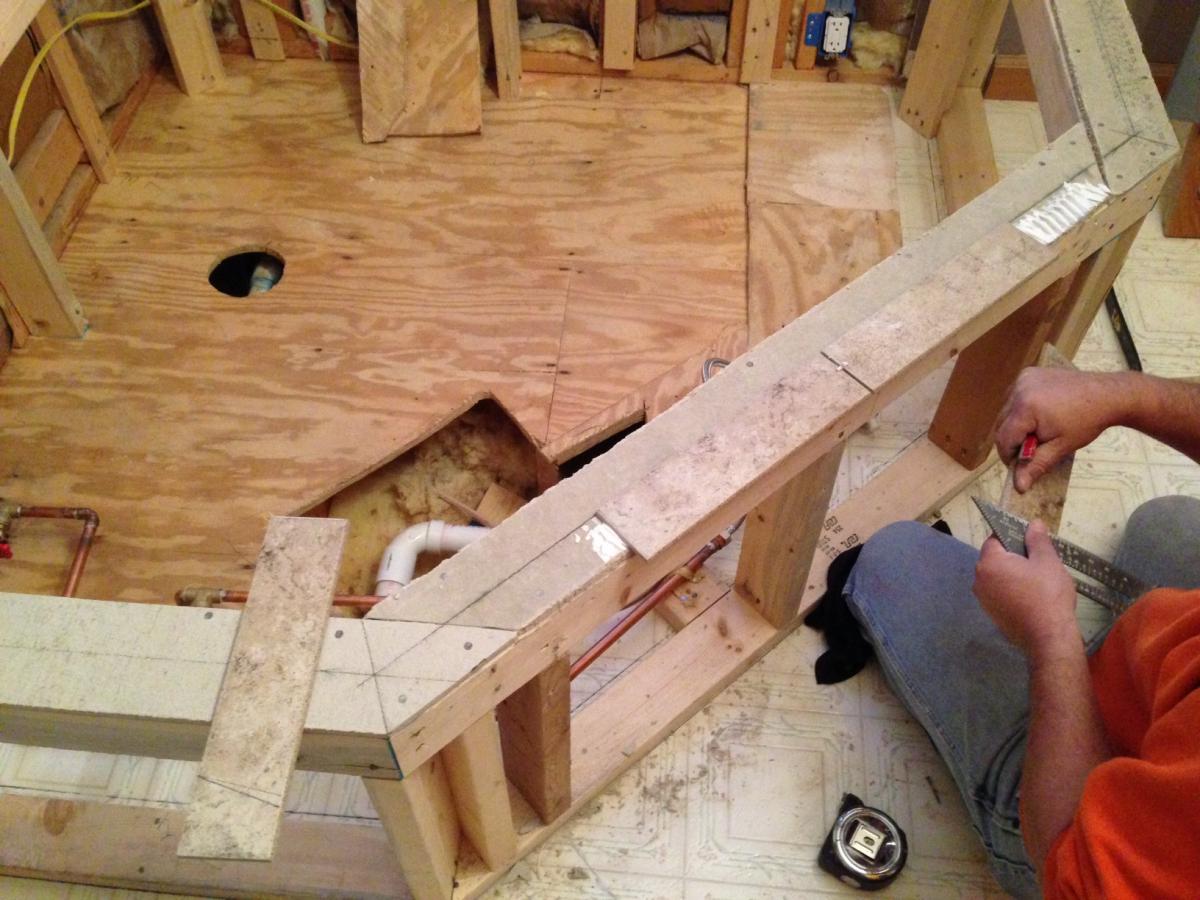
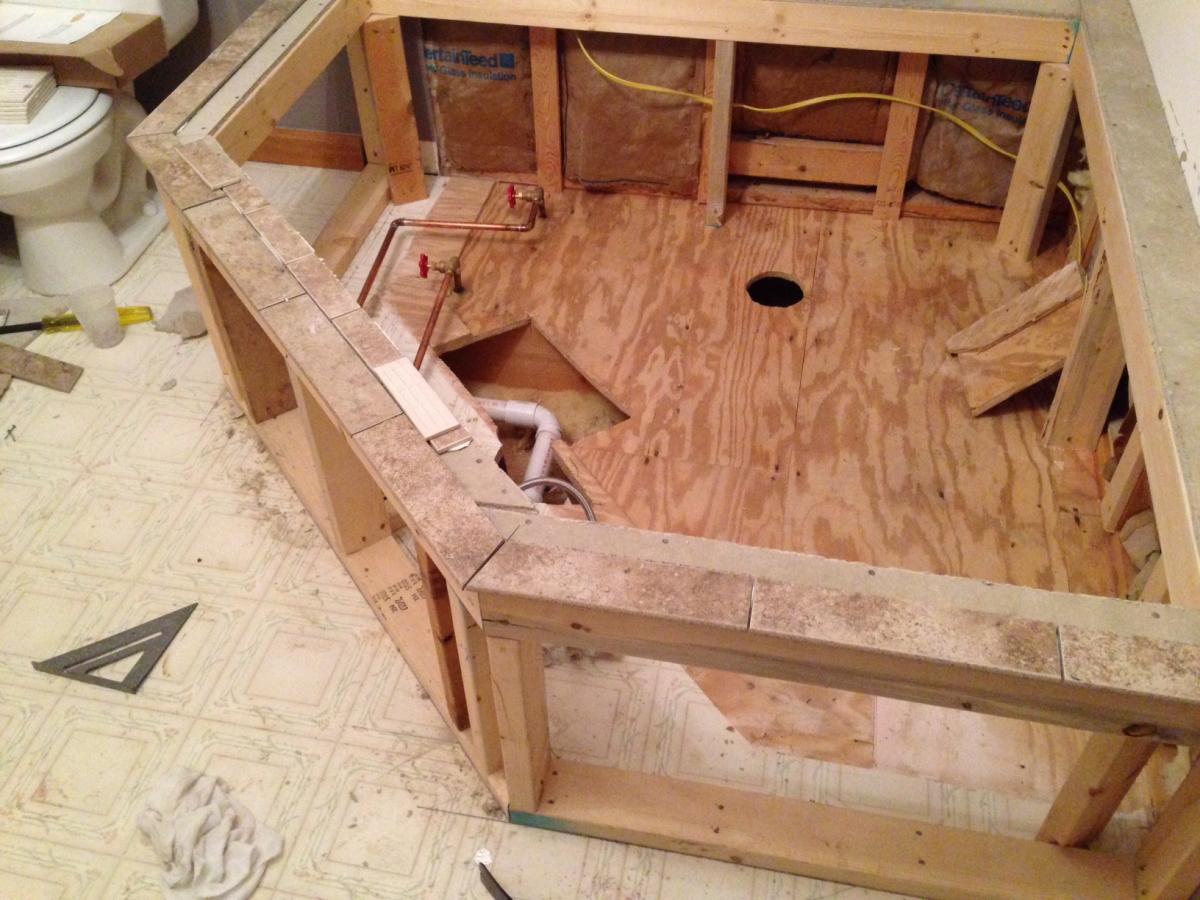
Once that was done we moved on to the backsplash. As you can see, we ran 1 piece of bull nose short. Luckily this wasn’t clearance tile so it was simply a matter of running back to Lowe’s for the 900th time.
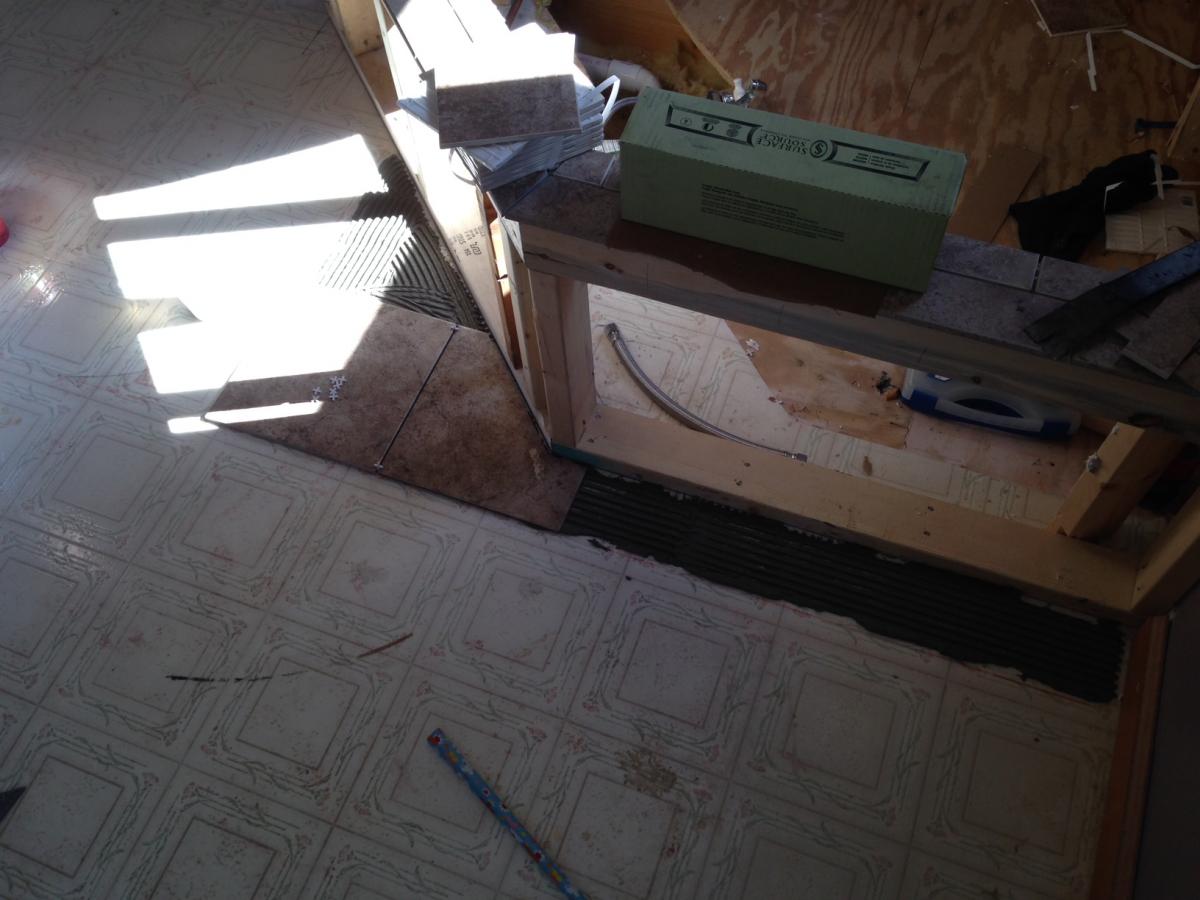
For the floor, we started at the surround and worked our way out. Seemed like the best idea.
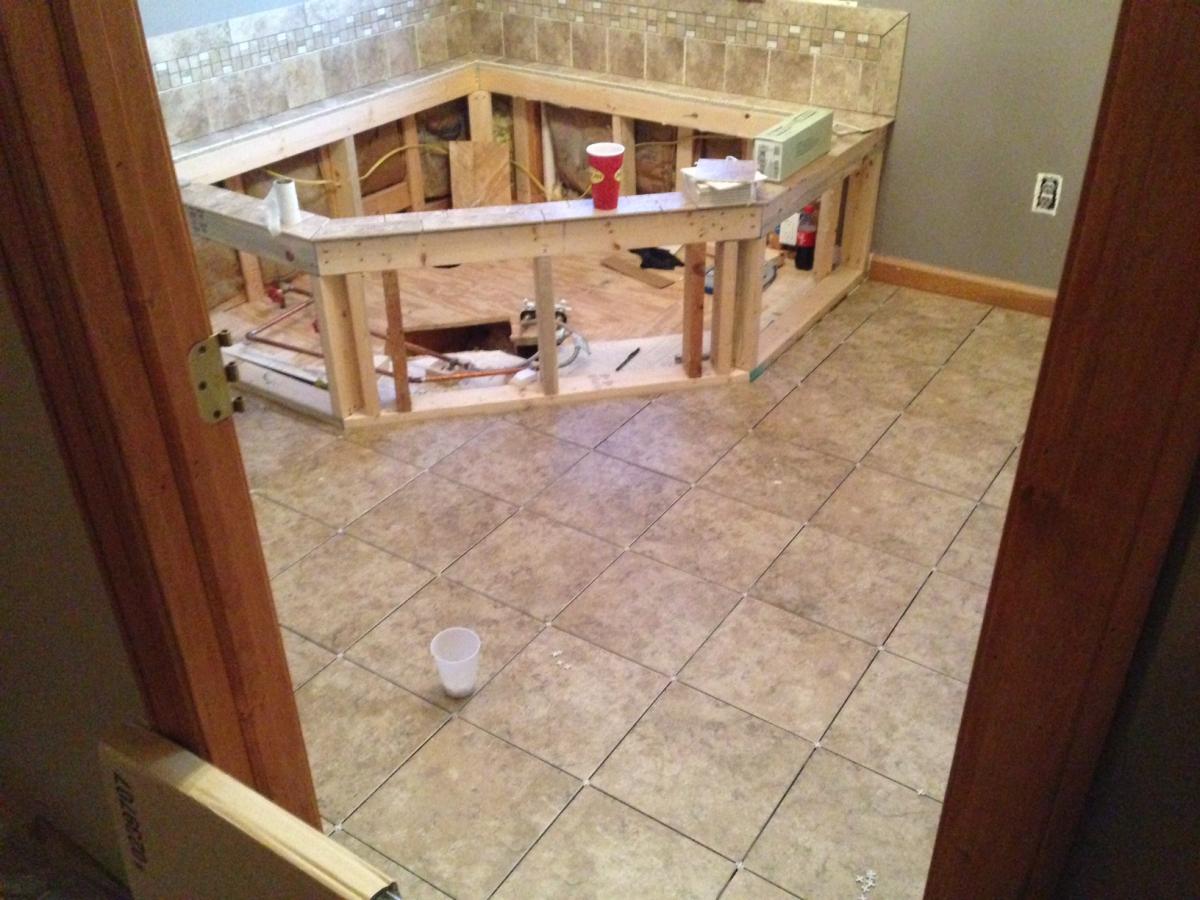
Here is a shot of the finished tile (pre-grout). Our original plan was to tile the whole wall up to 3 feet from the floor, but with the time and money involved we settled for this. It’s the first time we’ve “settled” for anything on this project, but I was happy enough with this and anything more seemed un-nessecery.
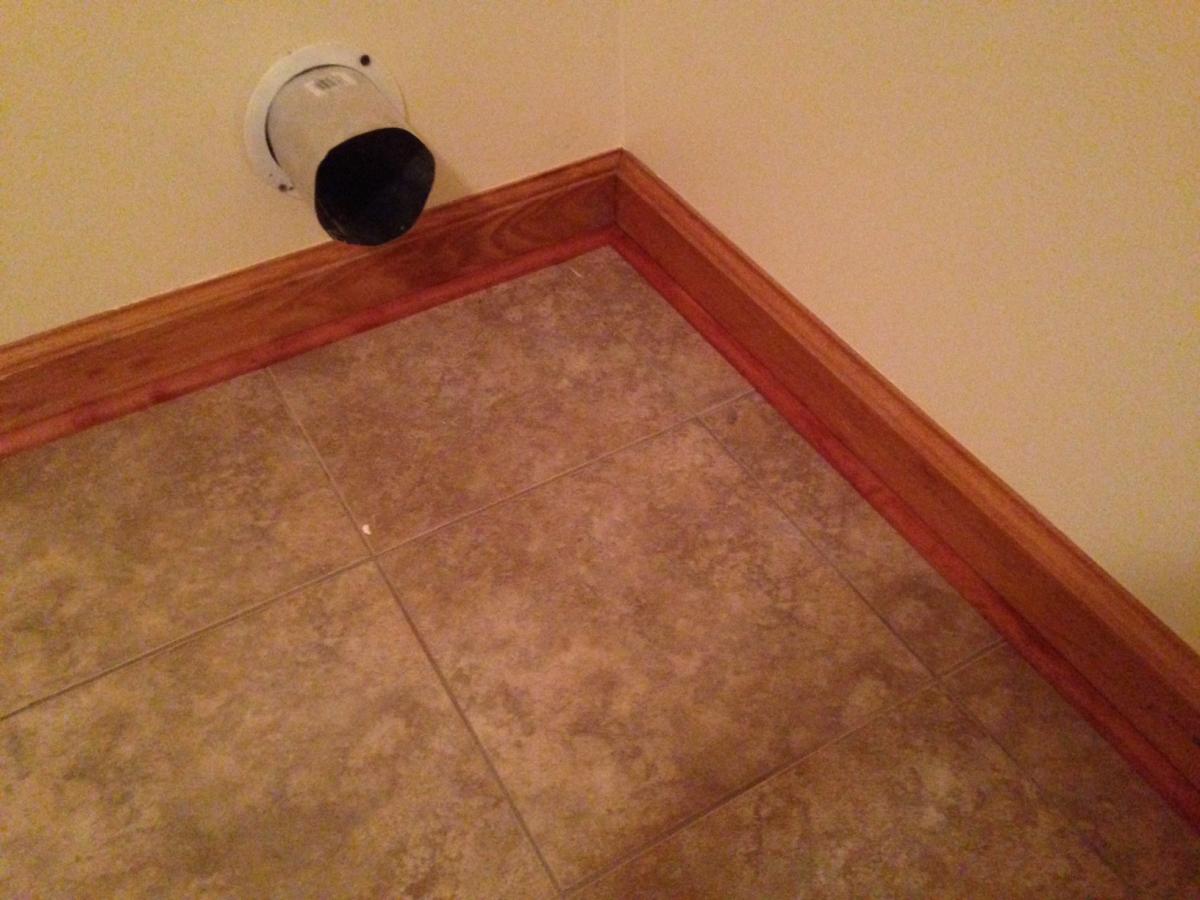
I also got all the shoe moulding down. Added a nice touch and was a hell of a lot easier than pulling all the base boards. Some people use quarter round, but shoe moulding does the same job for less money and looks more appropriate I think.
Went to hook the trailer up to start moving some things and the damn key broke off in the lock. It was one of those locks you can’t get cutters on and I though I may be in deep shit. No worries though, the trusty Milwaukee hammer drill had me back on track in under 5 minutes. Kinda makes me call into question the true security of these things though.
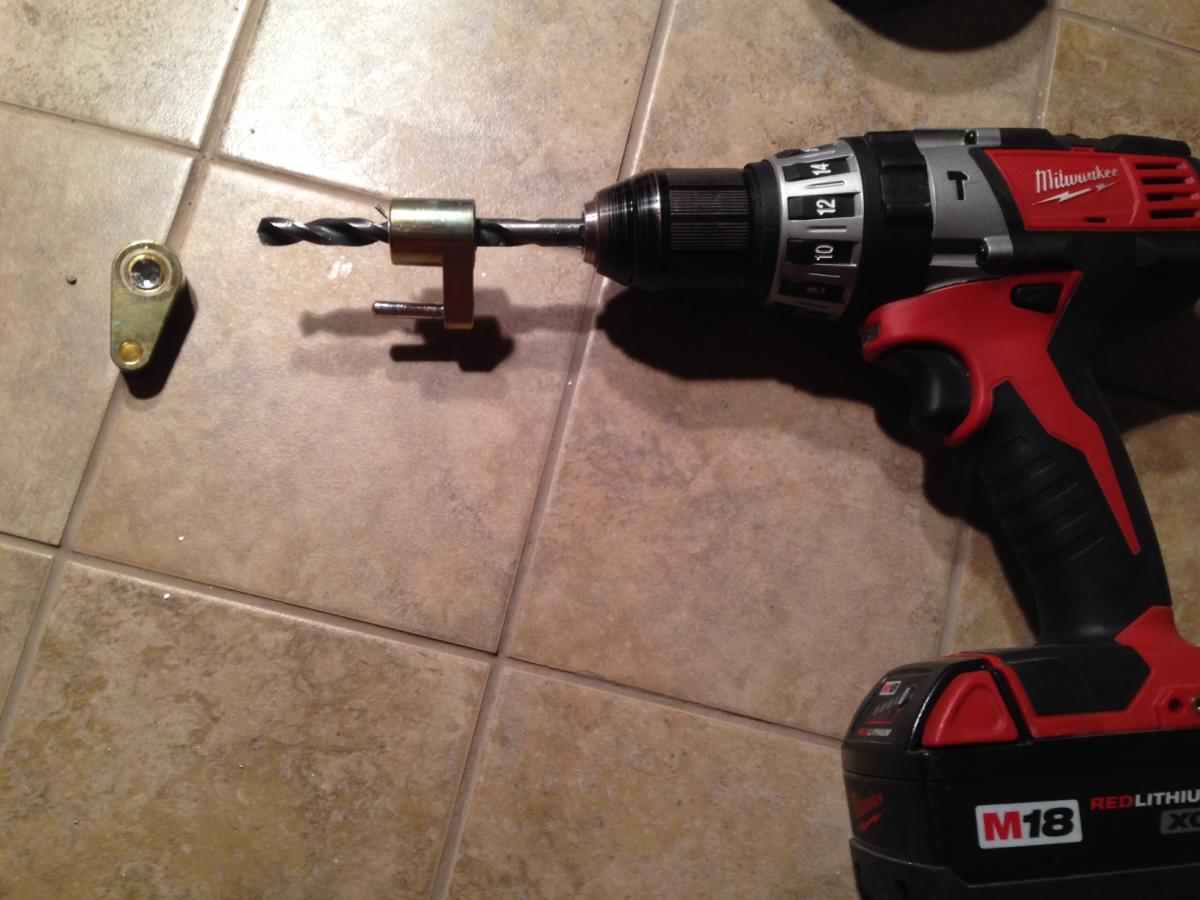
That’s all the picks up to this point. Should have a few more in the next couple days though.
Thats the nicest mud sink i have ever seen. Can i borrow some saw dust? lol
ChaseRogers wrote:
Thats the nicest mud sink i have ever seen. Can i borrow some saw dust? lol
I certainly have an abundance.
Wow really nice job. Ahhh the Red Bull and the Marlboro’s. Why do those two things always go together? That’s why it’s so hard for me to stop smoking, wish I never picked it up. You have been jamming on that house. Looks awesome.