
We’re 10 days away from closing escrow selling our house and we have to move back to my grand parents studio and I’m super bummed seeing all these great pics… great job comp
sorry bro…..lol
remember these closet doors I made, in the rebuilding stage, well they are finally in place for good….lol


some more rooms complete


little etched window from the stairway side, it is about 10 feet up so it is not for looking into master bedroom just for natural light…….

another room, another TV mounted in master with hidden cable box, internet access and no visible wires….

Looks great comp:)
thanks regopit, ya not bad for a poor old fisherman….lol
Quick desk project today, kid wanted an 11 foot by 7 foot L shaped desk. I went with oak and trimmed it with clear pine….squared up cedar posts for legs clear coated everything…..

so it turns out everything fits nicely…soon ready to game…

An Italian home isn’t an Italian home without at least a little bit of marble……

It looks great!
comp56 wrote:
On 12/16/2017 at 9:52 PM, comp56 said:another room, another TV mounted in master with hidden cable box, internet access and no visible wires….
Looks great Comp! Very impressive. Cable box in the wall or in the closet?
thanks T75R,
actually behind TV facing straight up
sharing a little jig I made up to install my bathroom floor tiles. Now as much as I would like to say that I built the room perfectly square I had no control over the 2 outside walls and I only added the 2 interior walls to complete the room. Now after checking the room seems to be pretty good but I don’t want to assume anything when cutting the tiles. I’m installing 12″x 24″ tile in a herringbone pattern so there will be lots of small angle cuts all around the outside of the room and I want to make sure the cuts stay consistent from the edge. This little jig is completely adjustable for angle and length…


funny how things go, made a jig to do herringbone and last minute wife says no…want it straight staggered ……so much for my jig….lol

ok all ready for grout…..did I mention these porcelain tiles cut nice if the cut is straight but not so nice in a circle……


Looking really nice man.
Do you like using some sort of tile leveling system or just do it by feel?
Sent from my Redmi Note 3 using Tapatalk
thanks dude, I do it pretty much by feel, and a straight edge and applying the same amount of thinset evenly helps too… One trick is to spread the thinset in one direction one way and not in circles like many people do. I also run my finger against last tile edges to remove thinset before I place next tile down. when placing tile I place it about 1/2″ from both edges and slide it while pushing down to proper gap thickness.
well waited about 48 hours before I grouted, (the longer the better. I say)…anyway the chocolate grout turned out nicely. during the next few days I will remove the haze while it is curing and work on installing the door and trim then finally start hooking up the fixtures toilet vanity tub ect ect not sure what everyone thinks is best for doorway transition, I always go half way each so when door is closed you can’t see other room’s flooring. on a side note: wife is getting happier everyday goes by….

Looks really good Comp, you using a wet saw for your cuts?
T75R wrote:
38 minutes ago, T75R said:Looks really good Comp, you using a wet saw for your cuts?
thanks T75R, no wet saw just my good ol Milwaukee Fuel grinder with a diamond blade worked like a charm.
I got some fixtures installed today now that it is getting close the wife has a fire under my arse….


made some floating shelves out of 1.5″ thick bamboo, these were then stained in a dark espresso and rubbed sealer applied…..
just a few touches that need to be finished and the entire upstairs will be complete, rock bed next then Done!
side note: good thing I only put free standing faucet in back side for picture the other day as wife wanted in front not back…..so I picked it up and moved it in front she almost came un-glued…..lol now it is all plumbed in and fully functional, no moving it now…haha


ok entire upstairs reno complete, part 2 coming soon kitchen gut job……

Looks great brother
Thanks T75R…
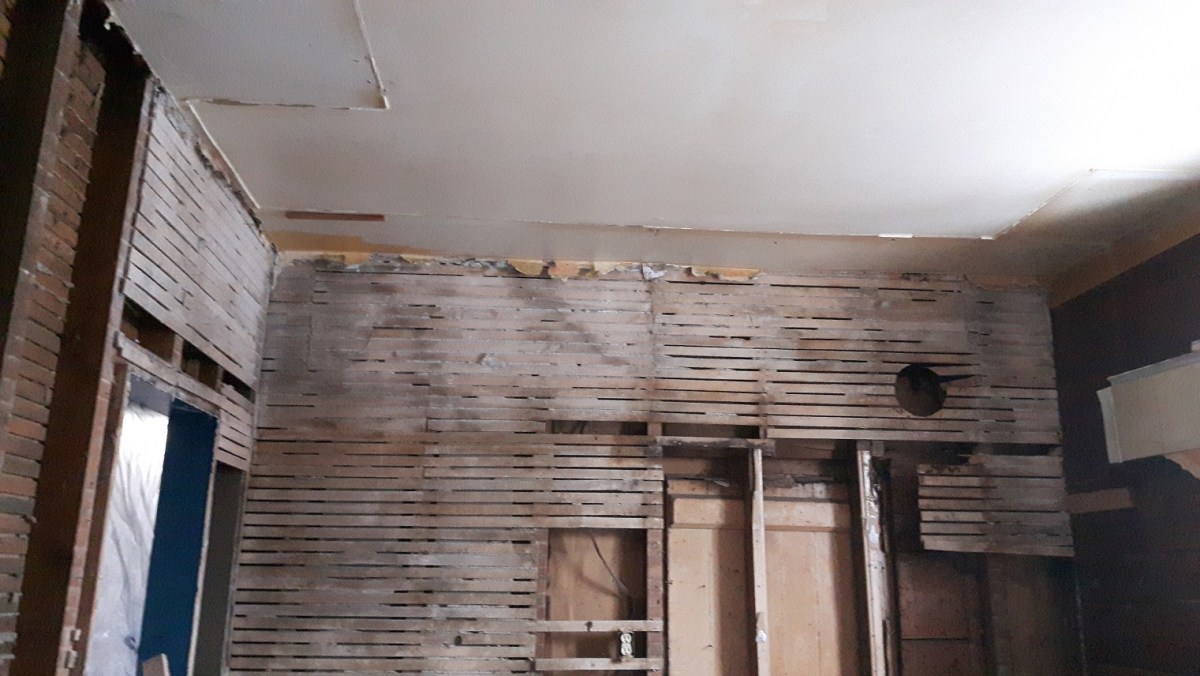
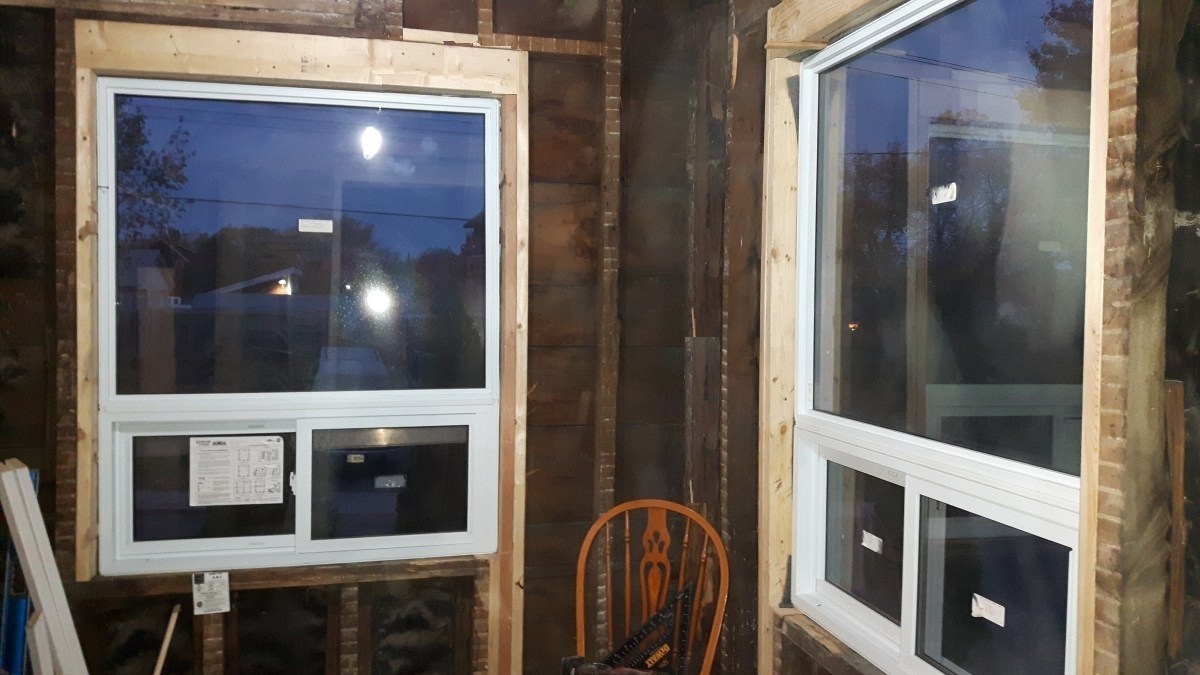
well after a short break I got into gutting the seconds stage of this reno, this time the kitchen and ding nook, here are some real raw shots of the starting, other side is the dining nook as I put new windows in just prior to the snow and cold of winter set in. oh look the little one approves of the new view….


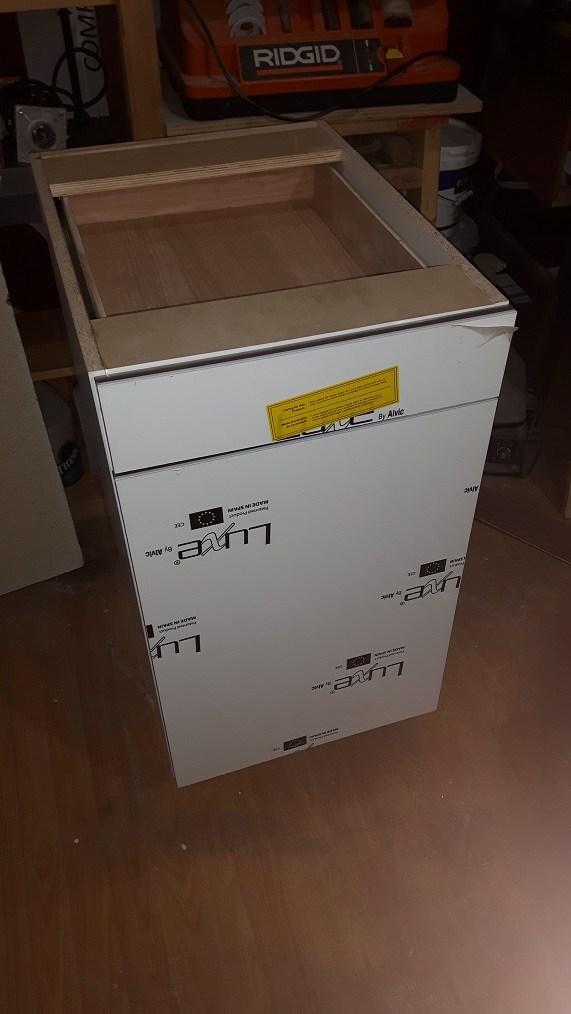
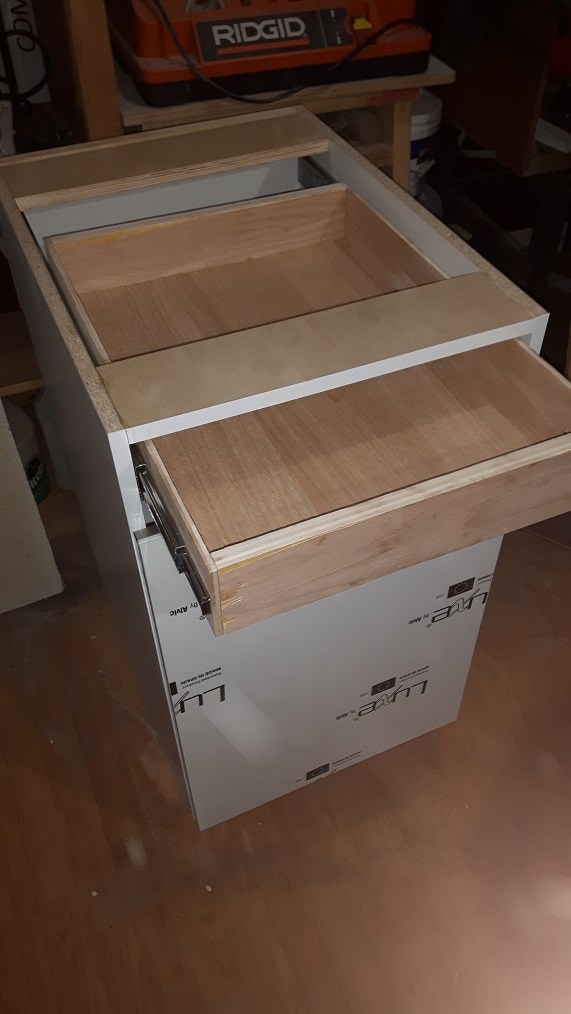
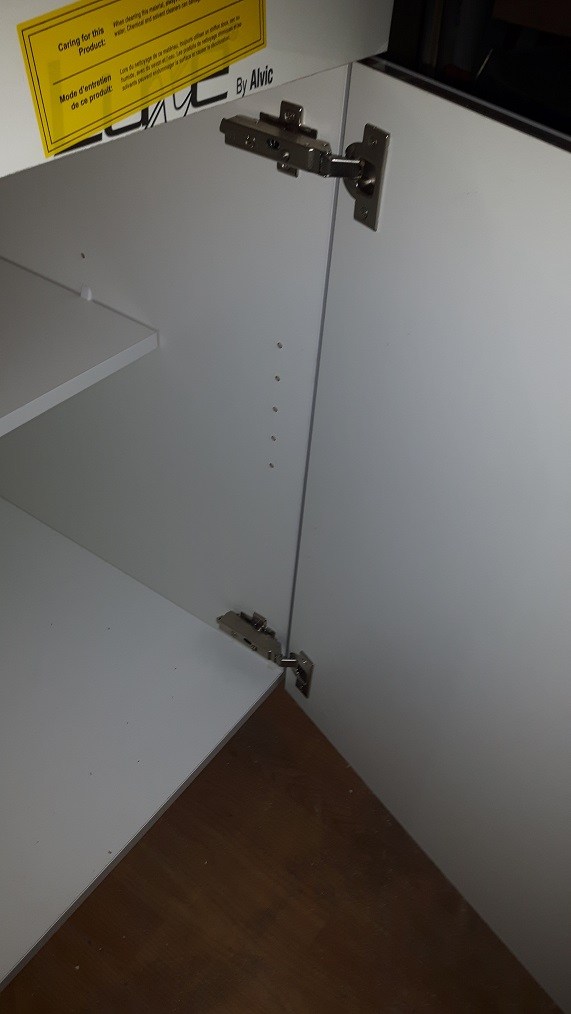
Well I have the kitchen gutted but I have to wait for some sub-flooring material to show up. So as it were my wife wanted hi-gloss cabinets and the line we picked didn’t come with a single top drawer pull only a 18.5″ wide 3 drawer pull. Wife wanted just a single. So I looked after that for her. I took door off and cut top off, I then turned bottom upside down and moved hinges. these are soft closing along with all the other cabinets so I picked up a set of soft closing rails for the pull…..the protective film will be removed when it is all in place and the handles with be added then as well….

Wow. Looking forward for the result. Bring back my old days.
little update, after removing old flooring which included hardwood, hard pine planking and a third layer of hard pine tongue and groove I found the joists, now these joists are approx 2.5″ below grade so I cleaned tops of joists and added risers to allow sub-floor then cement board and then actual porcelain tile so height will be same as other rooms entering once installed. I didn’t finish complete area yet but I was able to rough in plumping while flooring was out of the way


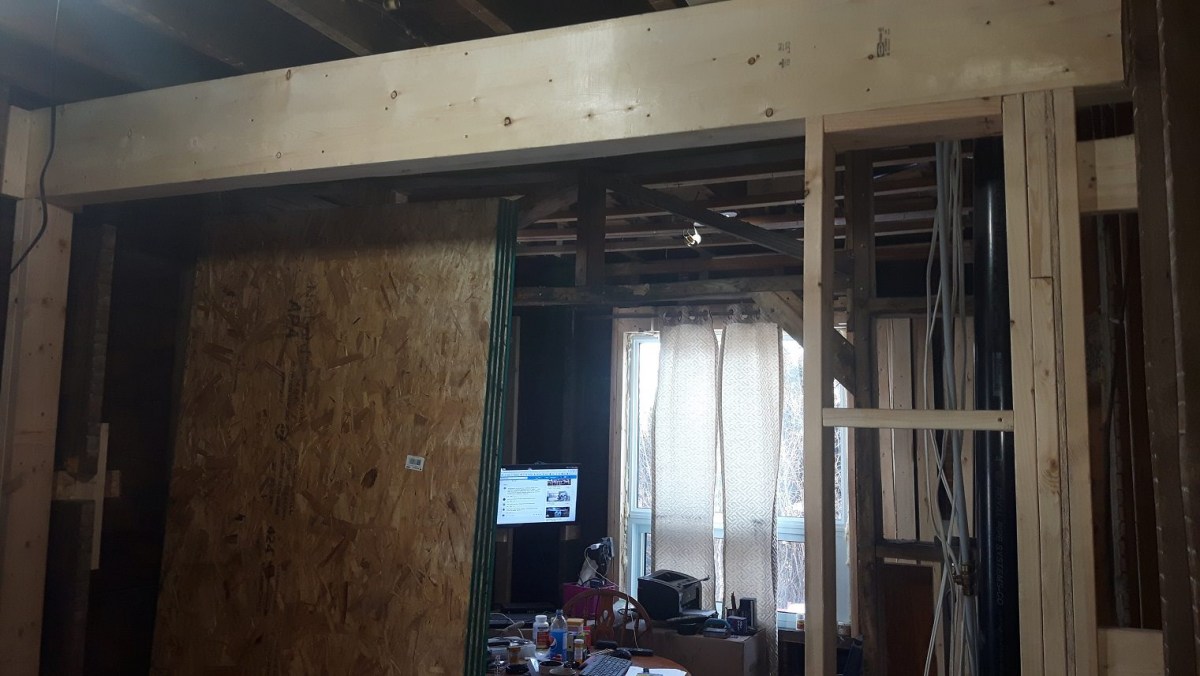
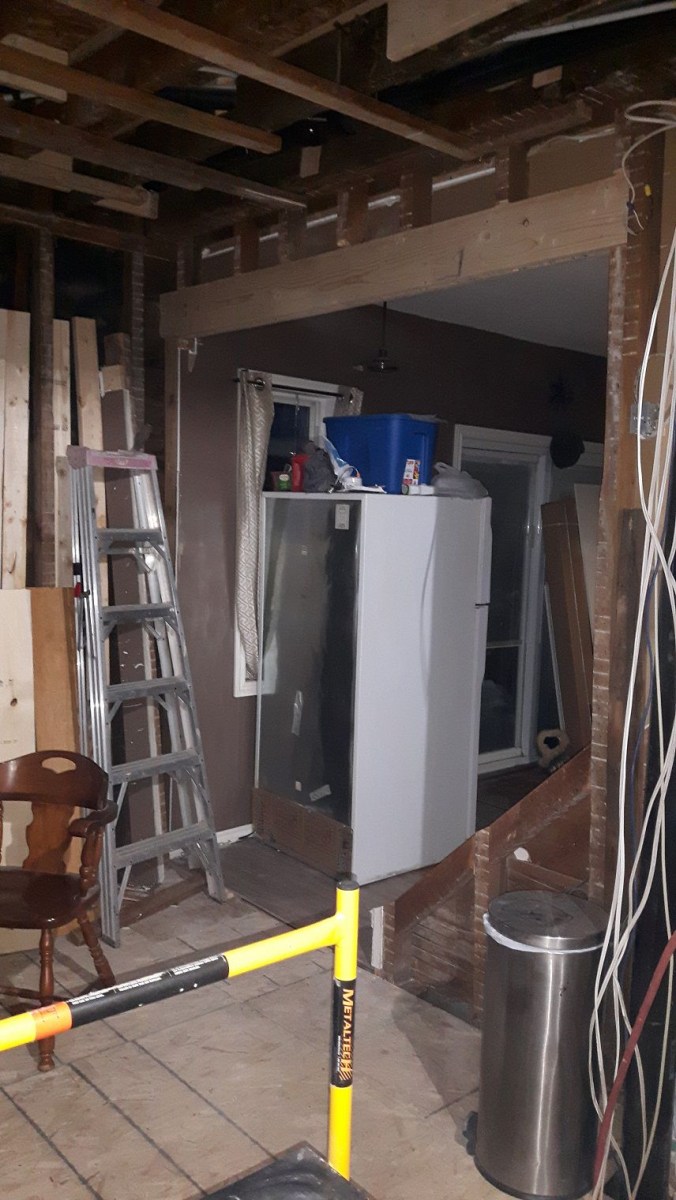
got beam in place, over ceiling, one side will be built out to match refrigerator other side will be hidden in wall and flush. now the ugly archway can be removed making space much bigger kinda hard to see the old archway it is just behind plywood……
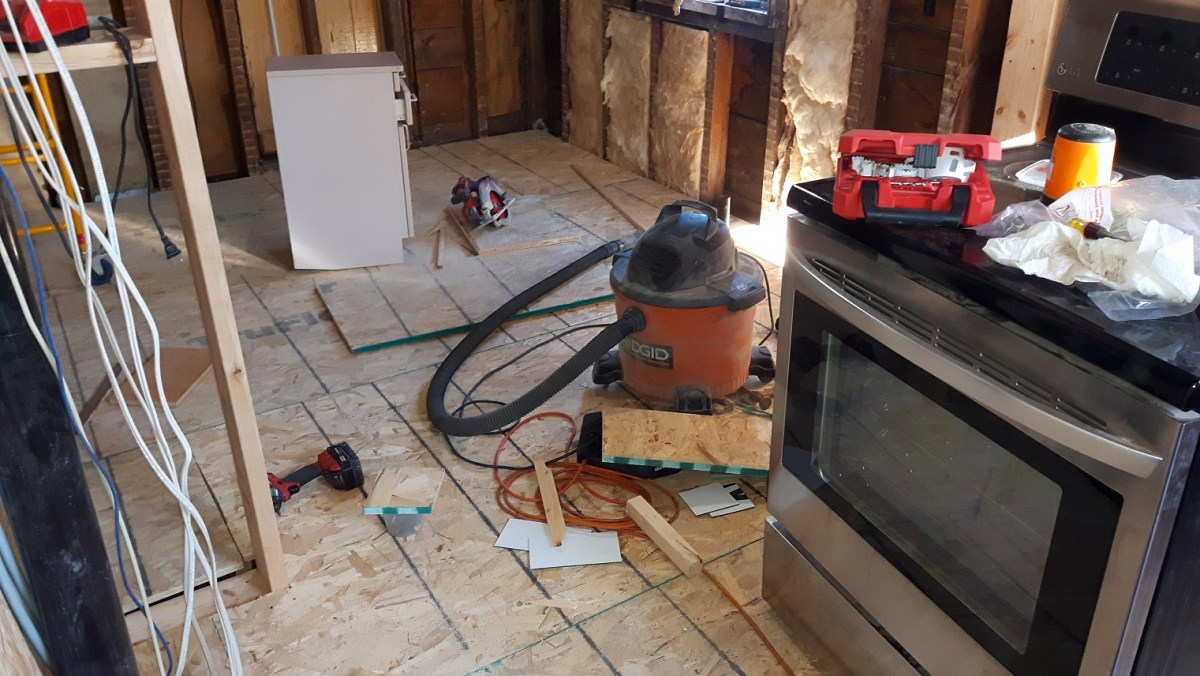
well aside from a total mess, I have the complete sub-floor installed…. leveled, glued and screwed….. cement backer board will be placed over this before tile gets installed.
had some header action today, got some new openings from the kitchen now
got window No.13 of 15 brand new windows that have been installed, I may note not one was original size from the old windows. So it is dry fitted for today gonna pull old window out along with cutting the new opening probably tomorrow, I’m calling it a short picture window, as it is 22″ tall by 77″ long so it needed a yet another header…..
don’t look pretty right now but had to mock it in place before drywall ….


A little soon for a pot faucet.
regopit wrote:
1 minute ago, regopit said:A little soon for a pot faucet.
haha ya, but how else can I see how it will look….
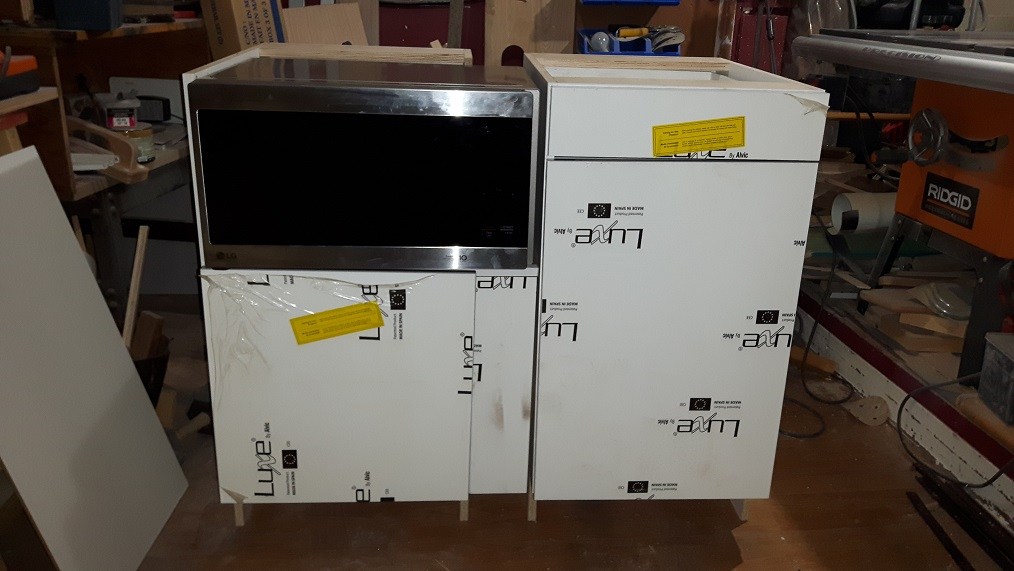
little bit more custom work, wife wants microwave below counter, again the cabinet supplier didn’t have a base to accommodate a microwave so I took a 18″ base and made one fit.
Again some more custom stuff, full 8 ft. high pantry with 3 doors, all with matching high gloss finish…just have to put 3rd door on…
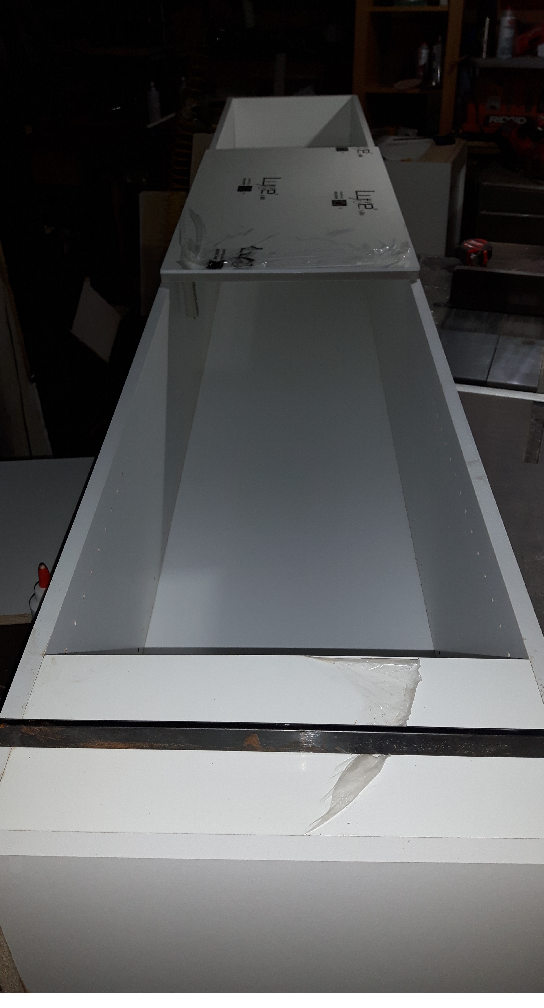
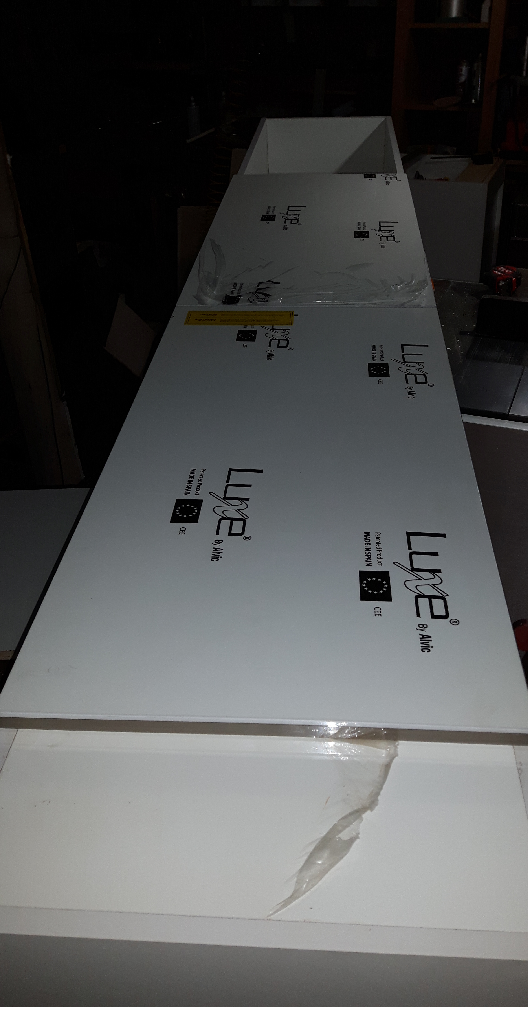
a little more custom…
well there was or would have been dead space in wall and fridge, so I made a sliding spice rack among other things that might fit, there will be clear plexi-glass side added to each shelf as well…
the best part of this whole thing was the rack itself started out as bed rails I had no use for but it was good plywood….lol


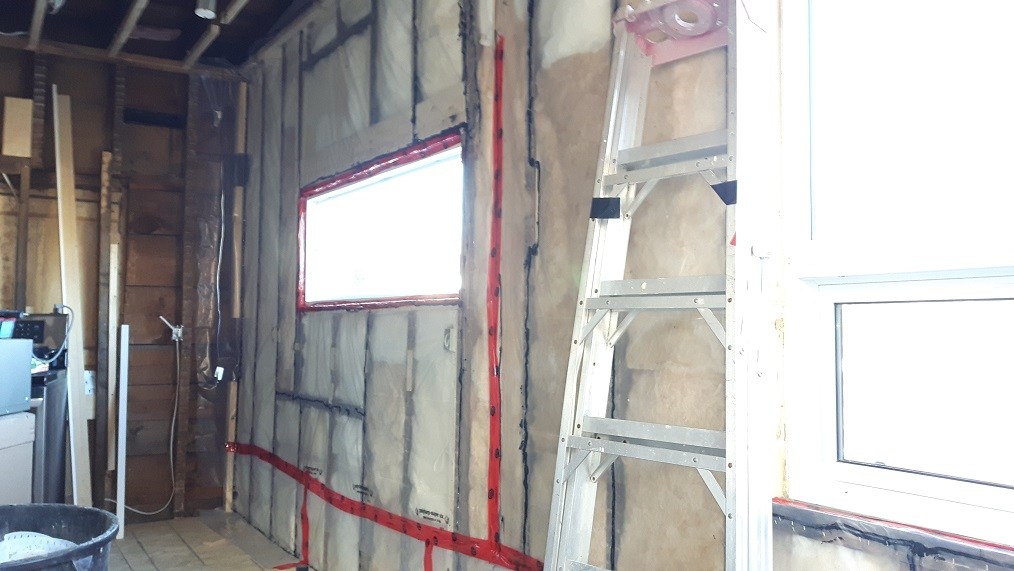
so all insulated, vapor barriered and accustaseal, if that is a thing…. all ready for drywall…..
in the mean time, another custom item needed for the far side of kitchen/dining area, will need a small corner cabinet to house some electronics and wires ect ect not sure if I am going to add backing or just mount it directly to drywall. A Bamboo top will be added to match the rest of the counter tops in the kitchen when it gets installed. Again film will be removed and a matching pull like the rest of the cabinets will be added..
[External image (i.imgur.com), not copied]
[External image (i.imgur.com), not copied]
[External image (i.imgur.com), not copied]
[External image (i.imgur.com), not copied]
[External image (i.imgur.com), not copied]
dry fitting before drywall to mark stud location, looks like it’s not straight but it is just sitting on a box for proper height….
[External image (i.imgur.com), not copied]
[External image (i.imgur.com), not copied]
a touch more custom work for kitchen cabinets, plate rack for above window…..laying it out, sizing it up and putting a frame around it. this will be installed between 2 door cabinets and left open
[External image (i.imgur.com), not copied]
[External image (i.imgur.com), not copied]
[External image (i.imgur.com), not copied]
and the drywall begins…..
[External image (i.imgur.com), not copied]
more custom work for kitchen cabinets, this plate rack will be mounted above a really long 77″ window. At each end will have a 15″ x 15″ cabinet with a door, and beside that a 15″ x 30″ cabinet. in order to do this I took a 30″ x 30″ double door cabinet and cut it up to make 2x 15″ x 15″ and 1x 15″ x 30″ by cutting one door in half.
[External image (i.imgur.com), not copied]
[External image (i.imgur.com), not copied]
[External image (i.imgur.com), not copied]
[External image (i.imgur.com), not copied]
[External image (i.imgur.com), not copied]
ok so all the boring fun taping and mudding is done, time to mock up the custom cabinets I pre built to see how they will all line up. It is imperative that they go on wall clean and square as I will be applying back splash all around and right to ceiling. everything looks like even spaces everywhere. drape them off and slap some paint on the ceiling….
[External image (i.imgur.com), not copied]
slowly starting to take shape, some paint and trim on one side of area, the bit more to do list is getting shorter and shorter…..
[External image (i.imgur.com), not copied]
[External image (i.imgur.com), not copied]
[External image (i.imgur.com), not copied]
Really nice comp! Love all the custom touches
thanks…
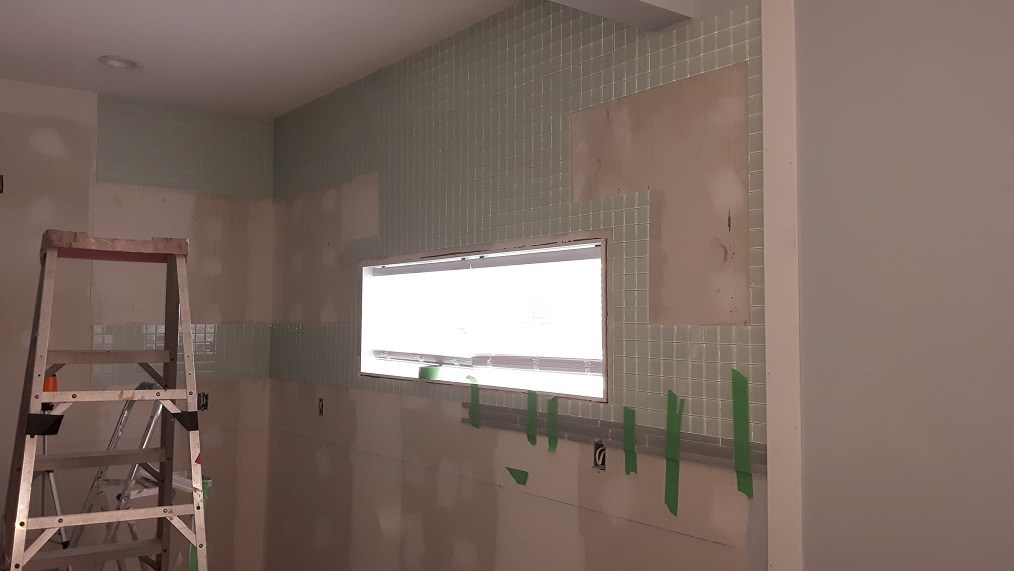
back to kitchen side with some back splash work..bit to go yet but that is enough for one day
line up range hood, install to wall. (I put extra stud supports prior to drywall in approx area.) screw to wall and remove. put screws back in wall, tile all around screws. This way when wall is grouted range hood installation will be easy peasy
[External image (i.imgur.com), not copied]
comp56 wrote:
15 minutes ago, comp56 said:line up range hood, install to wall. (I put extra stud supports prior to drywall in approx area.) screw to wall and remove. put screws back in wall, tile all around screws. This way when wall is grouted range hood installation will be easy peasy
[External image (i.imgur.com), not copied]
Brilliant !!!!
looks great
all tiled and grouted ready for cabinets
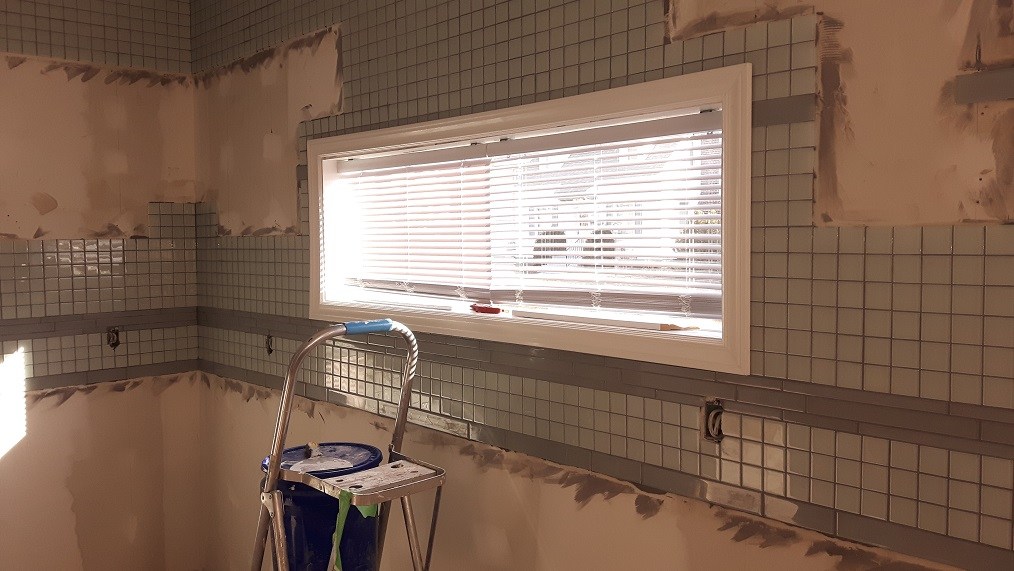
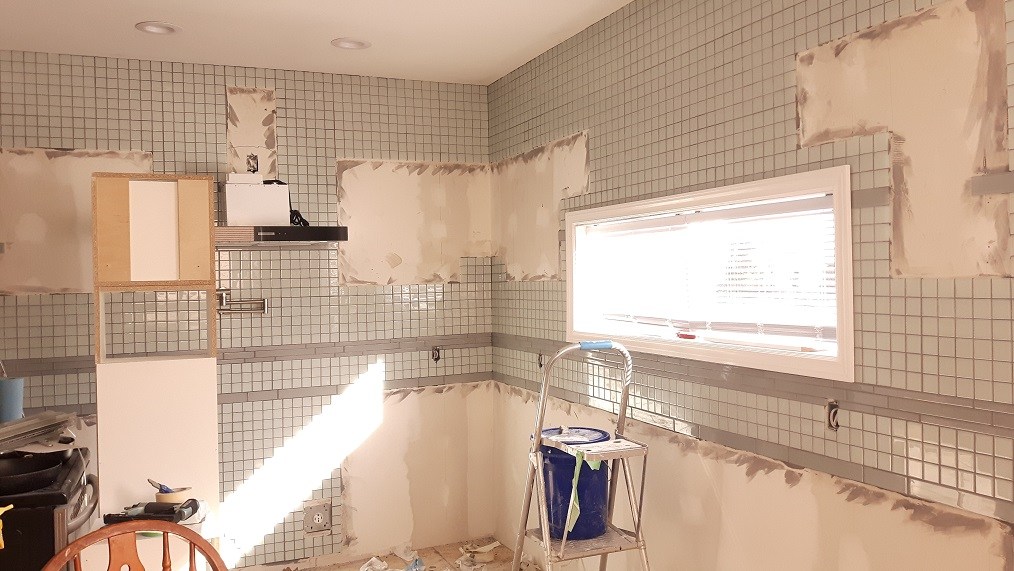
upper cabinets went in without a hitch, all lined up and ready for flooring now……
[External image (i.imgur.com), not copied]
looking good
Awesome work Comp, it’s coming together beautifully.
thanks guys, one man show here so slow but sure….
well the plan was to get the flooring installed, but wouldn’t ya know it after I laid out 8 or 10 tiles down my wife says….hmm don’t like it??? so back to the drawing board or actually the store to go pick out different tile……in the mean time I figured I make a jig to install the handles/pulls whatever you call them……not pretty but worked flawlessly. I made it to be left or right top or bottom. (Note to self clamp a backer board so holes don’t get blown out….)
[External image (i.imgur.com), not copied]
[External image (i.imgur.com), not copied]