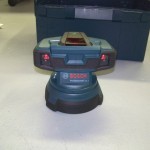
Awhile back when we attended the Bosch media event, we had a chance to see the worlds first surface laser. At the time we thought this was pretty cool, however we never really had a chance to play with it that day. Well that changed, we now have one we could take for a test drive and actually use. I have to say this is one of the coolest inventions. Not only is this laser a piece of cake to use, it’s so practical.
There are plenty of times when you need to make sure your floor is level which meant, in the past, you always had to use a spirit level or other tools that take more time. Well those times are gone. The Bosch GSL 2 Surface Laser is now the solution to find all those bumps and depressions in your flooring. Best of all this tool is so easy to use. This tool can be operated by one person and a single user can scan the whole floor and find all the areas of concern by themselves.
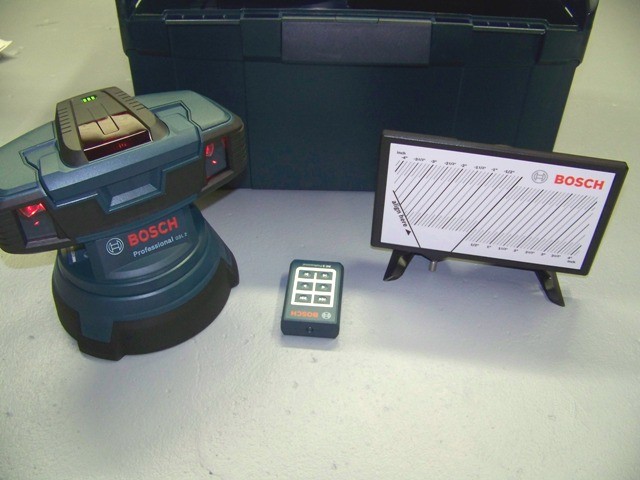
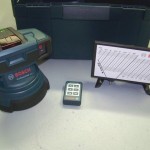
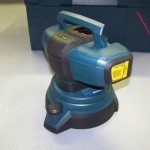
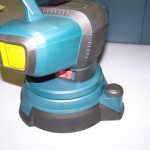
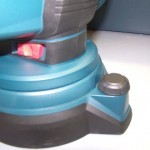
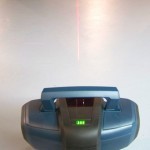
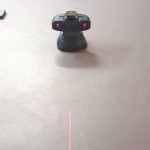
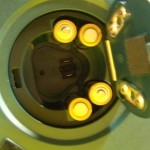
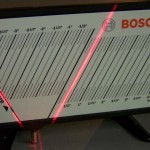
All a user has to do is set up the laser in an area where they want the reference point. There is a single switch on the body, just turn it on. The unit is powered by 4 AA batteries or the Bosch 12V battery. This switch activates both lasers. On the floor about a foot in front of the unit you will see two red lines. On the base of the unit, there is a small black height adjustment knob. Just turn this knob left or right until both lines become one single line instead of two lines. Yes, it’s that easy and now you are set to find your points.
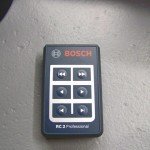
Now that your unit is set up, you can grab you RF2 remote control which is powered by 3 AAA batteries. On the remote there are 6 buttons. The top two buttons activate the motorized base to move the unit left or right at a quick speed. The next two buttons will move the unit slower and the last two buttons move the unit left or right one click at a time. If you hold these buttons down, the unit will move very slow to fine tune your areas of concern.
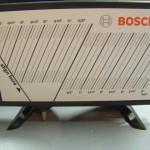
Okay, now that you have your chalk, you’re ready to start. Just point the remote at the unit, hit the desired speed and direction. When you see the single red line split into two, this indicates areas of concern. You can take your chalk and circle these areas. At this time you can either take your measurements or finish plotting your 360° area. Once you are done marking all your areas, this is where your white target plate comes into play. Move the laser line back to one of your areas of concern, place the white target plate here. On the bottom of the target plate, you will see a small metal pin. Just place this pin over your left line. On the target plate the left line should line up with the left line that says “align”. Now you can take your measurement using the right red line. Anything to the right of the line is a bump. Anything to the left of the line is a depression. The target plate will indicate how far off level you are. How much easier can it get? This system is very easy to set up and use. If you want to give it a try, check it out on Bosch’s GSL 2 micro site and just click on the “Try it out” tab.
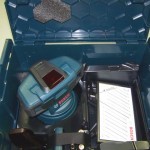
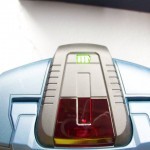
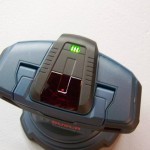
There are several highlights to note about this tool. First, on the top there is a battery indicator LED light that shows how much juice is left in your batteries. Second, there is a handle to carry around the unit if you need to move it to another area, the handle also folds down so it’s out of the way. Another cool feature about this tool is it comes in Bosch’s L-Boxx. So the laser, glasses, remote and target all have a place and can be transported safely. Plus with the L-Boxx system, you can stack these boxes on top of each other to make more room.
All in all this is a must have tool for anyone who has to deal with finding bumps or depressions in flooring. The unit is easy to use, good price point and a real time saver. Want to learn more about this laser and check out more cool videos? Take a look at Bosch’s site on the GSL 2 Surface Laser
Bosch GSL 2 Surface Laser Specifications
| Accuracy | Up to ±1/8-in @ 30-ft (Horizontal & Vertical) |
| Battery | 12V Max Lithium-ion Battery |
| Battery | 4 AA 1.5V Batteries |
| Dimensions | 8.3″ x 7.7″ x 8.1″ |
| Laser Diode | 630 – 670 nm Class 3R |
| Leveling Type | Self-Leveling, Up to 4° |
| Operating Temperature | 14°F / -10°C ~122°F / 50°C |
| Range | Up to 30ft without Target Plate, Up to 60ft with Target Plate |
| Weight (lbs.) | 3.3 lbs |
Includes
- GSL 2 Laser
- RC2 Remote Control
- Target Plate
- (4) AA Batteries
- (3) AAA Batteries
- Glasses
- L-Boxx3 Carrying Case with Insert





I almost patented this idea back in 1992 when I developed a manual method to contour a concrete slab before laying wood floors. I pinged individual chalk lines in a matrix grid fashion to determine where there were low places in the concrete slab,,after pinging the chalk lines the low places would have a break in the straight line. I then connected the low places with a chalk pencil to identify areas needed leveling. I did this contouring so that I could later come in and pour leveling compound in the low areas to level the slab out. That way when laying wood planks there were no cavities under the planks where the glue might not make good contact.
Mike, that is a great idea! I will add that to my bag of tricks, unless I get this laser…
I would really like to get this laser. I nominate it for your tool awards as on of the most innovative lasers on the market.