
Disclosure: SharkBite sponsors the Tools In Action channel. Our opinions are our own.
Not every plumbing repair happens on a clean, dry pipe with room to work. Sometimes the leak is in the back of a wall cavity, between joists, or in a spot where you can barely get one hand in. In this reel we build a little contraption to recreate that kind of tight, wet repair. Then we show why a SharkBite push-to-connect fitting is the tool-free answer.
What It Is
SharkBite push-to-connect fittings join pipe without solder, glue or crimping. You push the fitting onto a properly prepped pipe, and its internal grip ring and O-ring lock on and seal. No torch and no press tool required.
SharkBite says its current SharkBite Max fittings work with copper, PEX, CPVC, PE-RT and HDPE SDR-9 pipe, can be used behind the wall without access panels, and carry a 25-year warranty when properly installed with PEX, copper, CPVC and PE-RT pipe. In the video we use a SharkBite push-to-connect fitting with a shutoff valve.
What the Video Shows
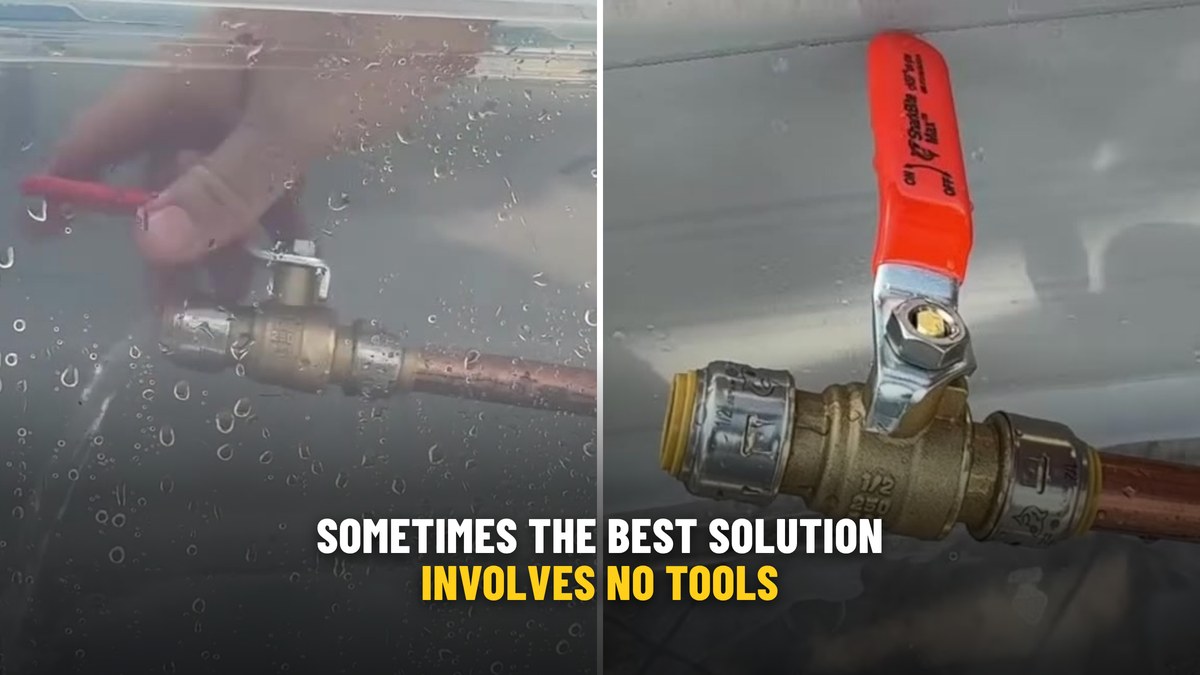
We set up a clear storage tote as a stand-in for a cramped wall or ceiling cavity, with a copper pipe running through it and a leak going on inside. The point is to make a space where the usual repair methods don’t work well:
- A press tool won’t fit. There’s no room to get the jaws around the pipe.
- Solder is out. The pipe is wet, and sweating a joint on a wet pipe is a fight you usually lose.
So we reach in with one hand and push a single SharkBite connection onto the pipe. The leak is stopped, and the repair is done.
As we say in the video, this is where SharkBite really comes in handy. Think about a leak you can only reach through a small opening, like between joists or deep in a wall, where you only have one hand free. You don’t have to cut a bigger hole in the drywall to fit a torch or a press tool in there. You make the connection and you’re done.
Takeaways From the Video
What stood out:
- One fitting, one hand, no tools needed to make the connection.
- It works where a press tool physically can’t fit.
- It gets around the biggest problem with soldering a repair: water in the line.
- Less demolition. You can often make the repair through a smaller opening.
Things to keep in mind:
- Prep still matters, even in a hurry. In the video we point out that you still want to clean the pipe with emery cloth first. Cut the pipe square, deburr it, clean it and mark the insertion depth so the pipe goes all the way in. SharkBite makes a SharkBite Max Depth & Deburr Tool for that.
- Push it all the way on. A fitting that isn’t fully seated only makes a partial seal. That’s the root of most SharkBite leak complaints.
- Know your shutoff. In a real repair, shut the water off and drain down what you can before cutting out a damaged section.
- Check code and placement. SharkBite says SharkBite Max can be used behind the wall without access panels, but always follow local code.
Why Push-to-Connect Makes Sense Here
For new work, plumbers have plenty of choices: solder, press, expansion and push-to-connect. For a leak in an awkward spot, push-to-connect has real advantages. It doesn’t need heat, it doesn’t need an expensive tool that may not fit, and it doesn’t care much how much room you have. That’s why so many service plumbers keep a few SharkBite fittings on the truck even if they press or solder everything else.
Who It’s For
This repair is for homeowners who find a leak and need it stopped now, and for pros who keep running into tight spots where nothing else fits. It’s also a good reminder for anybody who writes off SharkBite completely. These fittings are more than a shortcut. In the right situation, they’re the best tool for the job.
Watch the reel above and tell us: what’s the tightest spot you’ve ever had to fix a leak in?
Where to buy: SharkBite Max push-to-connect fittings
Leave a Reply