One thing I have been doing a lot of lately is framing out basements and roofing. Since this overview is of a Cap Stapler, the basement experience is worthless for this article, so I am a happy that I have had some time on a roof. Not that I have been working on roofs for a long time, but on my first job I saw the crew using a hammer and nails for installing felt. Not that there was anything wrong with it, but it just seemed so much slower and tedious than using a nailer. So we contacted our good friends over at Paslode and asked if we could try the Paslode Cap Stapler for our next job.
As you know we have tried the Paslode Cordless Roofing Nailer and the Paslode Framing Nailer. Both are great, but I have used the Framing nailer a lot more and I love that tool. In fact, we have the Framing Nailer as Tools in Action Nailer of the year award. The Cap Stapler is a little different. While the concept is the same where it uses air to drive a fastener, a cap stapler is a two part system. A Cap Stapler needs both staples and caps which are installed separately which we will get into in a bit. A Cap Stapler is not only for fastening felt to roofs, but it can also be used for installing house wrap.
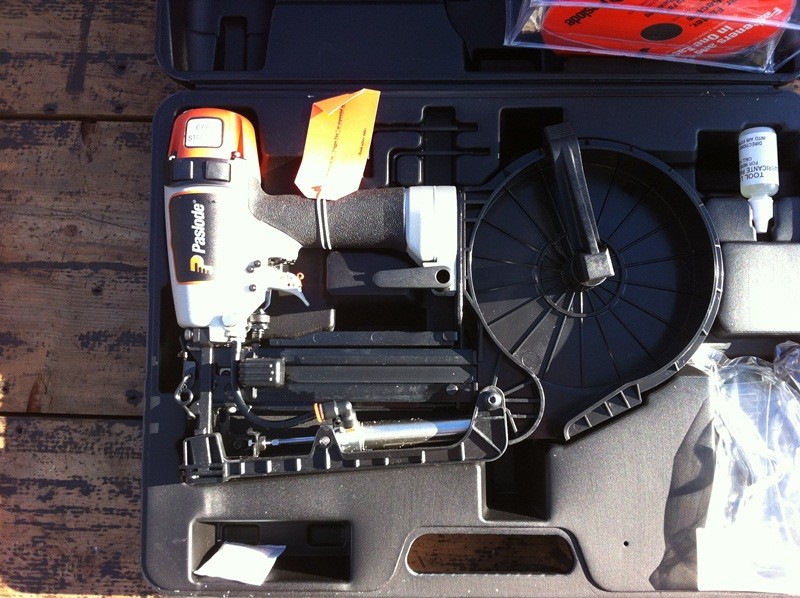
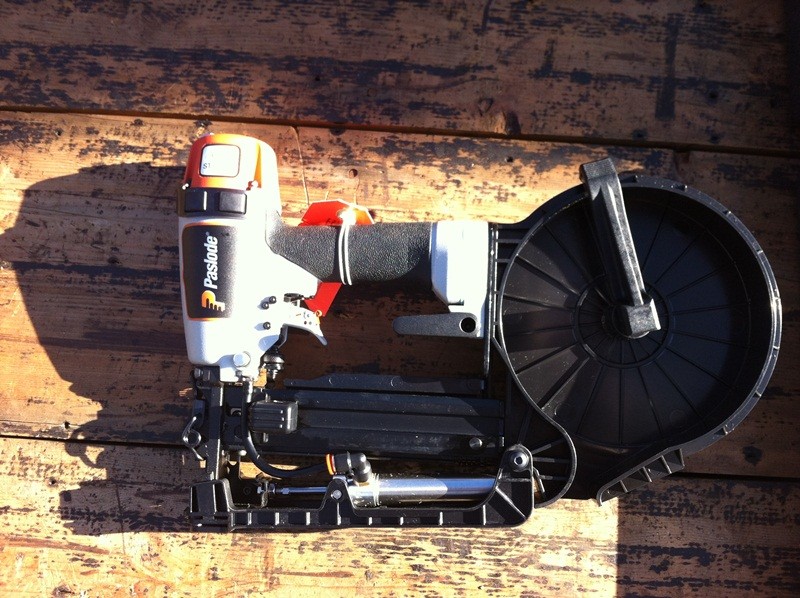
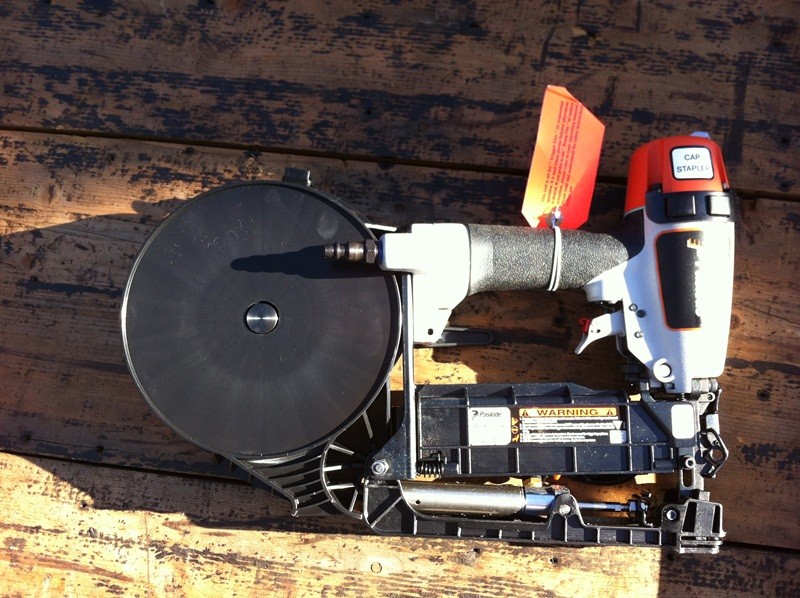
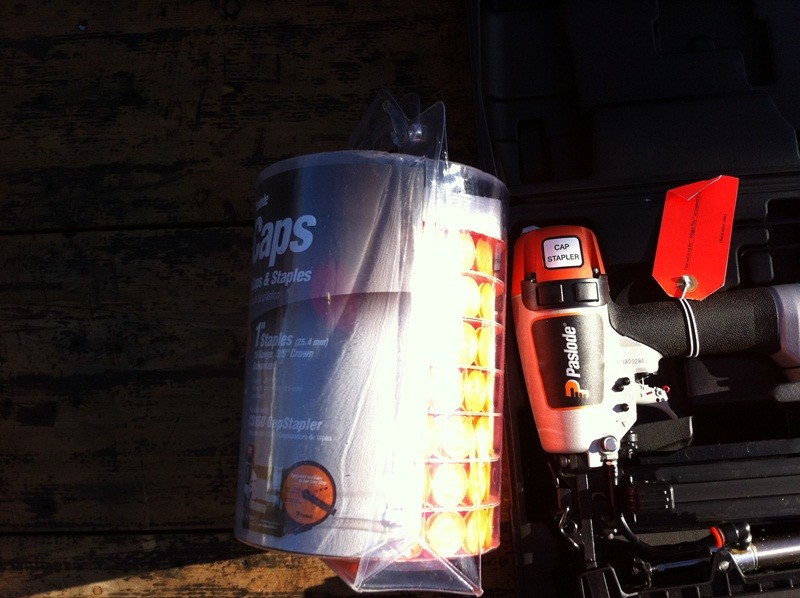
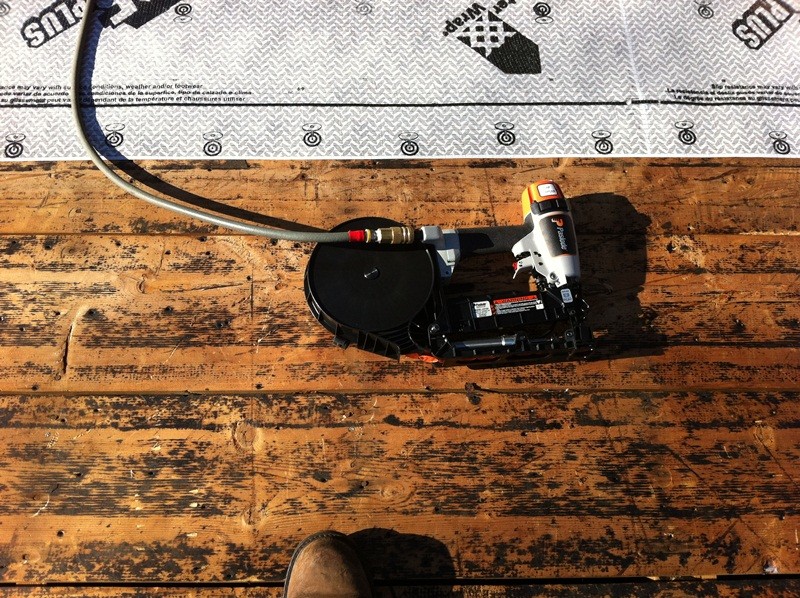
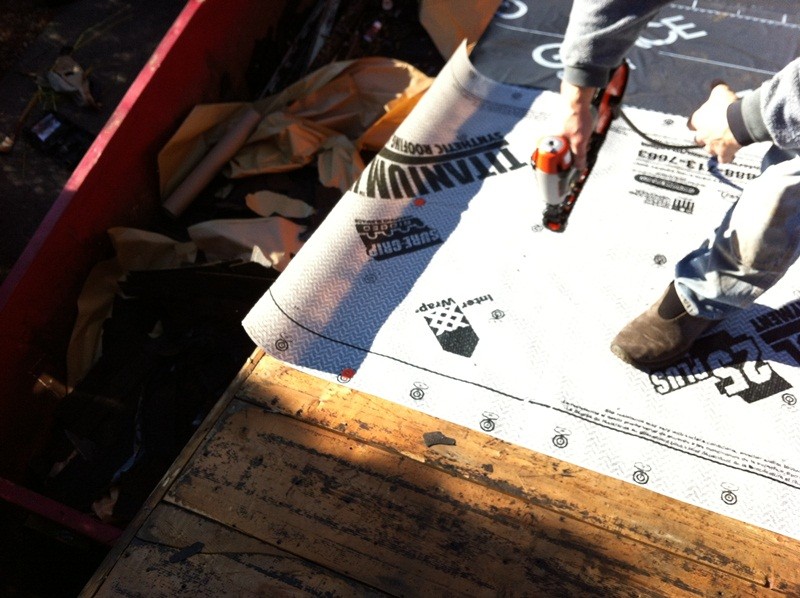
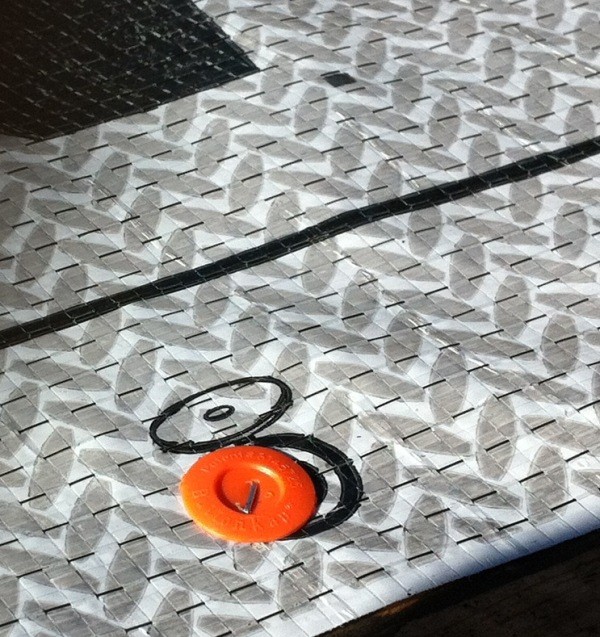
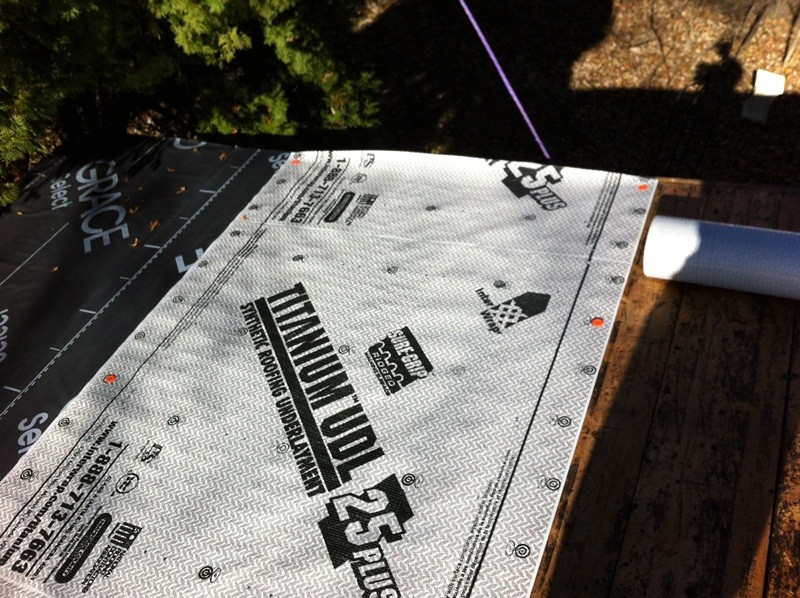
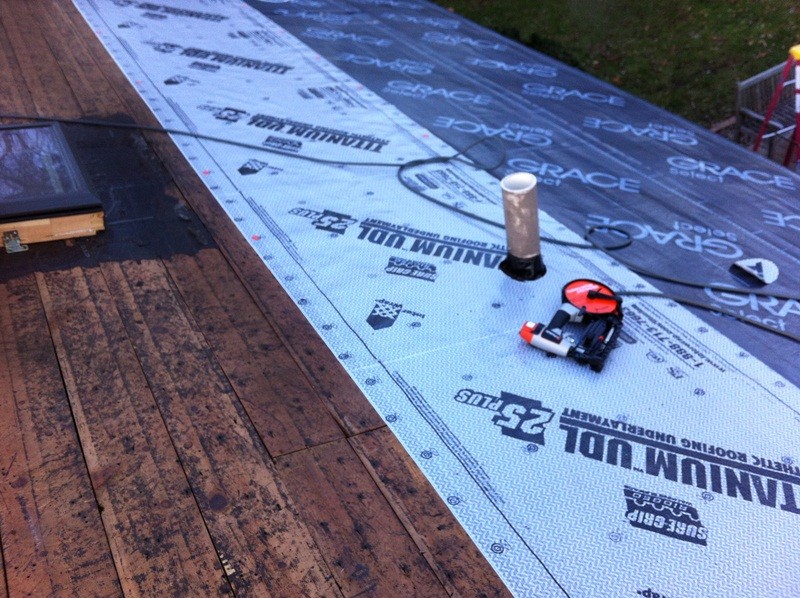
As noted you need both Caps and Staples which both are installed separately. If you notice by the pictures below, the staples are installed towards the middle of the nailer, while the caps have a spool at the end of the nailer and are fed through the bottom. Then what happens is the Staple is fired into the cap and that is how it is secured to the felt or wrap, pretty cool. One thing I did find out is if you have to take a cap and stapler out of a roof after it has been installed, it is a chore, but that is another story in itself.
I had a chance to play with this tool and I have to say I really like this. While I personally saw how this makes a roofing job much easier and faster, I can see this would be great for a house wrap. The Paslode weighs 4.8 lbs, so it is easy to maneuver and work with. One thing I noticed that I like is the inline magazine for the caps. This makes the tool nice and slim along with giving it great balance. The nailer has everything you would want, such as bump and sequential trigger fire, directional exhaust, tool-less jam clearing, tool-less depth adjustment and the ease of ability to adjust from caps to staple mode.
The nailer holds 90 staples with a range of 3/4″ to 1-1/2″ and is 18 gauge 3/8″ crown. The inline magazine holds 240 caps which is one spool of caps. You can buy the staples and caps together for a reasonable price of around $38. The tool comes with a one year warranty.
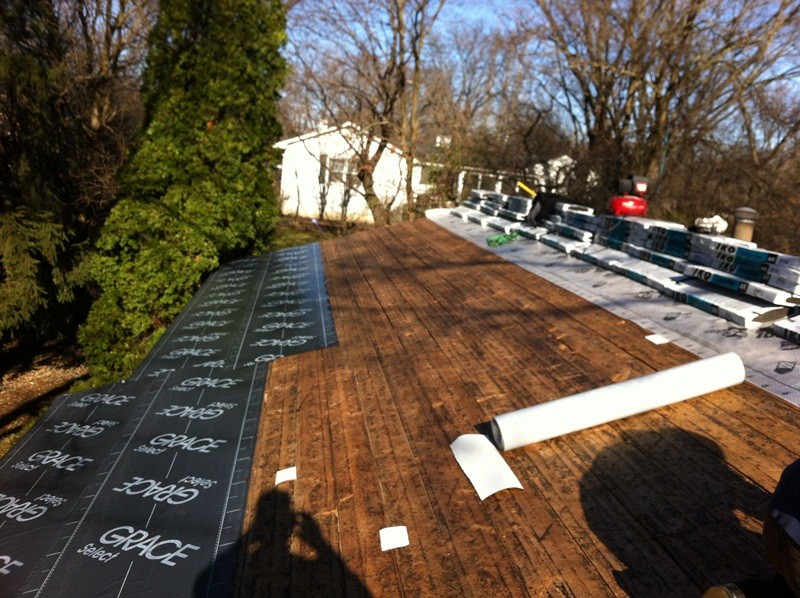
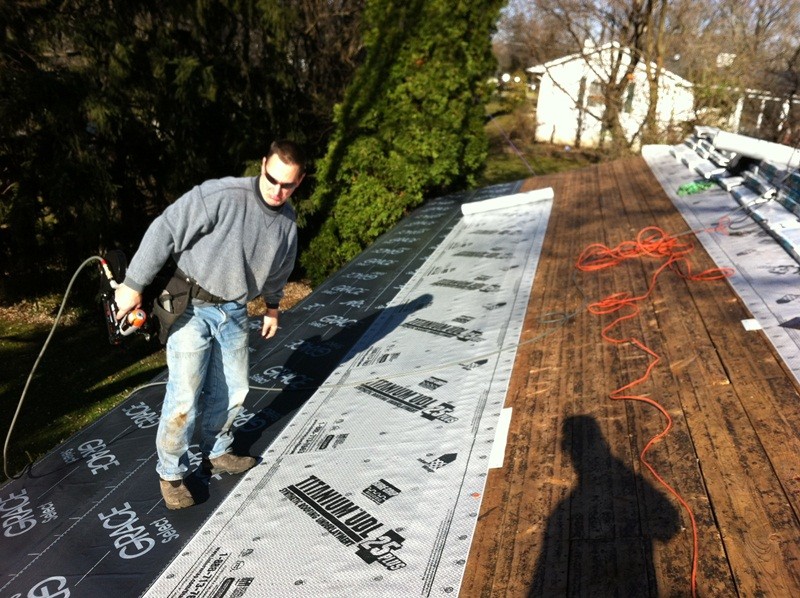
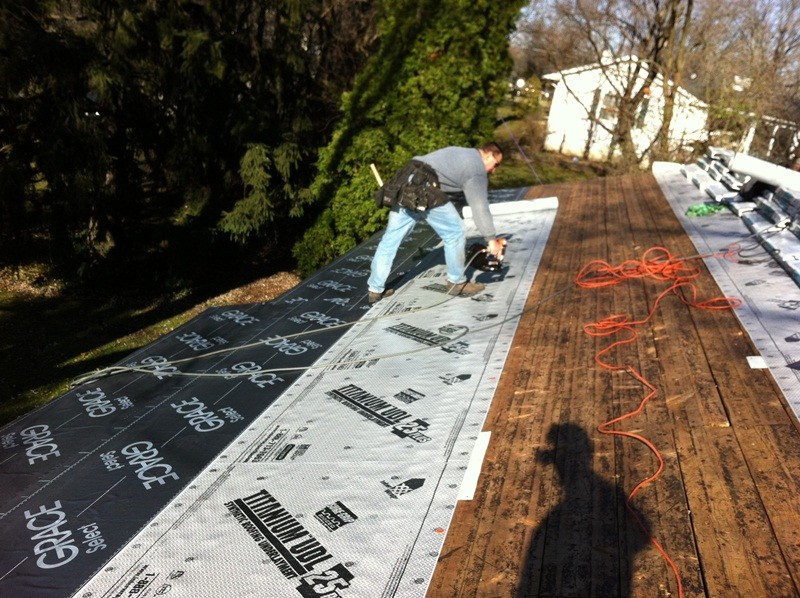
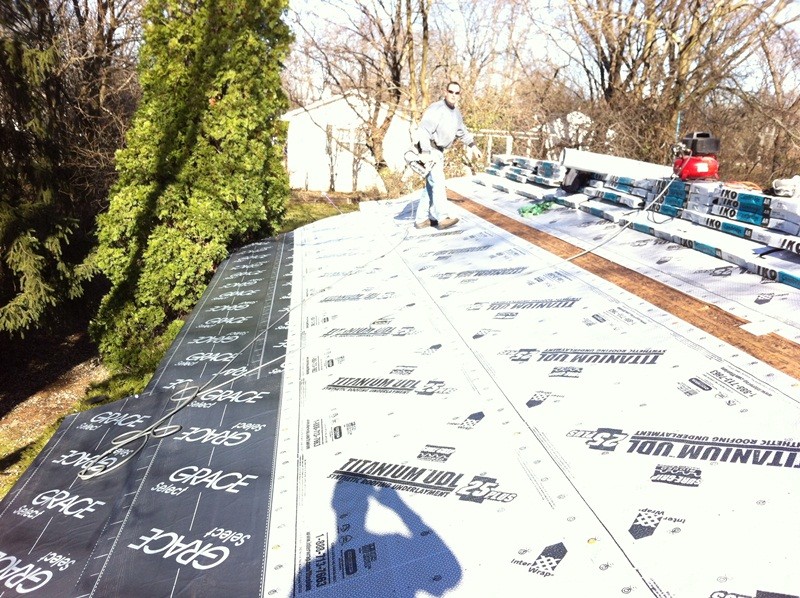
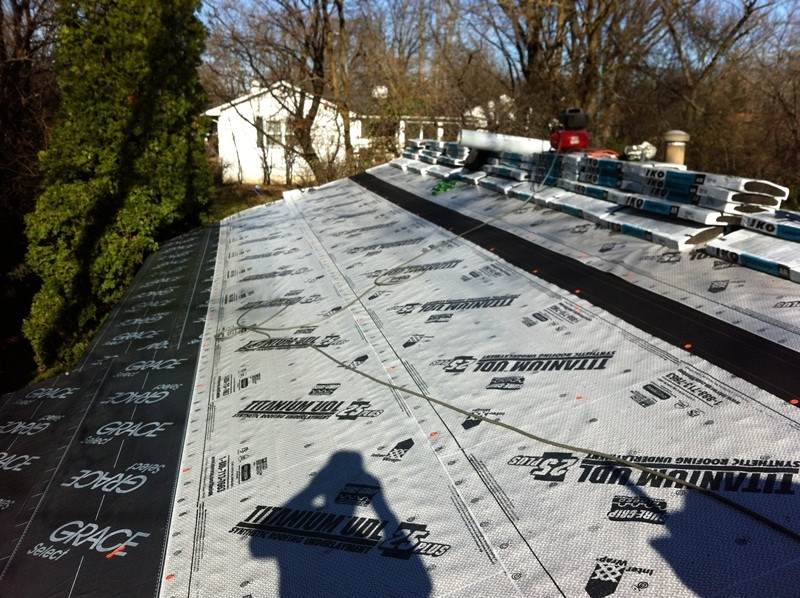
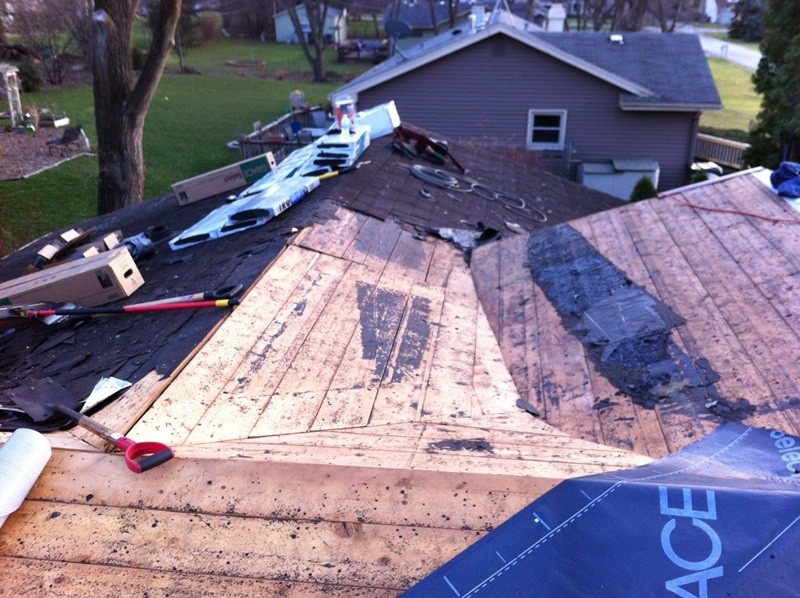
I took this tool to Brian from Roof Rescue. He has been doing roofing in the Chicago and Chicagoland area for around 30 years. He was doing a complete tear off, so I thought this would be a good place to test the tool and get some feedback. He was laying both felt and a synthetic underlayment, so we had the opportunity to test it on both. I have been at other jobs with him where I see him using a hammer and nails to install the underlayment. While he is very fast installing it with a hammer, it never compares to having a tool to help speed the process up. I didn’t time anything, but he was moving along much faster with the stapler then just the hammer. One thing he pointed out to me was that a stapler and cap system is so much better holding the felt in place then just nails, which makes it the ideal choice if you are using a synthetic covering and shingles will be installed at a later date.
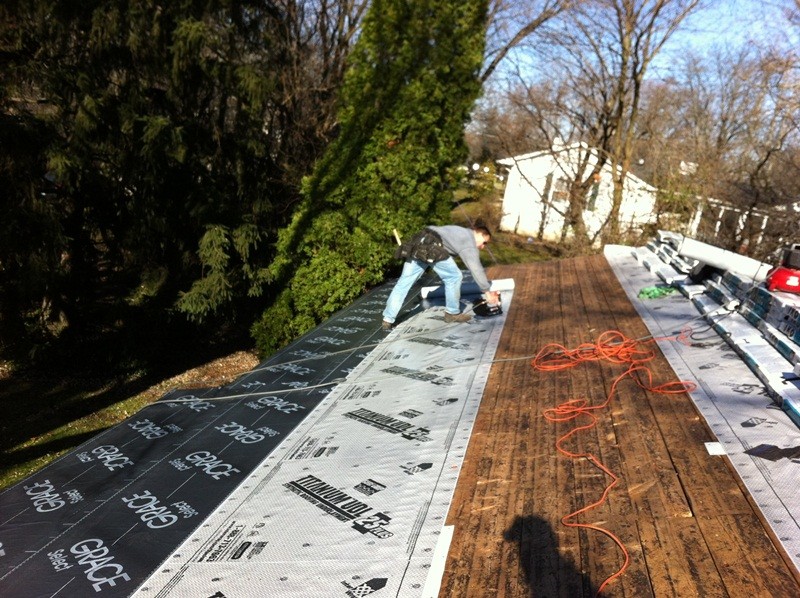
After staying out of his way for a while, I butted in and wanted to get his opinion. Overall he was extremely happy with this cap stapler. He said it was quicker and more effective. He liked how the nailer had a lot of the main options other guns have. His only two gripes were he wished the belt clip had more room and was in a different position. The other item was he wished it had better grip on the roof. When he would lay the nailer on the Grace paper, it would have a tendency to slide down. A couple of times he had to drop his knife when cutting the felt to catch the nailer.
We did drop the nailer off the roof, accidentally, and it landed on the deck below. We brought it back on the roof only to find out it wasn’t working properly. Two things happened when it fell. First, it must have landed just perfect so it put the nailer in staple mode only. We didn’t even notice that right away. The second thing that happened was the small piston on the bottom came out of alignment and wasn’t feeding the caps correctly. We were able to snap it back into place, but we would like to see this area beefed up a little more since we know others will be dropping this off roofs.
After watching Brian, one thing I noticed was that this gun would dry fire when there were no staples left. I noticed on several occasions he would run out of staples and it kept firing the caps. After firing about 5 caps, was when he noticed they were not holding in place because the tool was out of staples.
Overall this is an awesome tool. Very easy to work with and control. We like that this nailer has all the main options of other nailers. The cap stapler is quality and well worth the money as it will speed up work. We would like to see two things changed on this tool in the future. A tool that will not dry fire and a better way to grip slippery slopes on the roof including a little bit better belt clip. If you are a roofer, this is a great tool to have on your side as it will save time and money. With a name like Paslode, it is hard to go wrong.


This looks like one bad ass tool. Wish it had a stop when your out of staples so your not just firing away. Not a huge deal. Maybe if I get this tool, I can have my guys actually do some work instead of sitting around. I found one trick to use on my tools when on the roof so they don’t slide off is the double sided tape, the thick tape. I put a couple small pieces on a tool and set it on the singles. When I take it off, some of the shingle sticks to the tape. Now it has a grip on it. This way when I lay the tool down on a slippery surface, it won’t slide off.
That is a great idea. Love the tools, just wish there was better grip on the slippery areas, but like your tip.