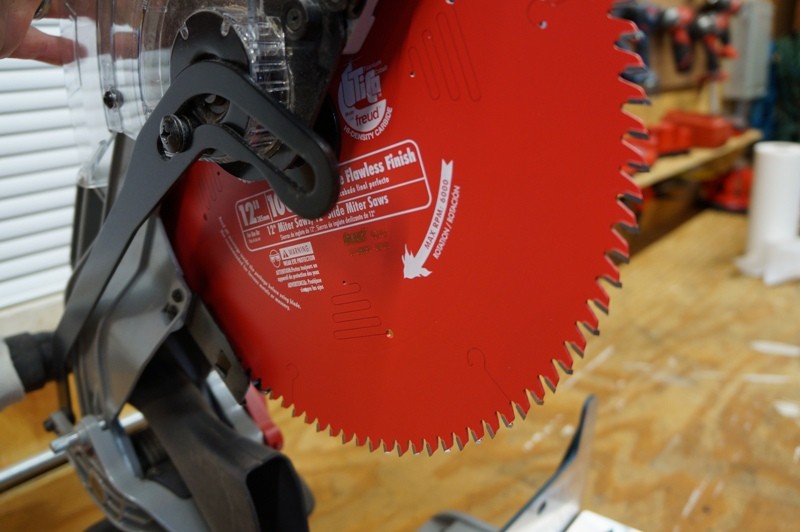
Maintaining clean saw blades is crucial for optimal performance, safety, and longevity. Over time, blades accumulate resin, pitch, and debris, leading to inefficient cuts and potential damage to both the blade and the material
Why Regular Cleaning Matters
Step-by-Step Guide to Cleaning Your Saw Blades
1. Gather Necessary Supplies
- Cleaning solution (e.g., Simple Green, Spic & Span, or a dedicated blade cleaner)
- A shallow container (a frisbee or old baking pan works well)
- Soft-bristle brush or old toothbrush
- Protective gloves
- Clean, dry cloth
2. Soak the Blade
- Place the blade in the container.
- Pour the cleaning solution until the blade is submerged.
- Let it soak for about 5–10 minutes to loosen debris.
3. Scrub Away Residue
- Using the brush, gently scrub the blade, focusing on areas with stubborn buildup.
- Ensure all resin and pitch are removed.
4. Rinse and Dry
- Rinse the blade thoroughly with water to remove any remaining cleaner.
- Dry the blade immediately with a clean cloth to prevent rust.
5. Apply Protective Coating
- Spray a light coat of WD-40 or a similar protective lubricant on the blade.
- This step helps prevent rust and keeps the blade in optimal condition during storage.
Additional Tips
Recommended Products
- Simple Green All-Purpose Cleaner: A versatile, non-toxic cleaner effective for blade maintenance.
- Boeshield Blade & Bit Cleaner: Specifically designed for cleaning saw blades and bits.
- WD-40 Multi-Use Product: Provides a protective coating to prevent rust.
Conclusion
Regularly cleaning your saw blades is a simple yet effective way to ensure precise cuts, extend the life of your tools, and maintain safety in your workspace. Incorporate this maintenance routine into your workflow to get the most out of your equipment.

