

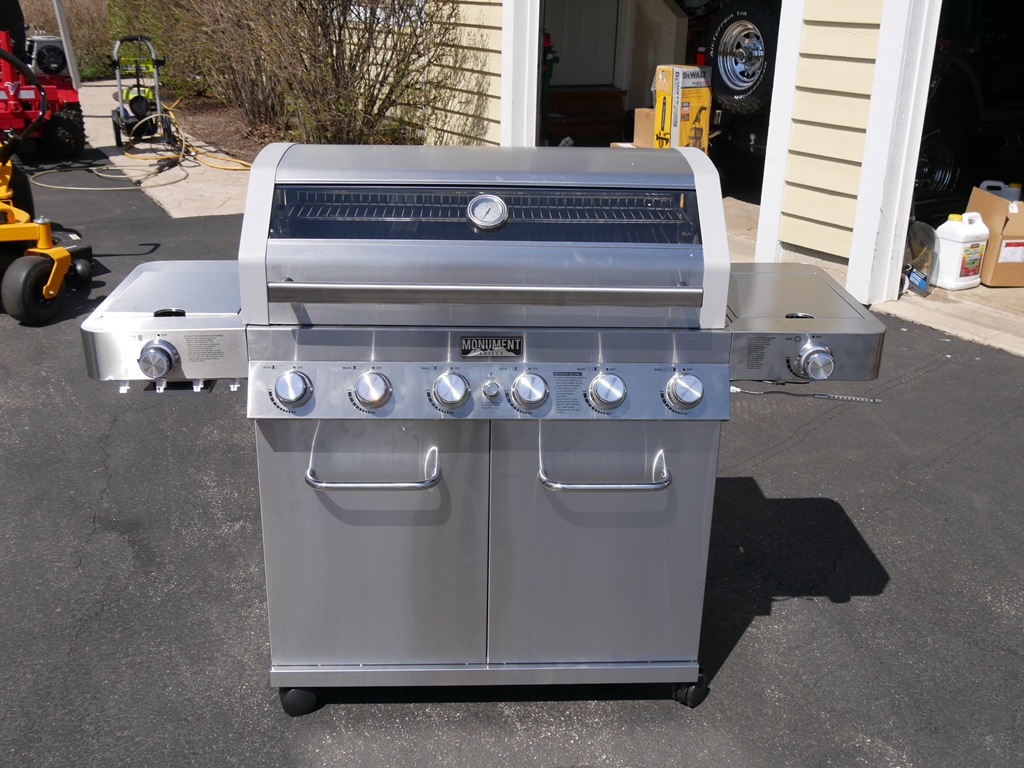
I know, I know, another grilling article. You’d think I’d be done by now and honestly, I was planning to be. Just one more and that was it. But then I was out back, giving my old Monument grill a long-overdue spring clean-up, and it hit me. I remembered the time I completely ruined one of my old grills by cleaning it the wrong way. I clogged the burners, ruined them, and it was a mess. So I figured one more article on how to clean your grill after its winter rest.
To be fair, I leave my grills outside all year long, no covers, no shelter, just out there in the wild. So when spring rolls around, they look like they’ve been through battle. But over the years, I’ve figured out how to bring them back to life and ready for another summer gilling season. So before you fire yours up, here’s a no-BS guide to getting your grill clean, safe, and ready for action… without making the same mistakes I did.
Step 1: Do a Full Inspection First
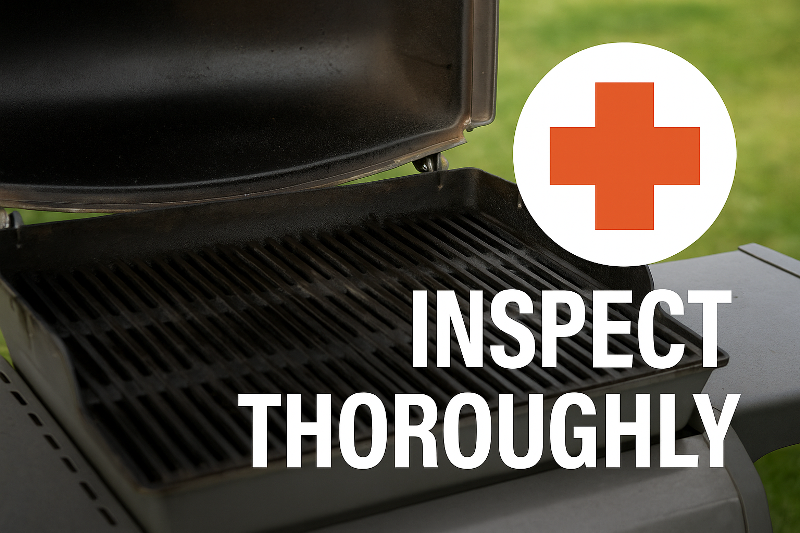
Before you start scrubbing or spraying anything down, take a few minutes to give your grill a proper once-over. I like to think of this step as a grill health check, you’re not cleaning yet, just diagnosing. Pop the lid, open the cabinet if it has one, and take a close look at what you’re working with.
Start with the inside. If you’re like me and leave your grill outside without a cover, there’s a good chance you’ll find rust on the grates, maybe even on the burners or inside the firebox. Light surface rust isn’t the end of the world, but if things are flaking or falling apart, you might need to replace a few parts.
Next, look for spider webs, nests, or anything weird tucked inside, especially around the burner tubes. It’s surprisingly common, especially in propane grills, for spiders or bugs to block gas flow. I’ve also had the not-so-pleasant experience of finding mouse droppings or chewed insulation after a long winter. But it’s better to find it now than while preheating for burgers.
Don’t forget to check the gas lines and wires. On a gas grill, make sure the hose isn’t cracked and that the regulator still feels snug. Look around the ignition button too; if there are loose wires or corrosion, it might be time to repair or replace the igniter.
This step takes five minutes, tops, but it can save you a ton of frustration (and possibly an accidental flare-up). Once everything checks out, you’re cleared to move on to the fun part: deep cleaning the grates.
Step 2: Deep Clean the Grates (The Right Way)
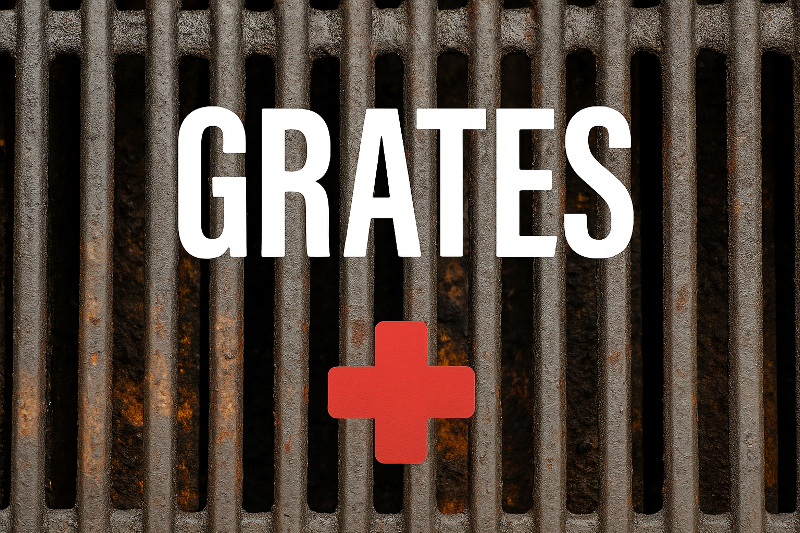
Let’s be real, if your grill’s been sitting all winter, the grates probably look like something out of a horror movie. That’s okay. We can fix it. But here’s the key: don’t go at them like you’re sanding a deck. The wrong method (or the wrong tool) can damage your grates, especially if they’re porcelain-coated or cast iron, trust me, I found out the hard way.
Start by removing the grates and knocking off any loose debris with a stiff nylon or brass-bristle grill brush, never steel wire. Not only can steel damage the surface, but those bristles can break off and end up in your food later. If things are really caked on, soak the grates in warm, soapy water for 20–30 minutes, then scrub gently with a grill-safe pad or sponge. I take mine off and use a power washer.
For cast iron grates, dry them completely afterward and wipe on a thin layer of cooking oil to prevent rust. Stainless grates? You can go a little harder, but still avoid anything too abrasive. I use Barkeeper’s Friend on stainless steel and it works great. For porcelain-coated? Treat them like nonstick cookware—gentle is the name of the game.
If your grates are beyond saving, pitted, flaking, or warped, it might be time to replace them. But if they’re still solid, a good clean will bring them back to life and help your food taste like grilled meat, not last summer’s leftovers.
Step 3: Clean the Burners, Tubes & Drip Trays
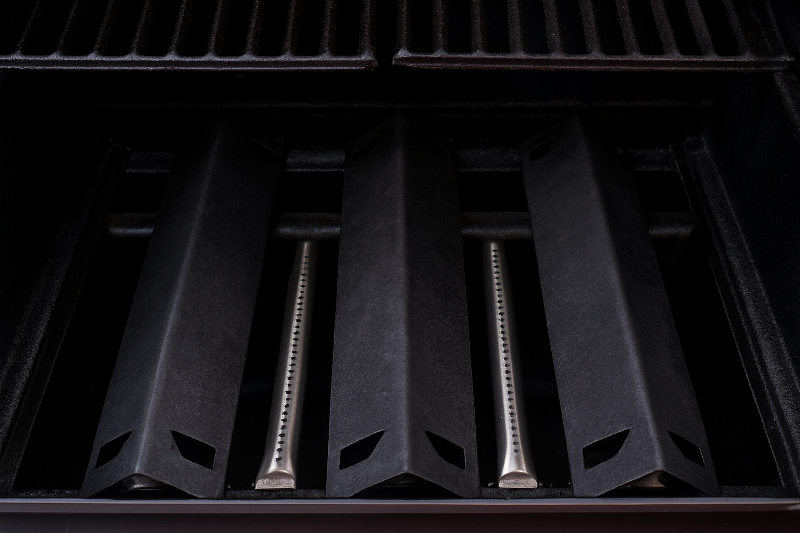
This is where the real performance of your grill lives and it’s often the dirtiest, most ignored area. The burners and drip trays do all the behind-the-scenes work, and after sitting all winter, they’re usually full of gunk, grease, rust, or worse.
Start with the burners. If you have a gas grill, pull them out carefully and look for clogs, rust, or spider webs—yes, spiders love burner tubes. A toothpick, small brush, or compressed air can help clear out the ports. Make sure the flame holes are clean and not blocked, or you’ll get uneven heating or flare-ups.
Next up: drip trays. Most grills have a removable tray or pan beneath the burners that catches grease and debris. These get nasty fast. Pull it out, dump anything solid, and soak it in warm, soapy water. If it’s lined with foil or has a disposable pan, now’s the time to replace it. I have forgotten to replace mine and when a little water gets in there, it’s nasty.
While you’re in there, it’s not a bad idea to scrape out the bottom of the firebox. Just use a plastic scraper or putty knife and get all the flaky carbon and old food out. Trust me your grill will breathe better, and your food will taste cleaner.
Also check the Flavor bars or the bars above the burners. I know they usually last for a long time, but if I see rust, I replace mine. You can still use them but it’s just a thing I like to do.
Once the insides are clear and the burners are back in place, you’re on your way to a grill that not only looks better but cooks better, too.
Step 4: Don’t Forget the Outside
We spend so much time scrubbing the inside of our grills that the outside ends up looking like it just returned from a camping trip. But if you want your grill to last and look good doing it, you’ve got to give the exterior some love too.
Start with a damp cloth and a mild soapy solution to wipe down the lid, shelves, and control panel. For stainless steel grills, use a soft cloth and go with the grain, no scouring pads. If you’ve got years of buildup, a little white vinegar mixed with water can cut through grease without damaging the finish. Just avoid harsh chemicals or oven cleaners, they’ll ruin the look and may even damage painted or coated surfaces.
Check your knobs, ignition button, and thermometer, too. Make sure everything turns smoothly and hasn’t gotten brittle from cold weather. And if your grill has side tables or a cabinet, now’s a good time to clear them out and give them a quick wipe as well.
You don’t have to do this, but after I clean everything on the grill, I light it up and let it burn for 15 minutes.
What Not To Do
Here is a list of mistakes you don’t want to make that can turn a simple clean-up into a costly replacement.
Don’t use a wire brush with loose bristles. Those cheap steel brushes can shed tiny metal pieces that end up in your food, and trust me, no one wants to bite into a burger and end up in urgent care. Stick with a nylon bristle brush or a brass-bristled one that won’t damage your grates or your dinner.
Don’t use oven cleaner. It might sound like a good idea, but those harsh chemicals can corrode finishes, especially on stainless steel or porcelain coatings. Plus, they leave behind residues that can mess with your food’s flavor.
Don’t pressure wash the inside. Blasting the inside of your grill might seem efficient, but it can force water into burner ports, wiring, or insulation – setting you up for rust, mold, or worse. Save the pressure washer for the driveway.
Don’t forget to reconnect the gas line. Seriously. If you disconnected anything to clean, double-check your connections before you light up. A loose hose or regulator can turn that first cookout into a fire drill.
Wrap Up
Giving your grill a proper clean after a long winter isn’t just about looks, it’s about performance and extending its life. A little time now saves you from uneven heat, flare-ups, mystery smells, or the dreaded “why won’t this thing light?”.
I get it. Cleaning your grill isn’t exactly the highlight of Spring, but if you follow the steps above, you’ll be grilling with confidence in no time.
Or, if you’re feeling like skipping all the mess altogether, there’s always the other option: buy yourself a shiny new grill and pretend this one never happened.


